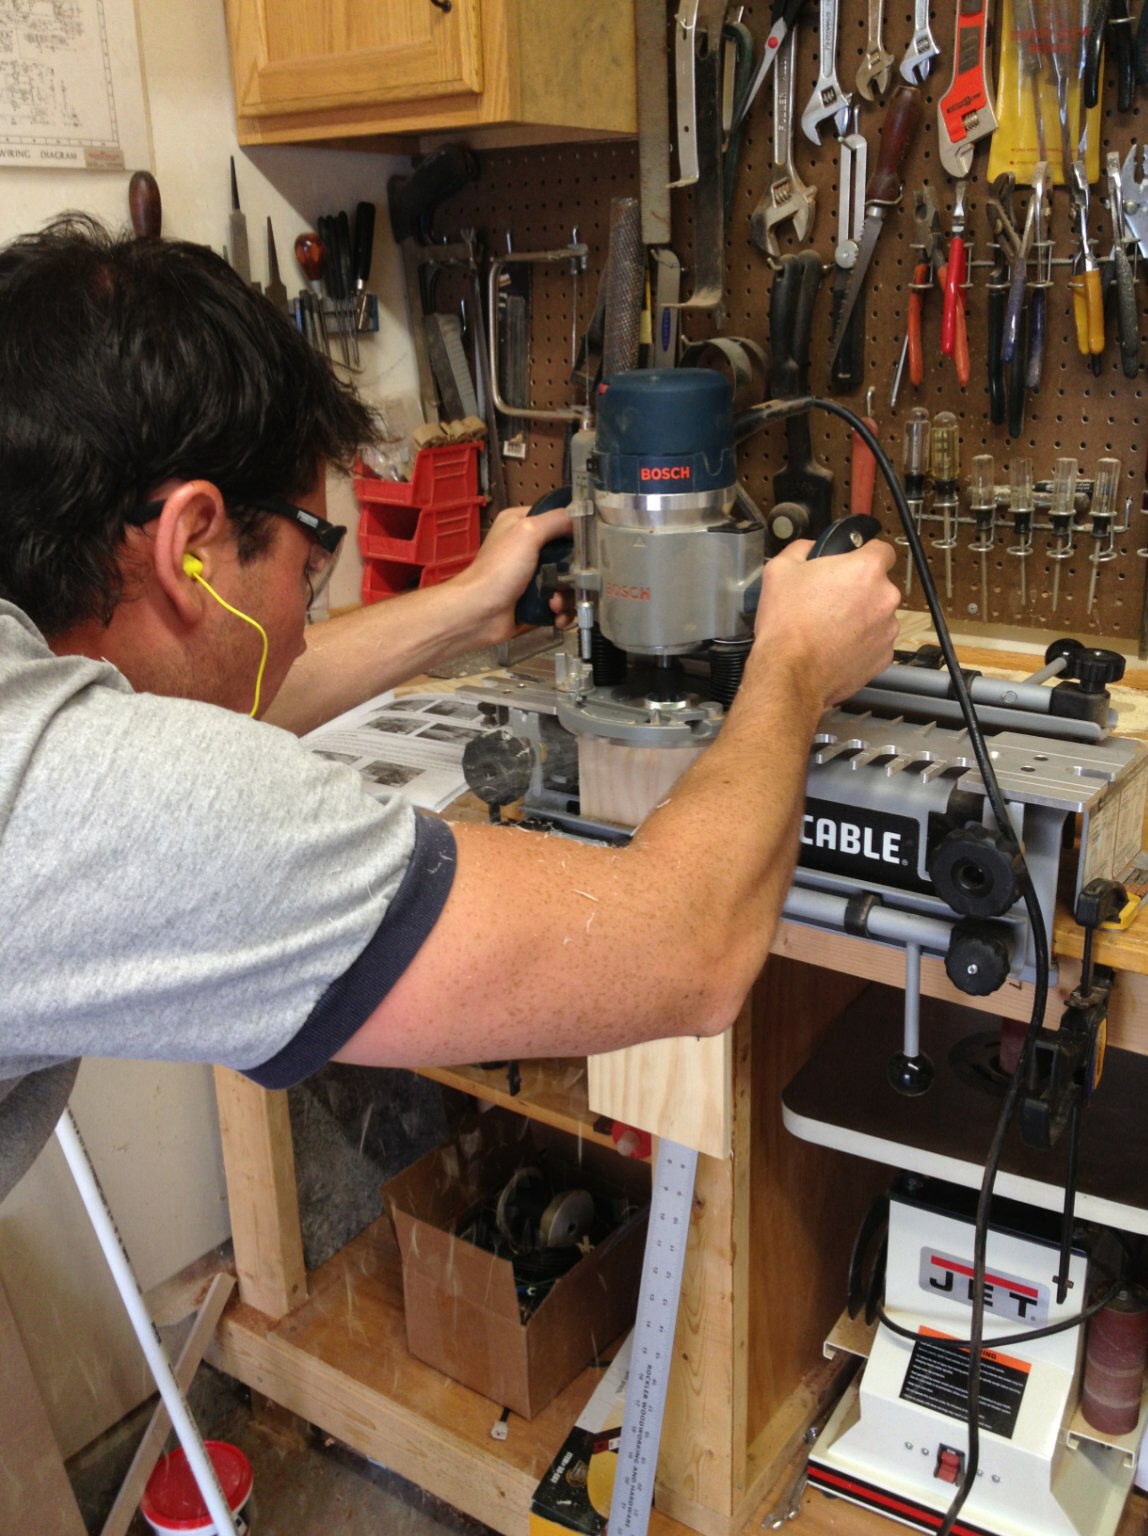
A friend and I have been working on making a wooden case for the Solar-Powered Stereo in our spare time for a few weeks (stretching into months) now. Since he's pretty knowledgeable about woodworking and has quite the selection of dedicated tools for the job, we've really gone all out in a couple of ways.
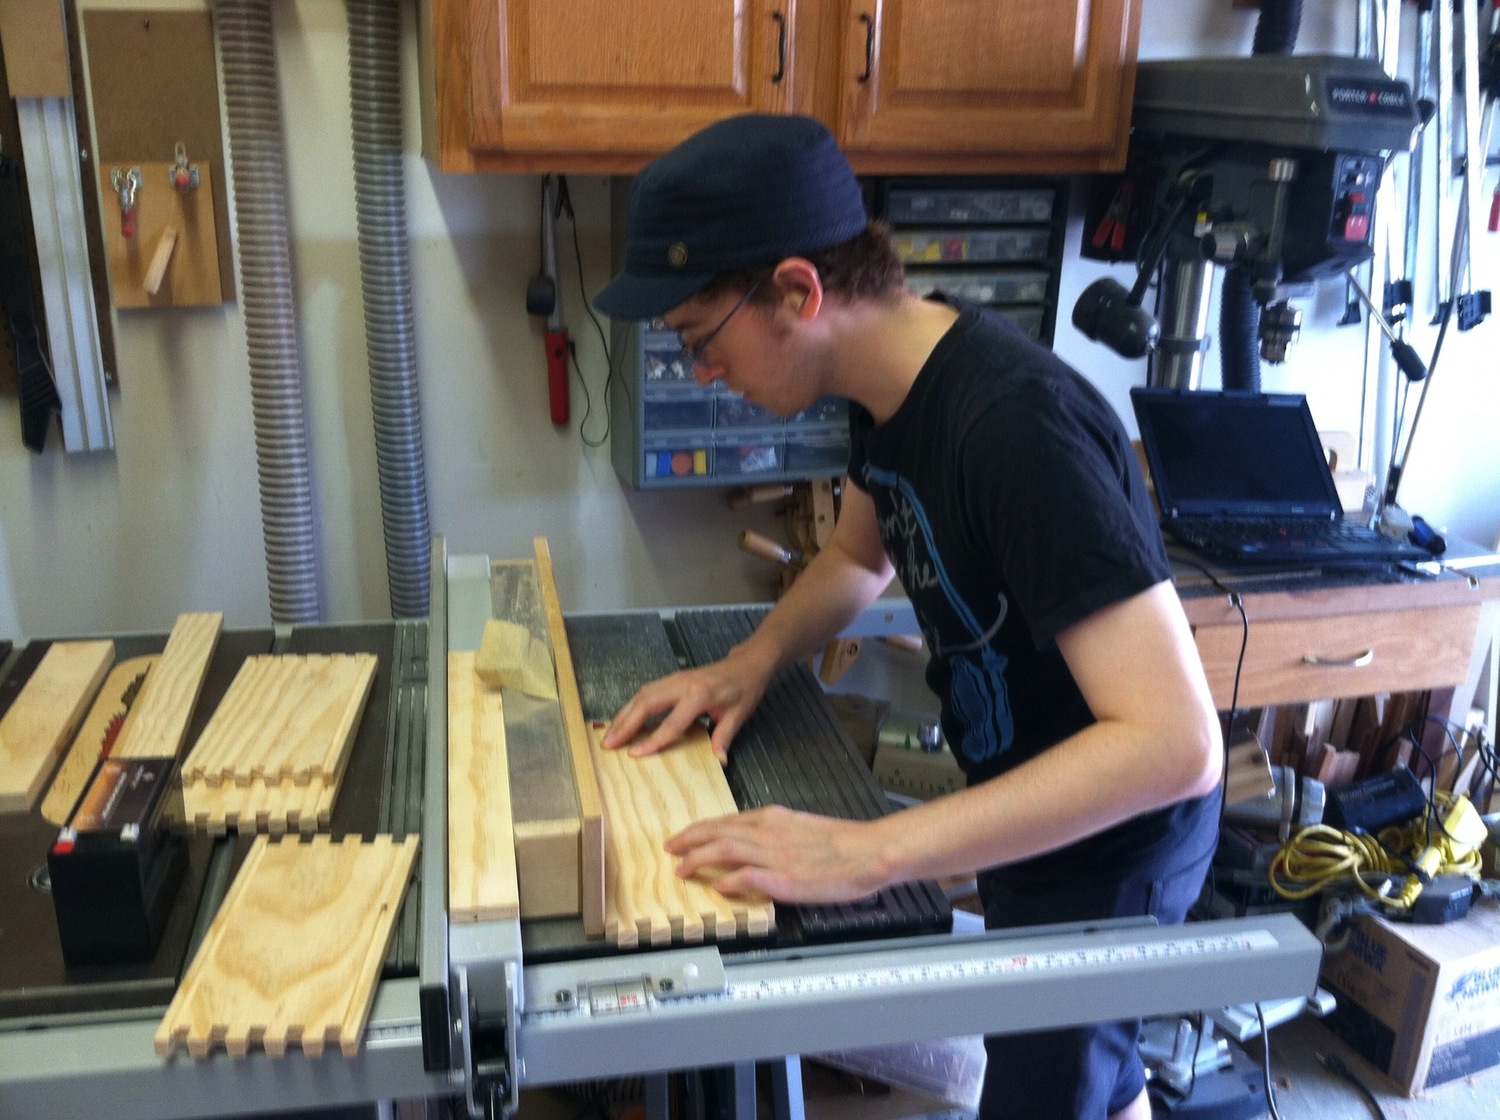
First, we could have just used nails or screws to join the separate pieces of wood together, but instead we used more complicated techniques like dovetail joints, mostly for aesthetic reasons.
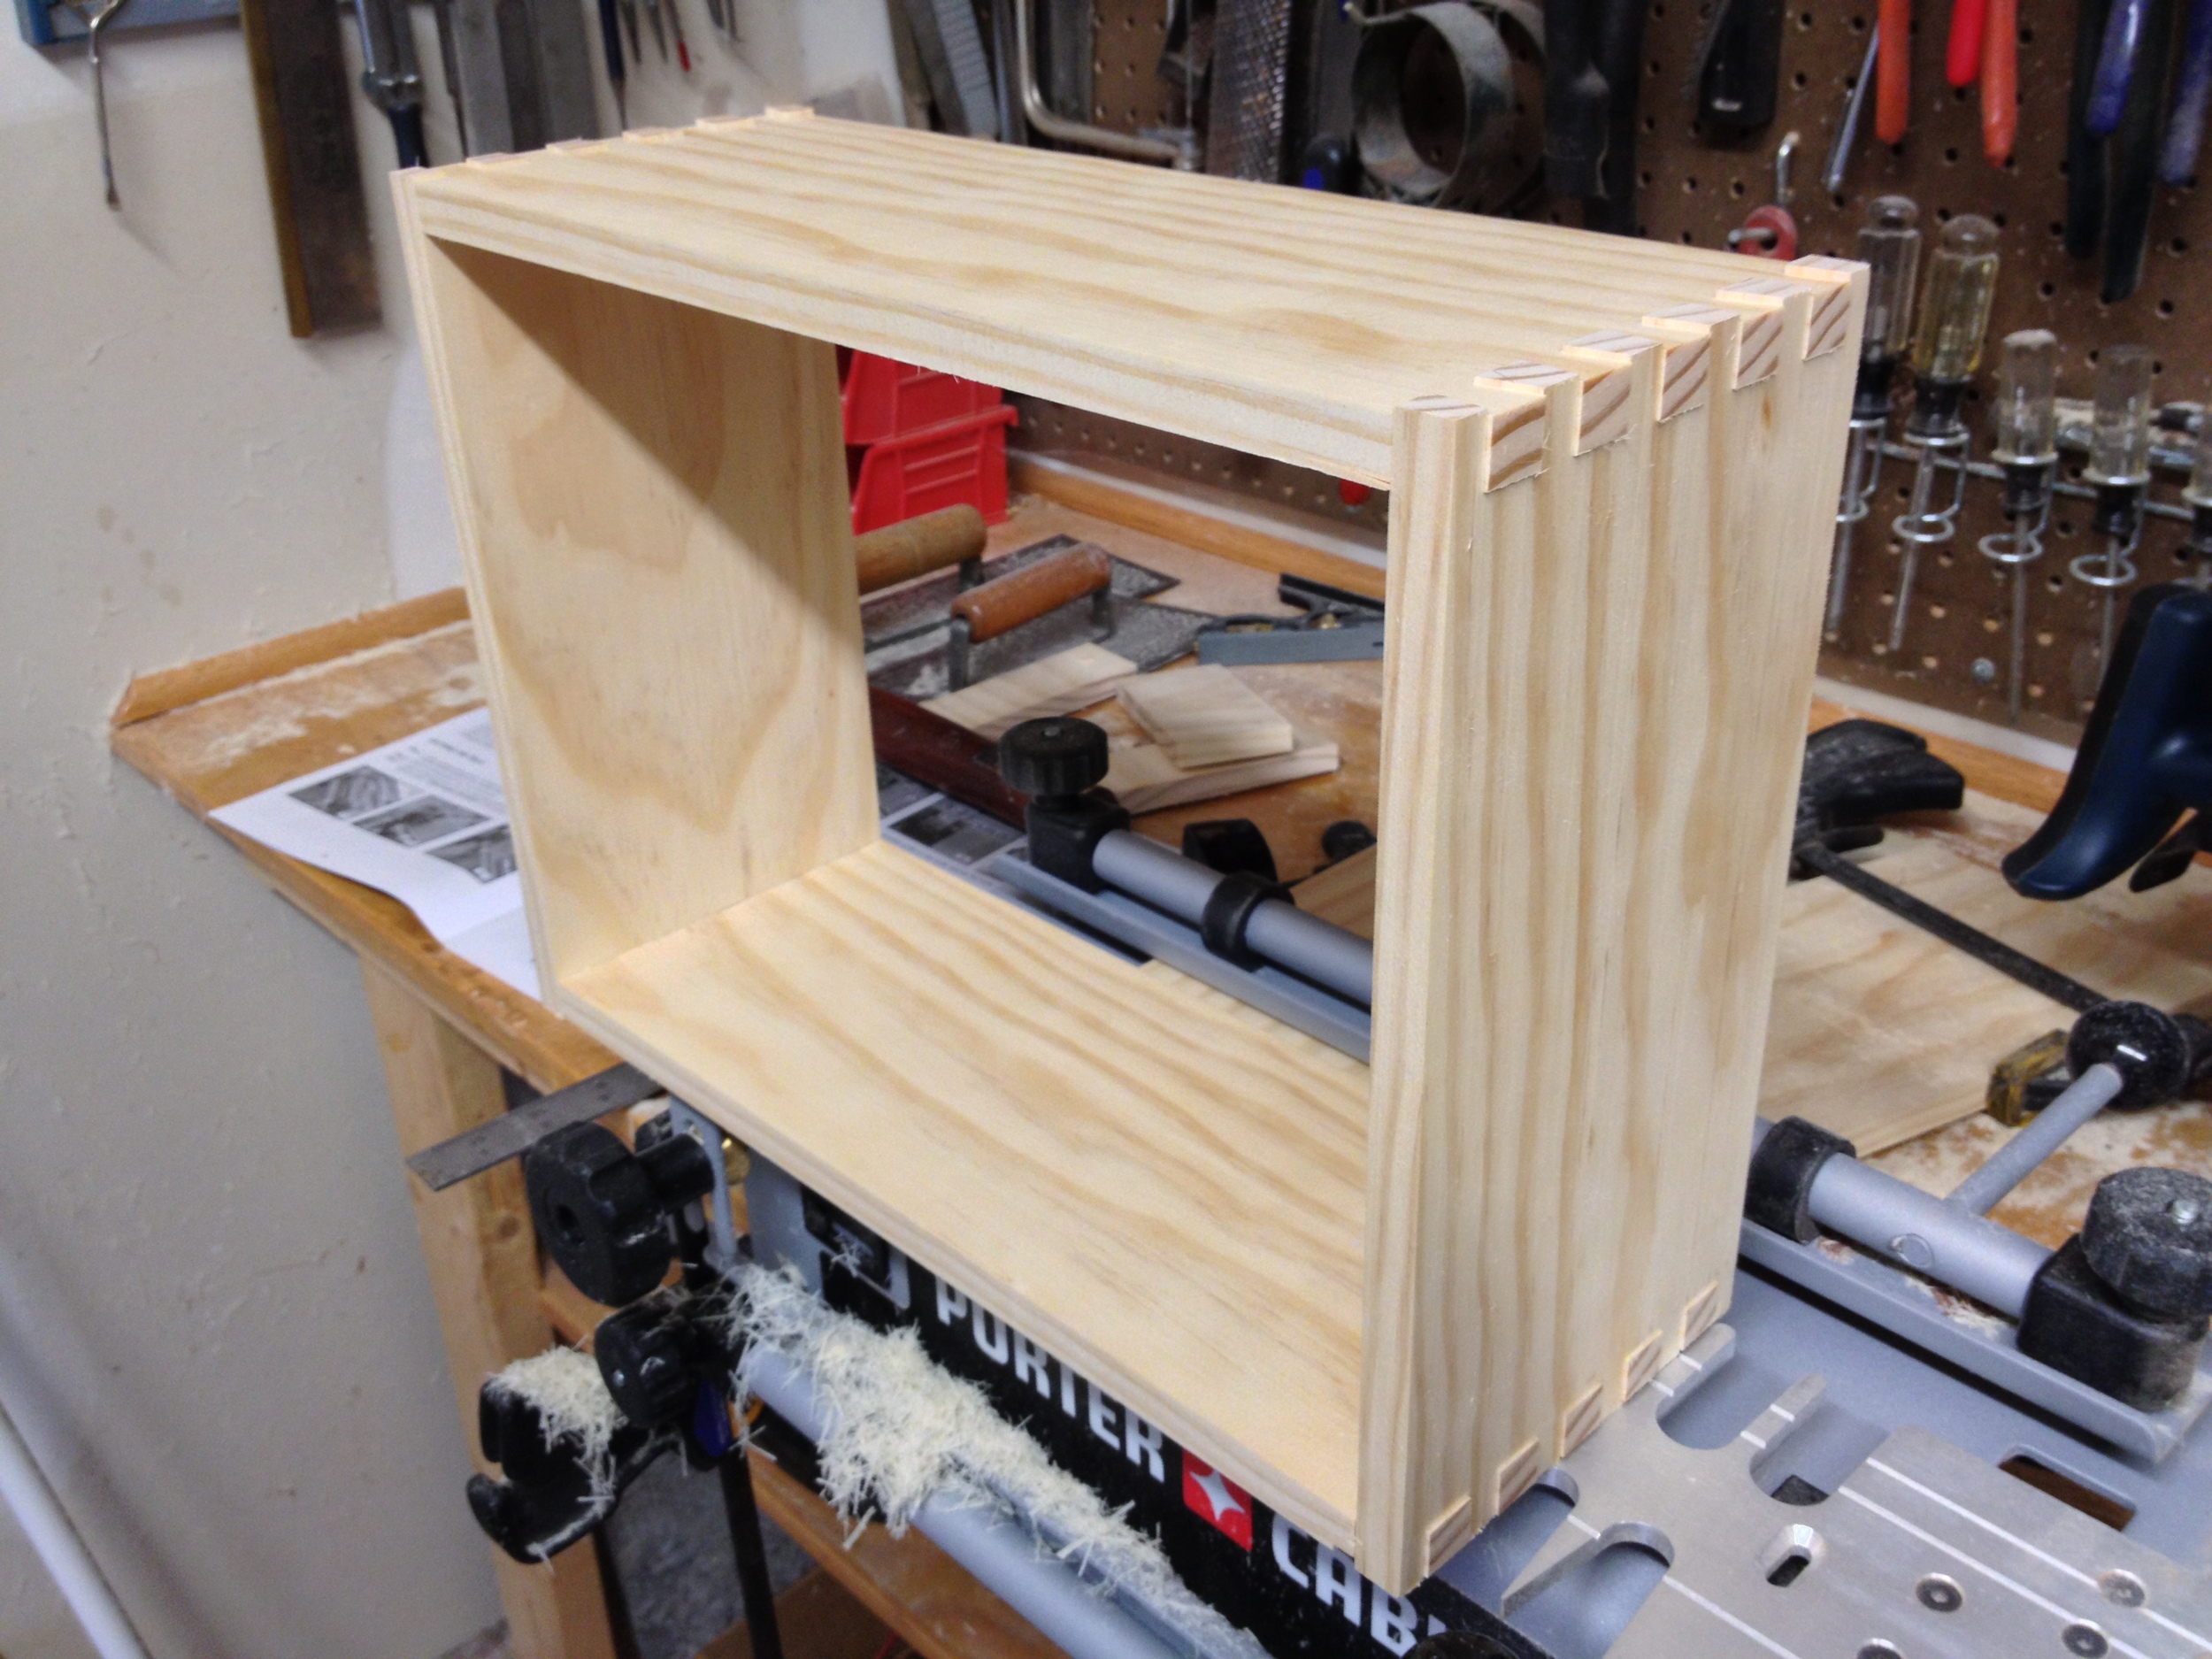

We also used select pine and planed the pieces of wood down to get the desired thickness and ensure the edges were at 90 degree angles from each other.
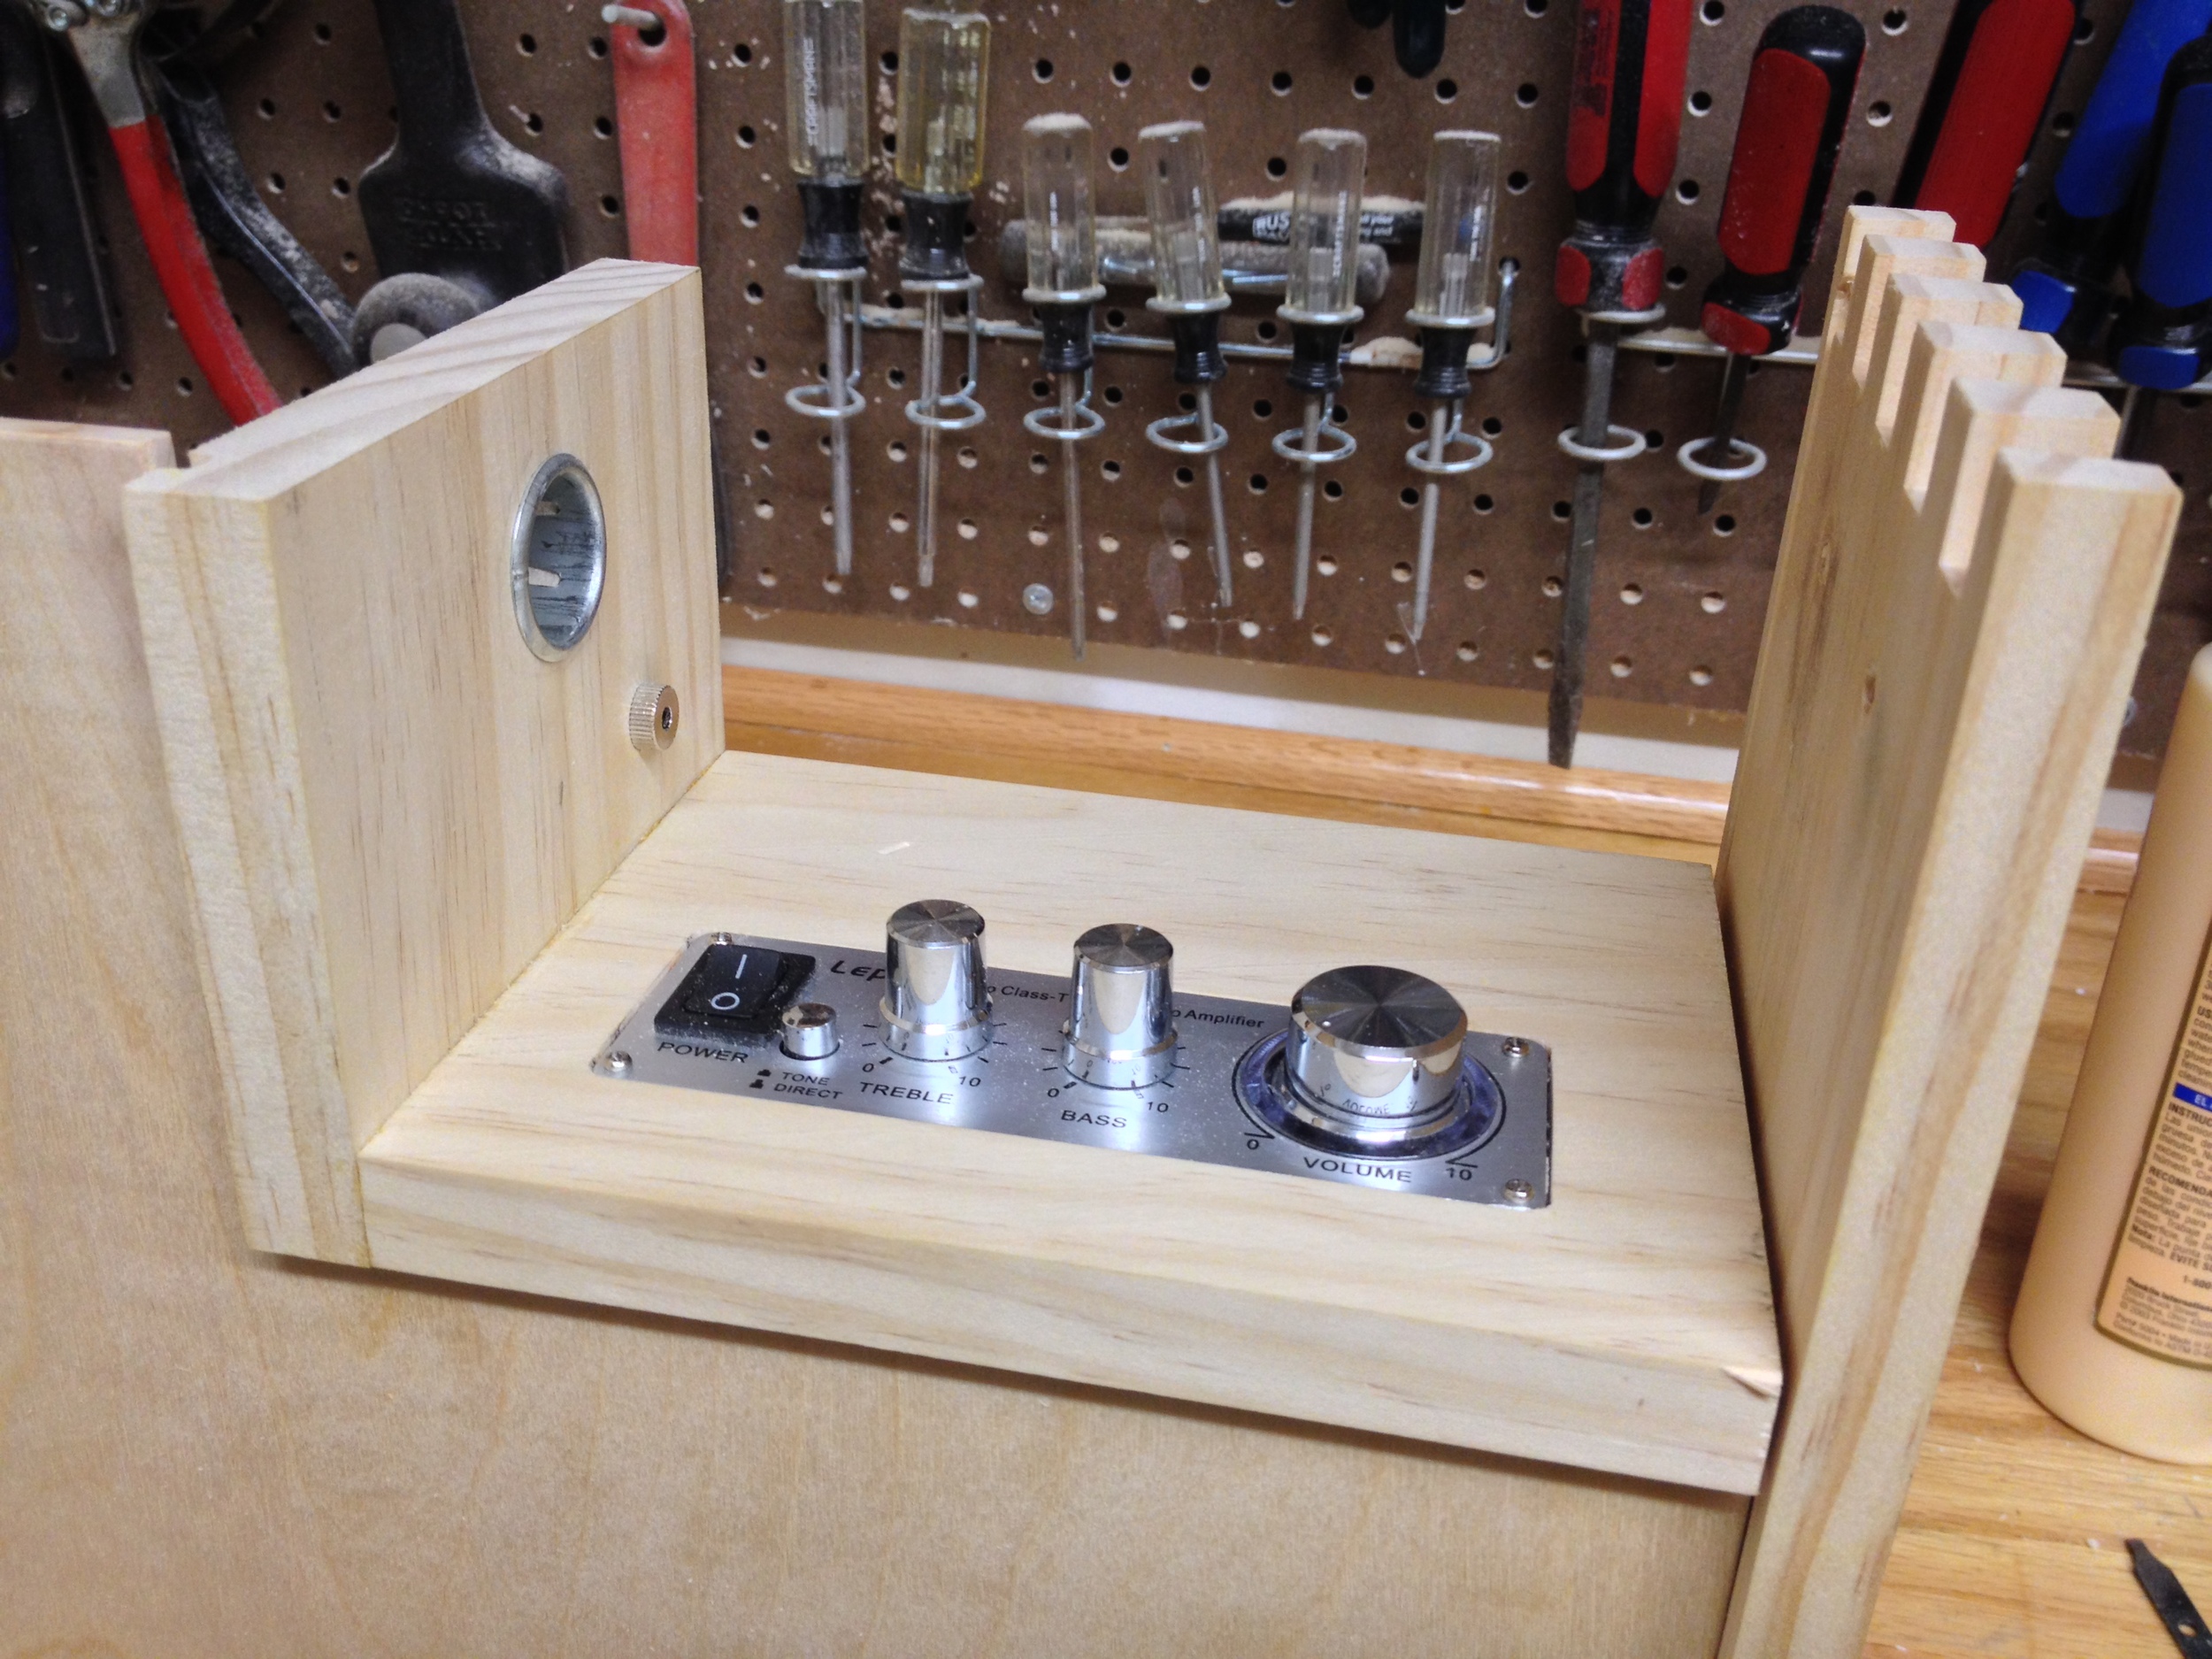
The sides are made out of 1/4" plywood, and we cut grooves for them to be inserted into so they didn't require any glue or screws. The pieces of pine used for the storage compartment are a little thicker to give room for this groove on the outside, and for rabetting for the door on the inside (though the rabetting has not been done yet in these pictures):
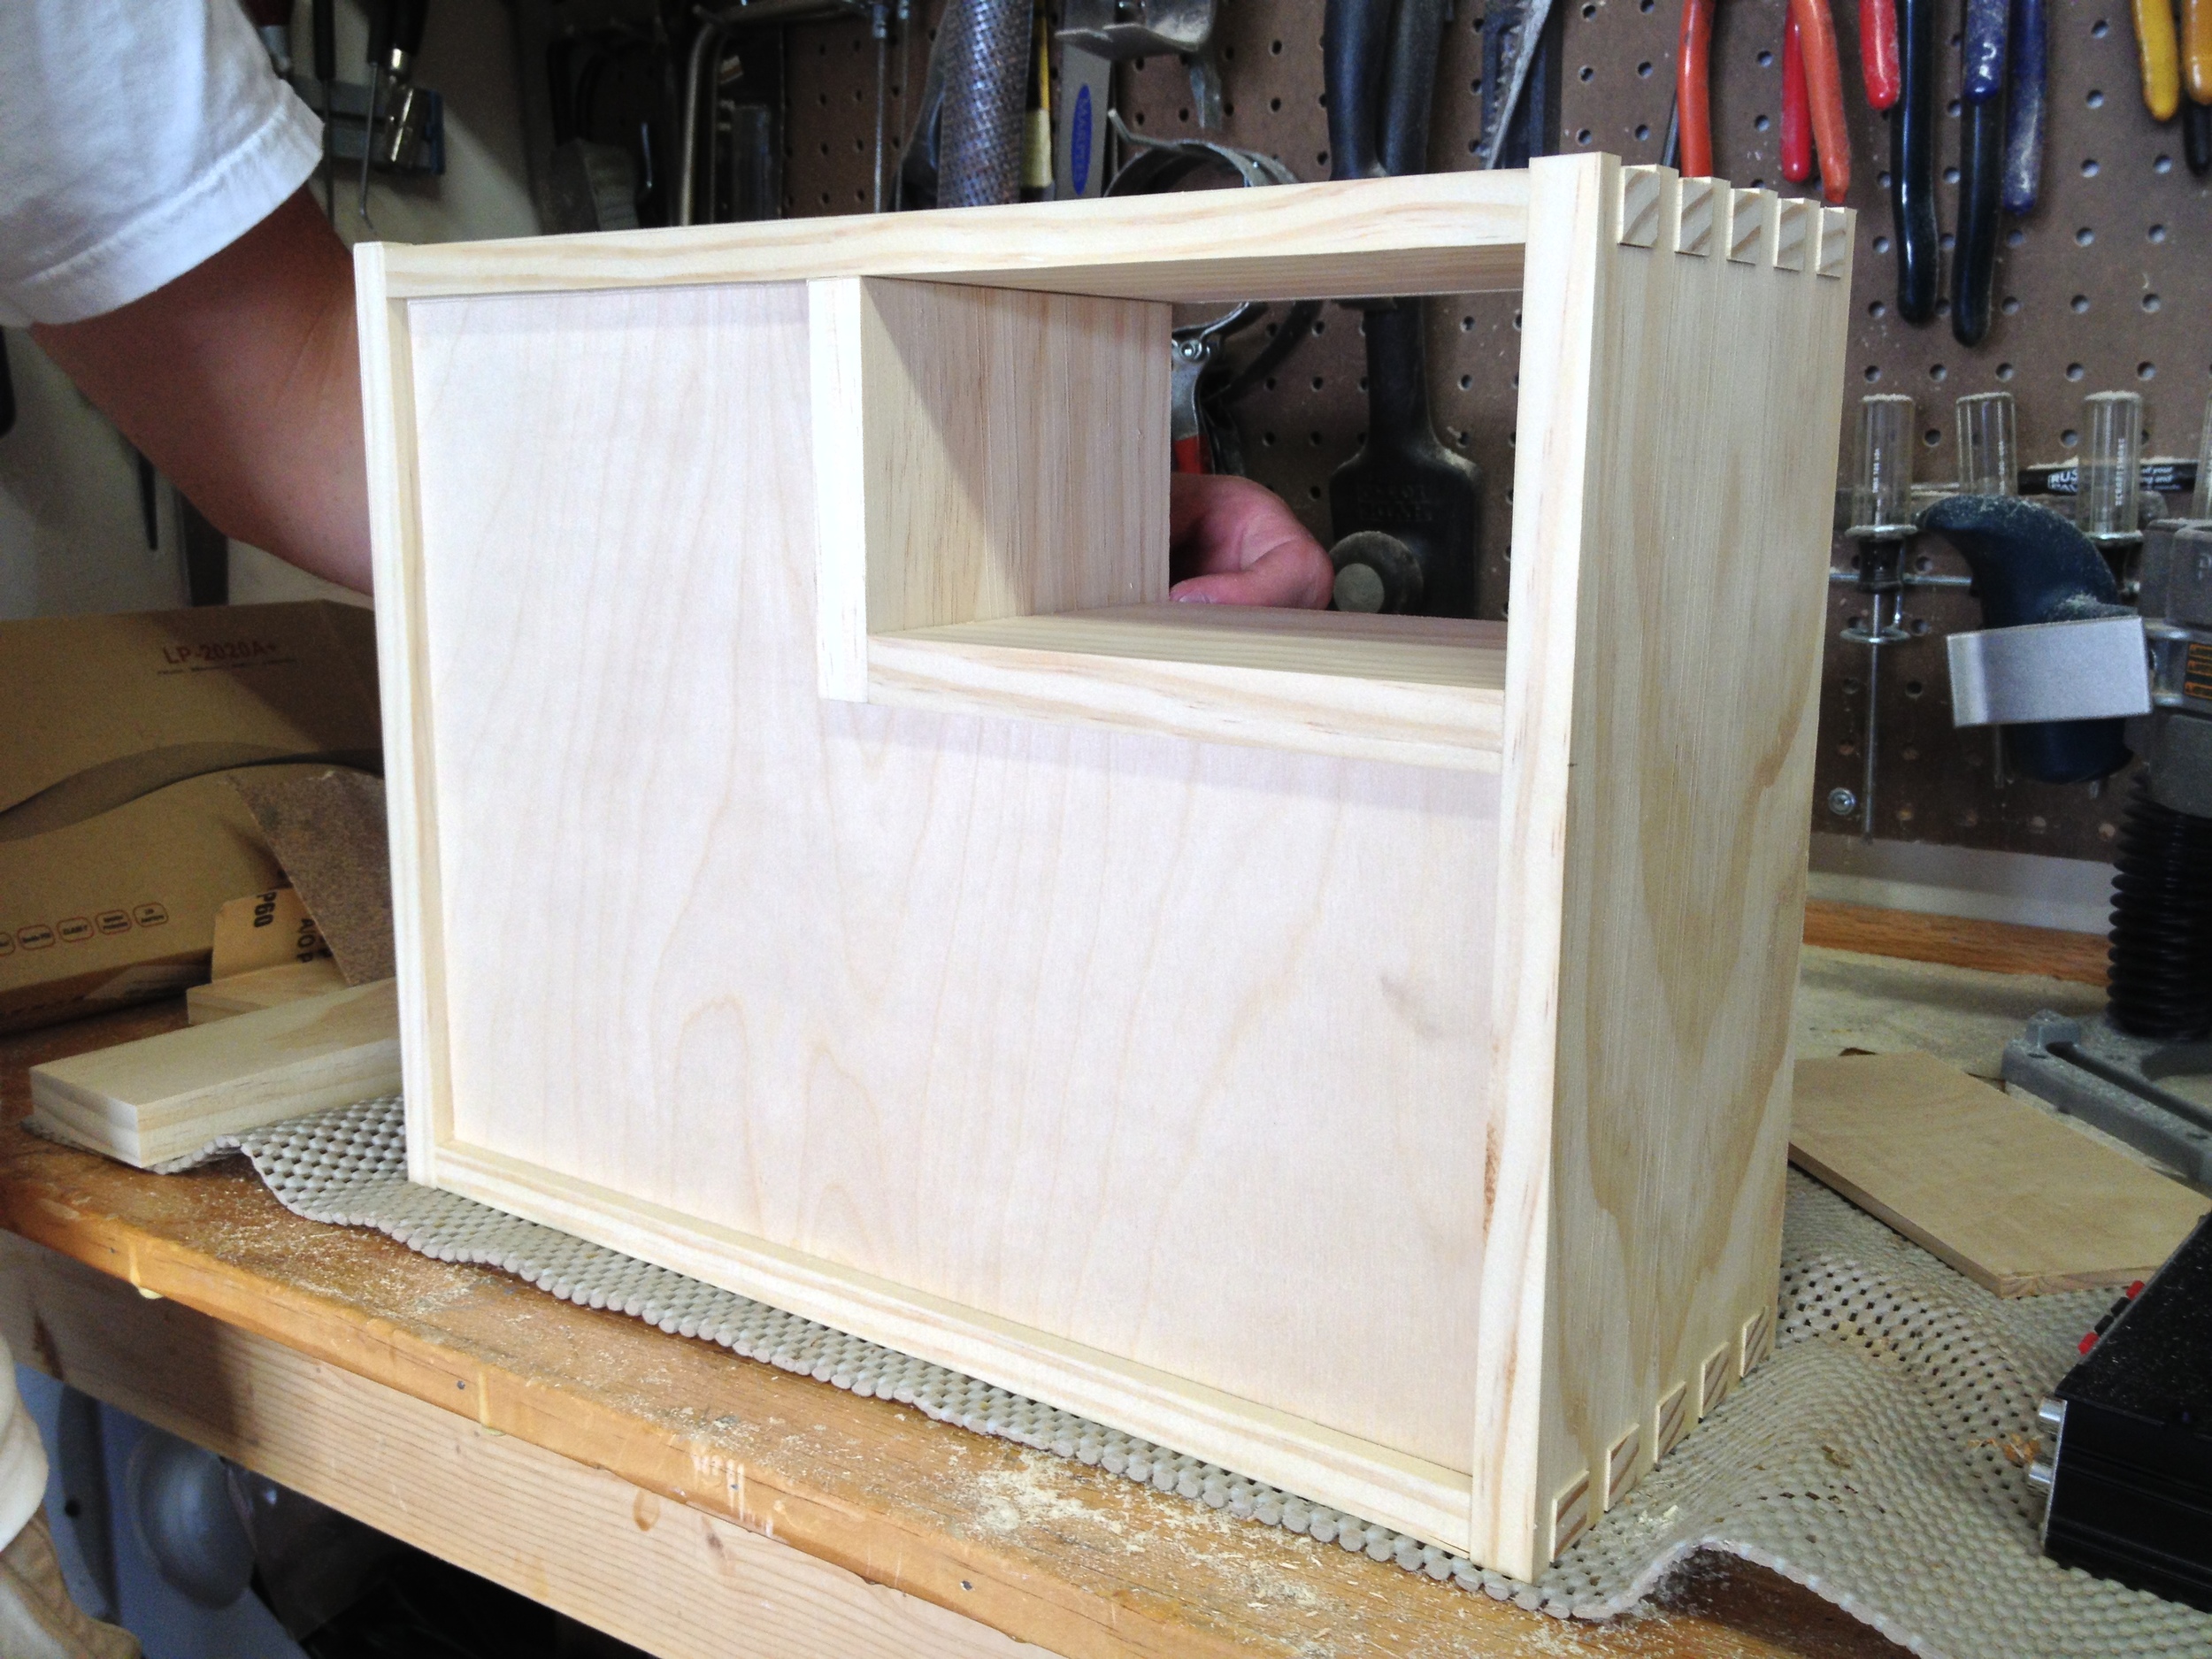
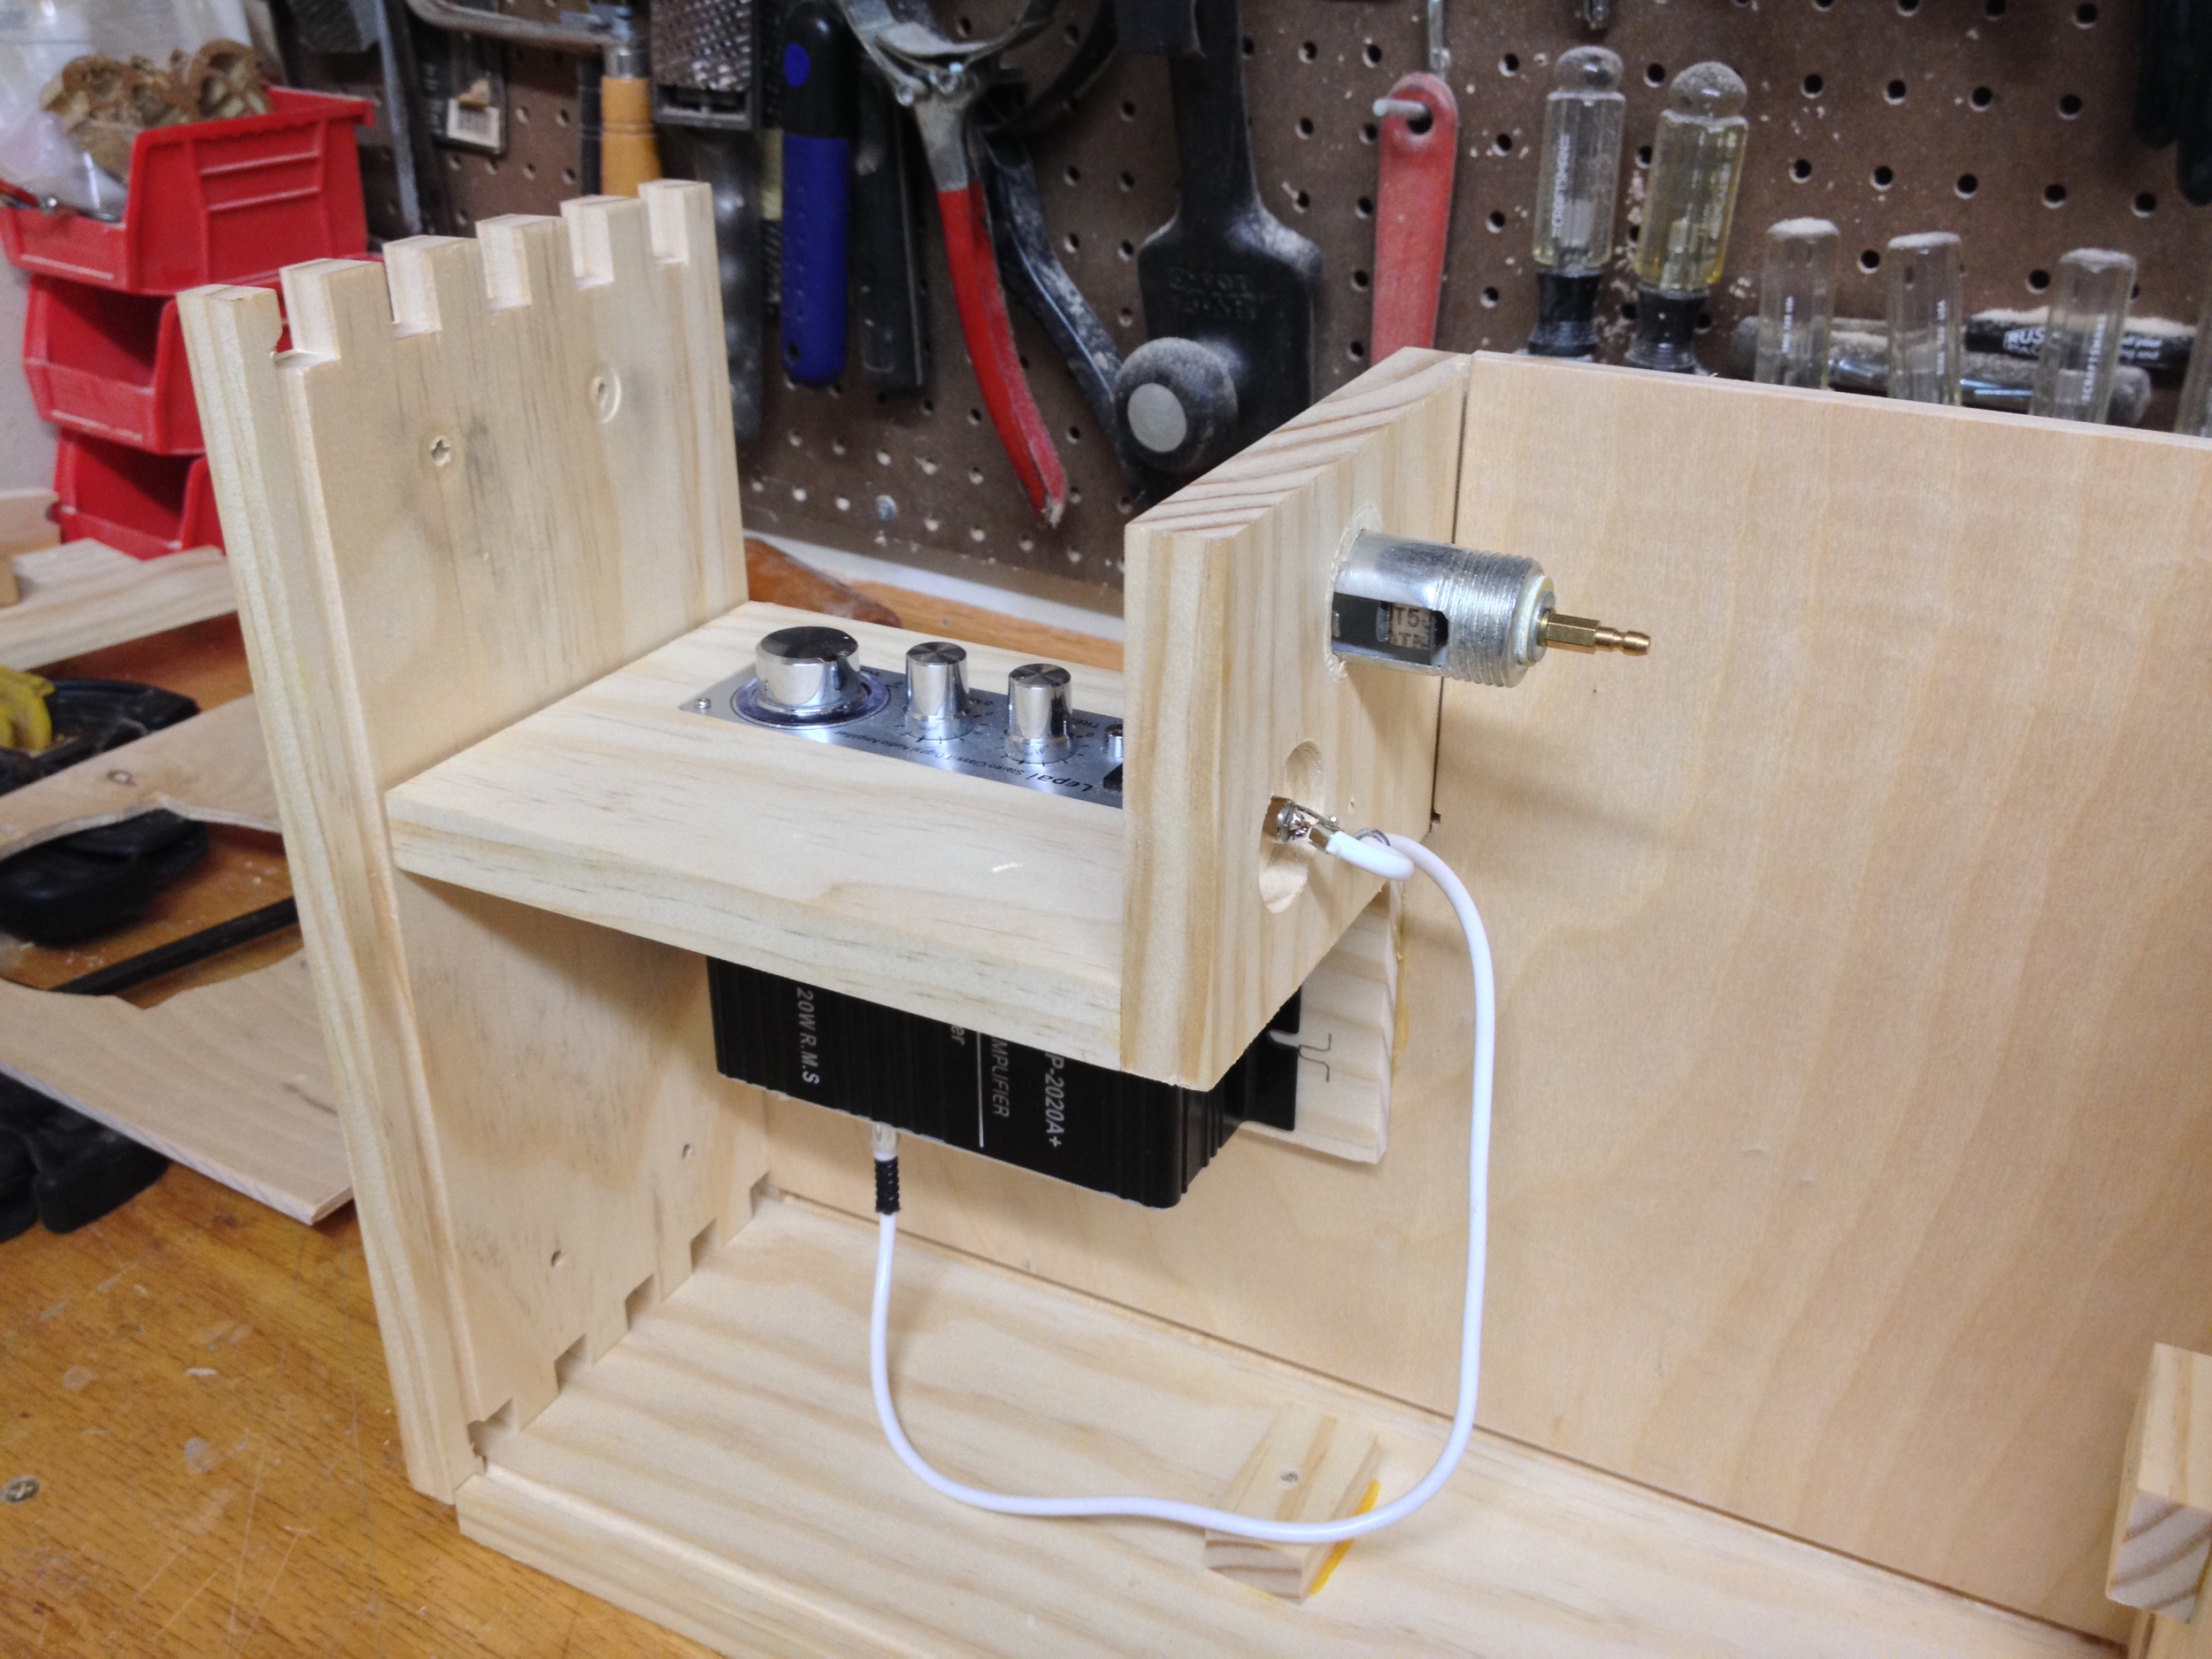
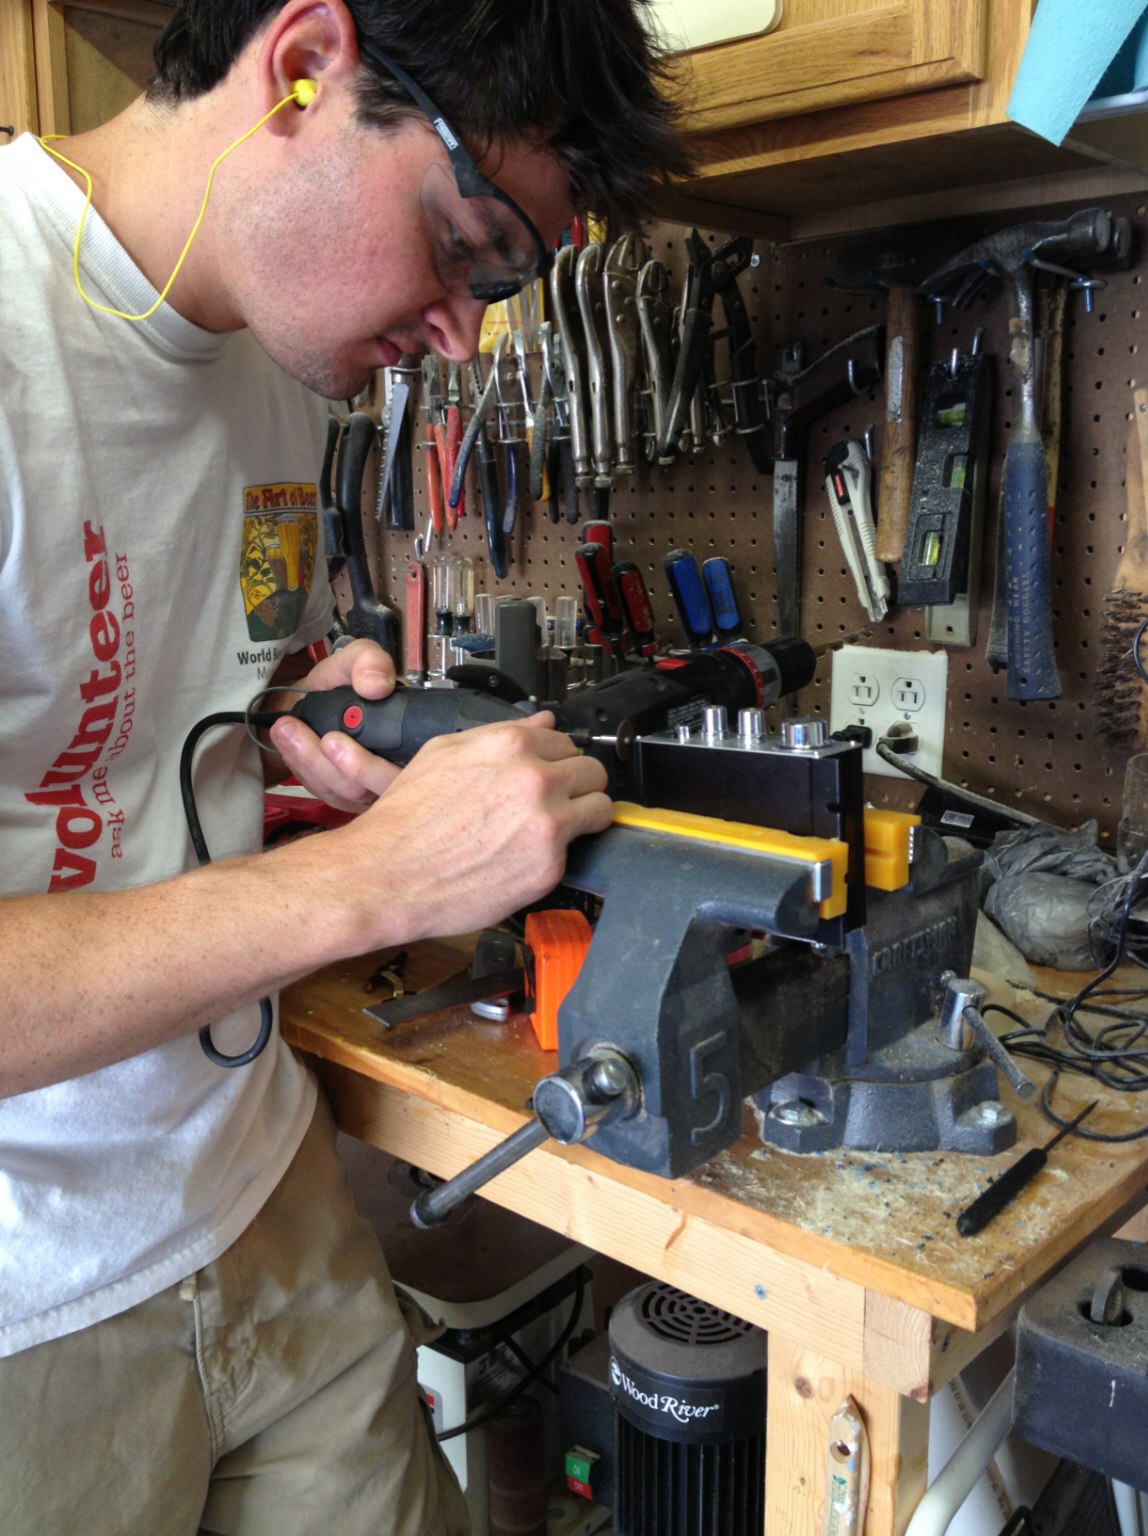
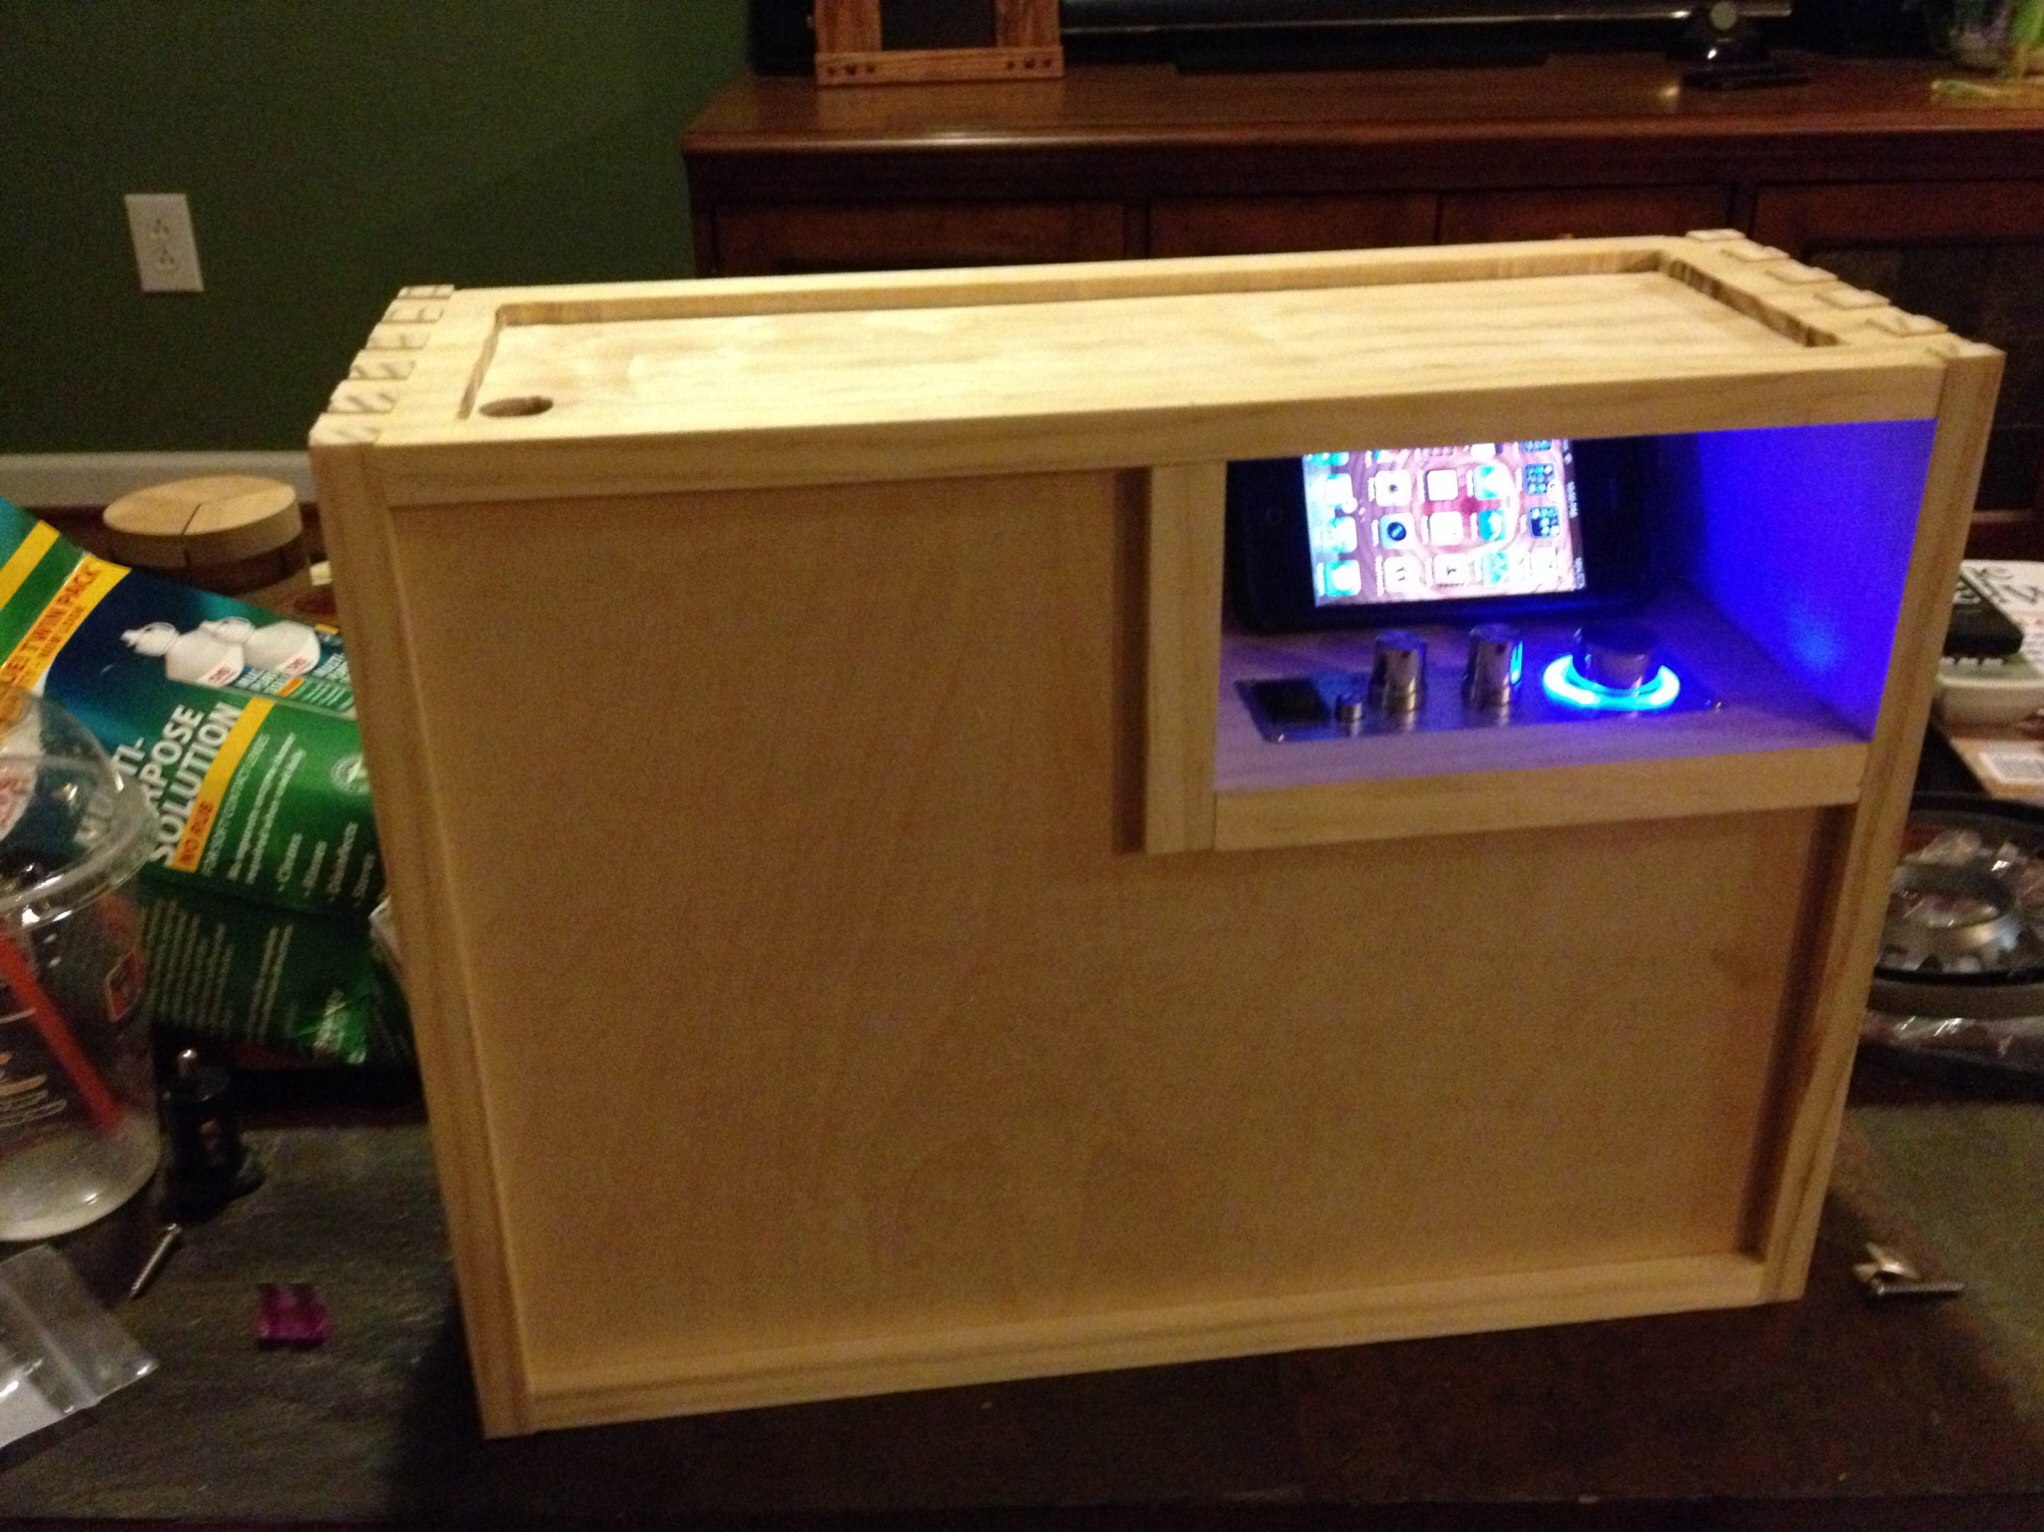
Inside the storage compartment, we cut a hole for the amplifier's controls to be accessible through, and also one for the cigarette lighter socket (for charging mp3 players, etc.), and one for the 1/4" stereo cable jack. The amplifier casing also had to be modified to fit better in the hole. We also used a biscuit joiner to make a stronger connection between the vertical and horizontal pieces of the storage compartment.
One major concern was that, since the battery is the majority of the weight, it needed to be firmly secured to the case to prevent it from moving around inside and bumping into other components. This also would allow the stereo to be carried in any orientation.
To accomplish this, we bent a wire to the form of the battery, and attached it with screws to some wood blocks which were in turn glued to the inside of the case. There's some extra room to allow the battery to be taken out and put back in, and some pieces of wood used as removable shims to make it secure.
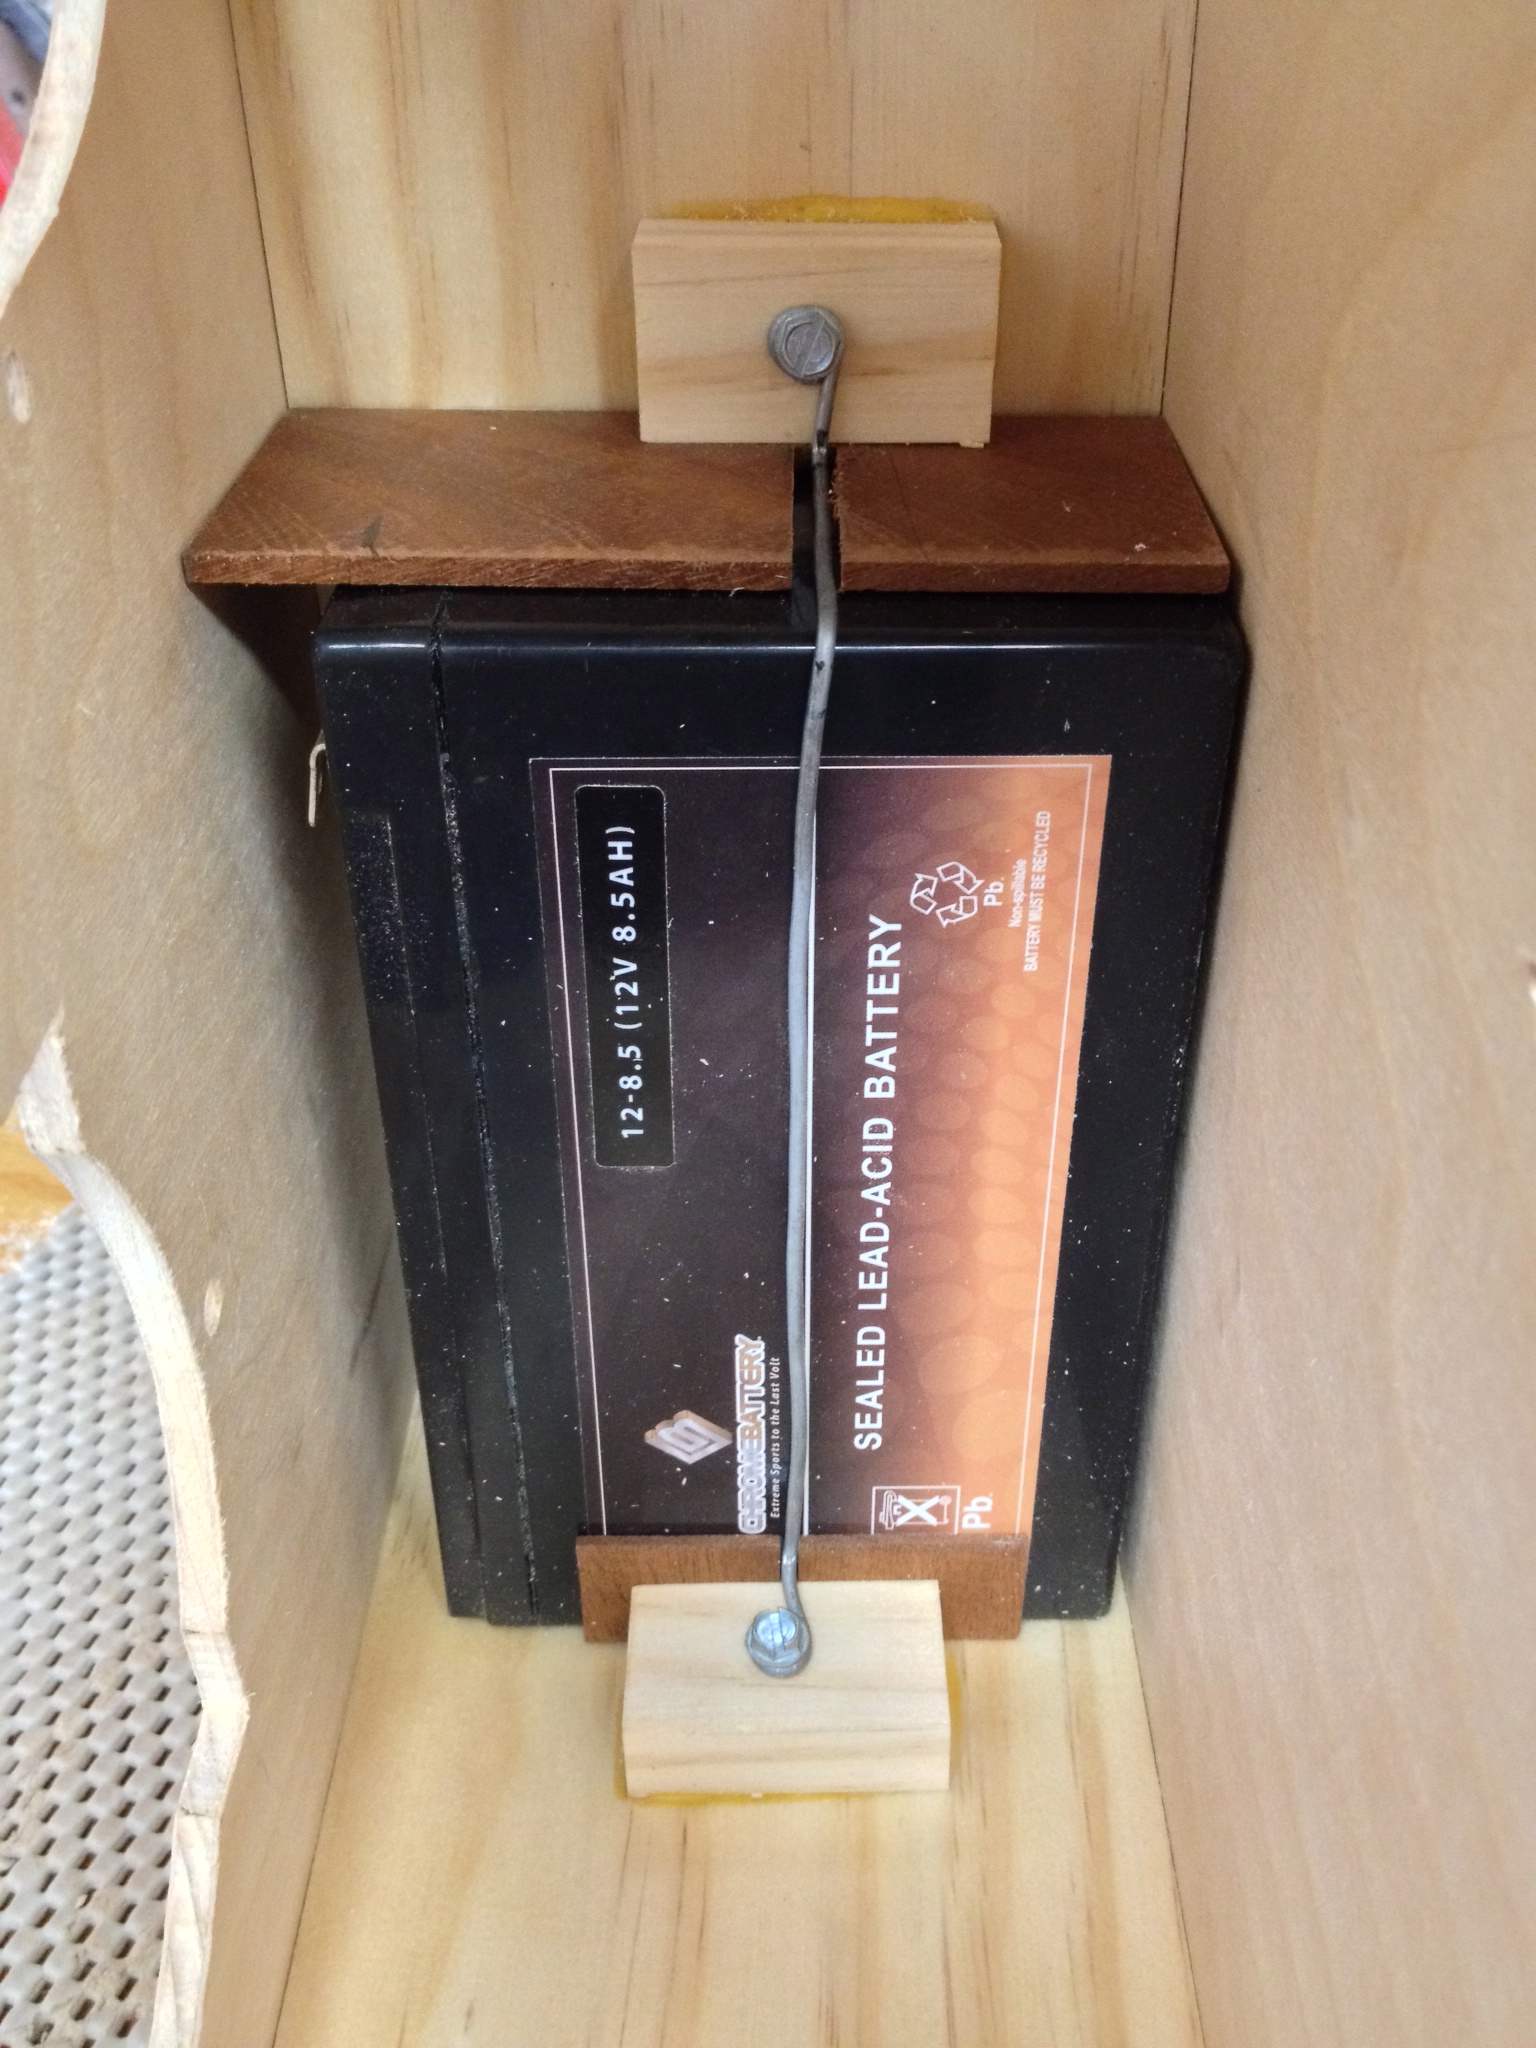
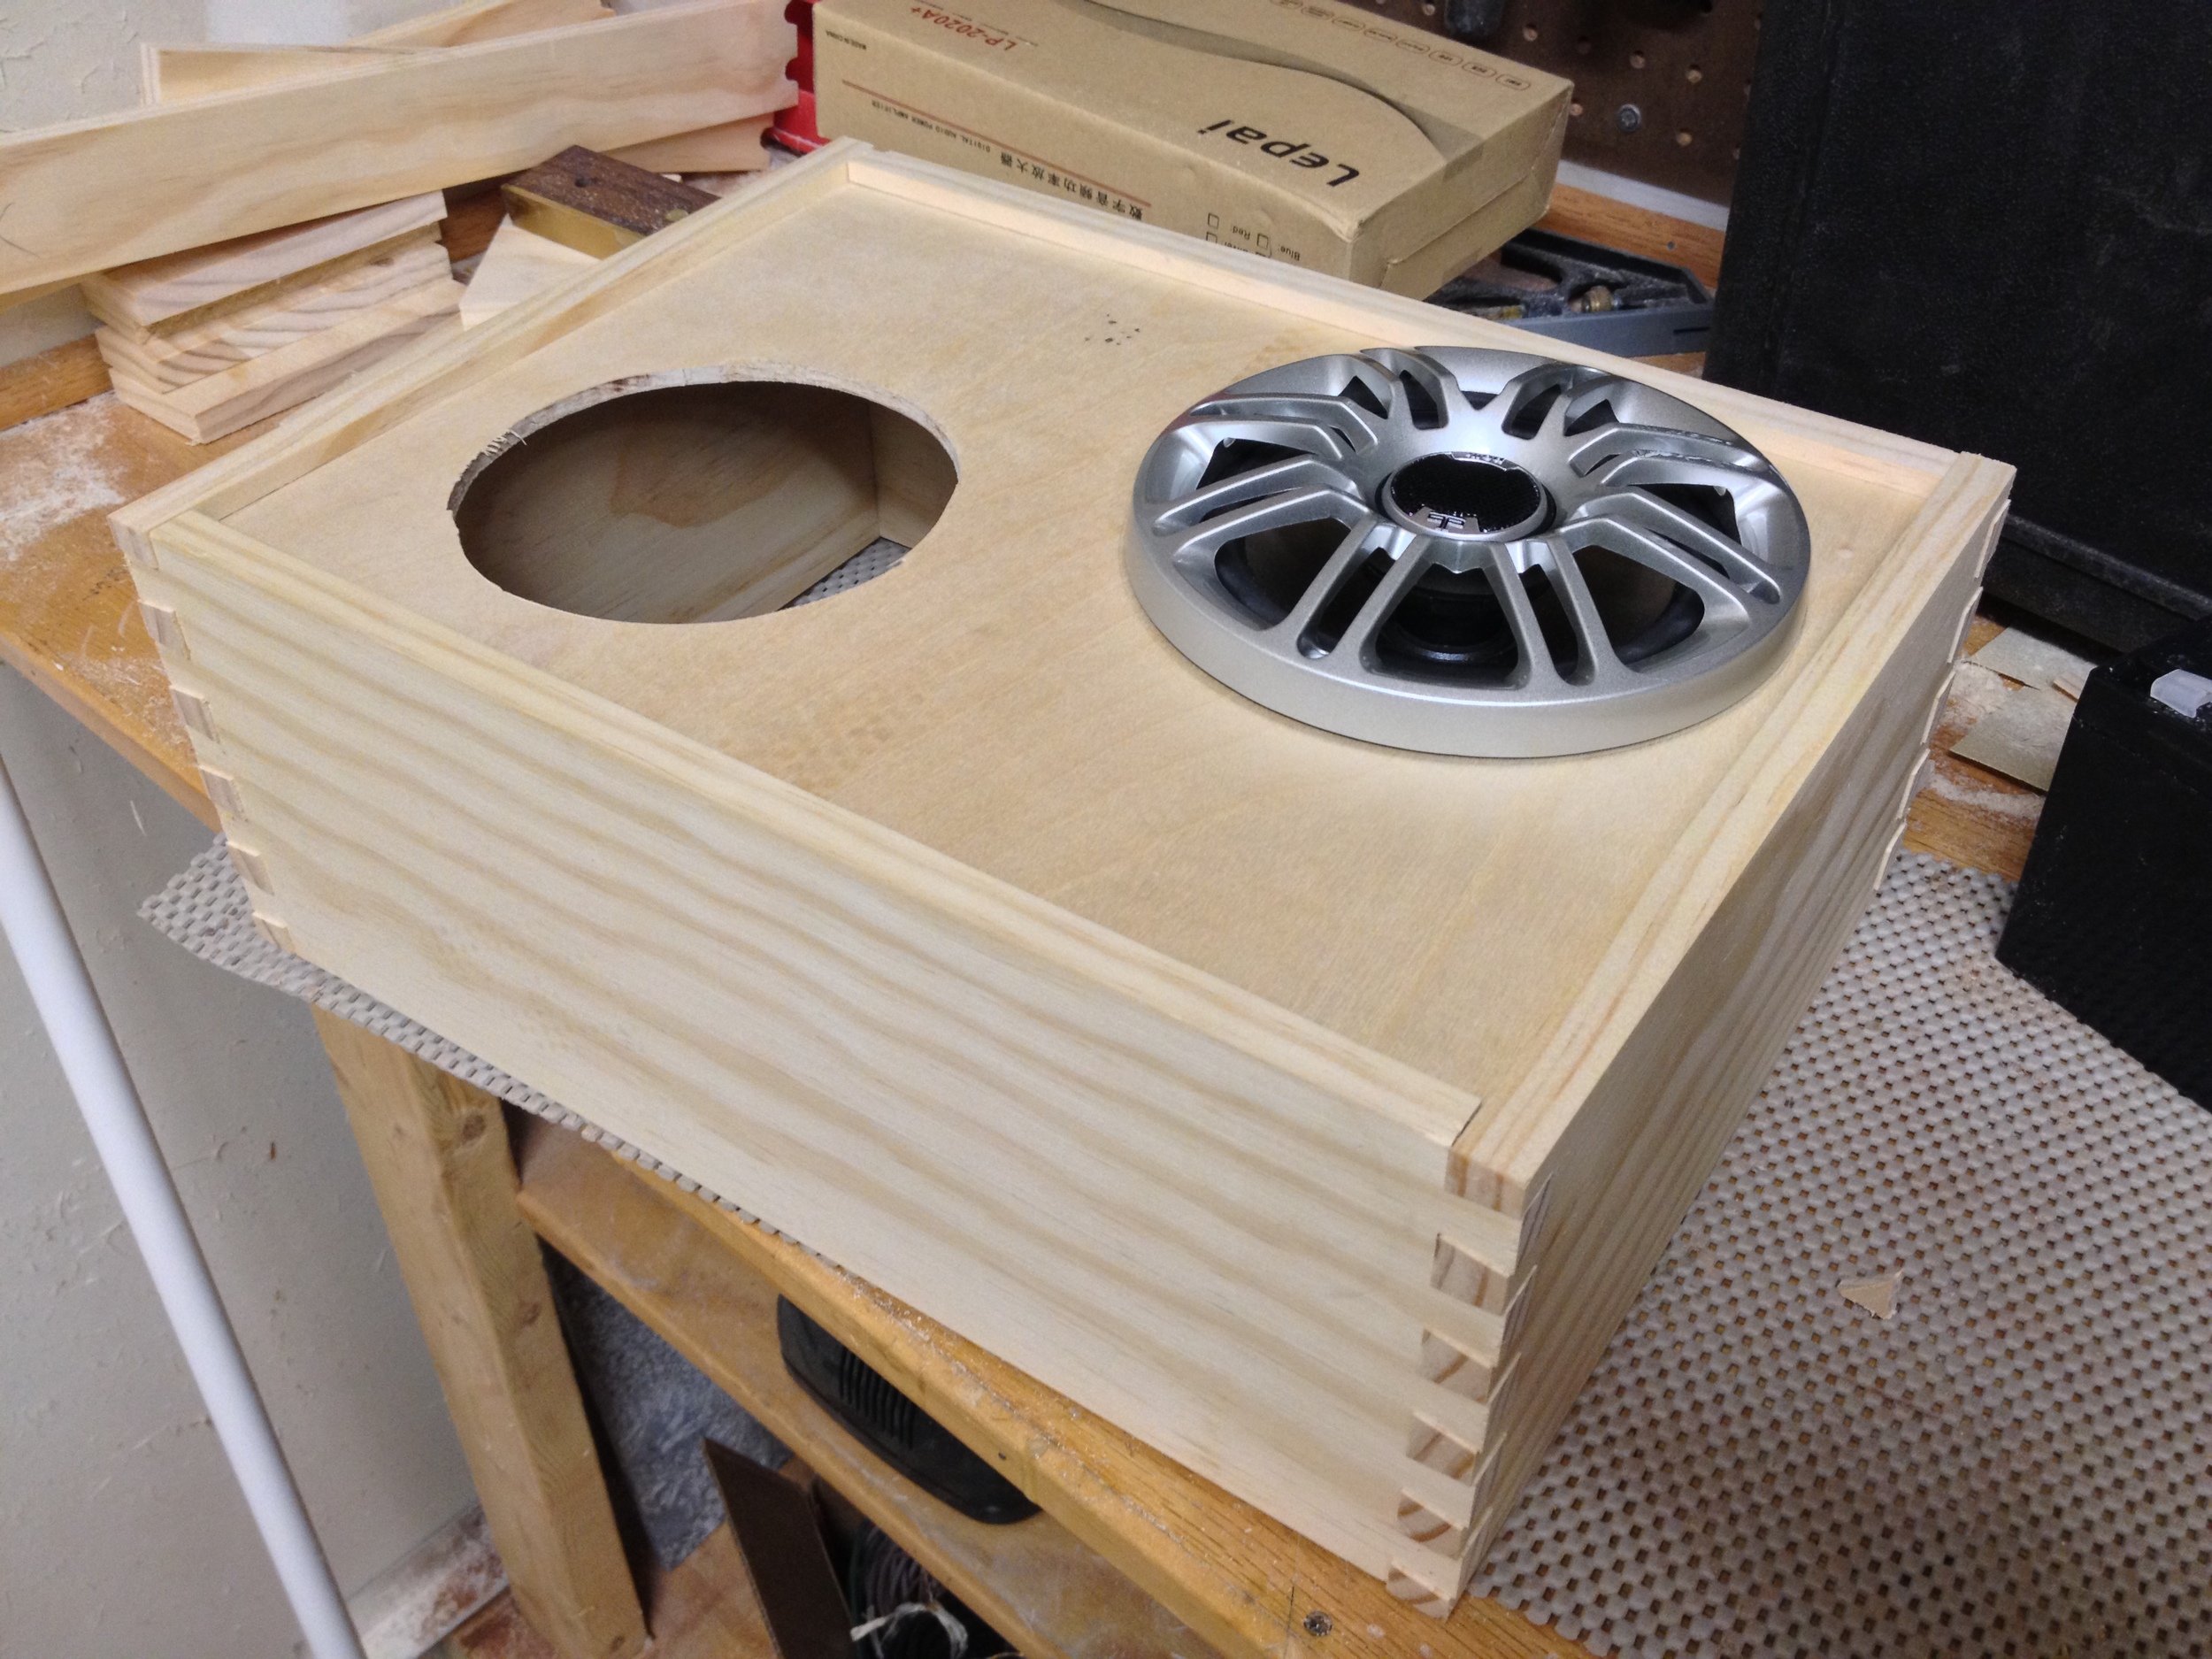
You can also see in that picture that the speaker hole above where the battery sits has square corners cut into it. This was because we decided to make the back panel not removable to simplify the design, but still needed a way to get the battery in and out. The speaker hole was not quite big enough for the battery to fit in at the angle it needed to in order to go inside the case. but with the corners cut, it fit in nicely. It's a little bit of an ordeal getting the battery in and out, but hopefully it's not something that will be done very often.
The next step was to put everything together for a test of the sound. You can also see the recessed area in the top where the solar panel will go.
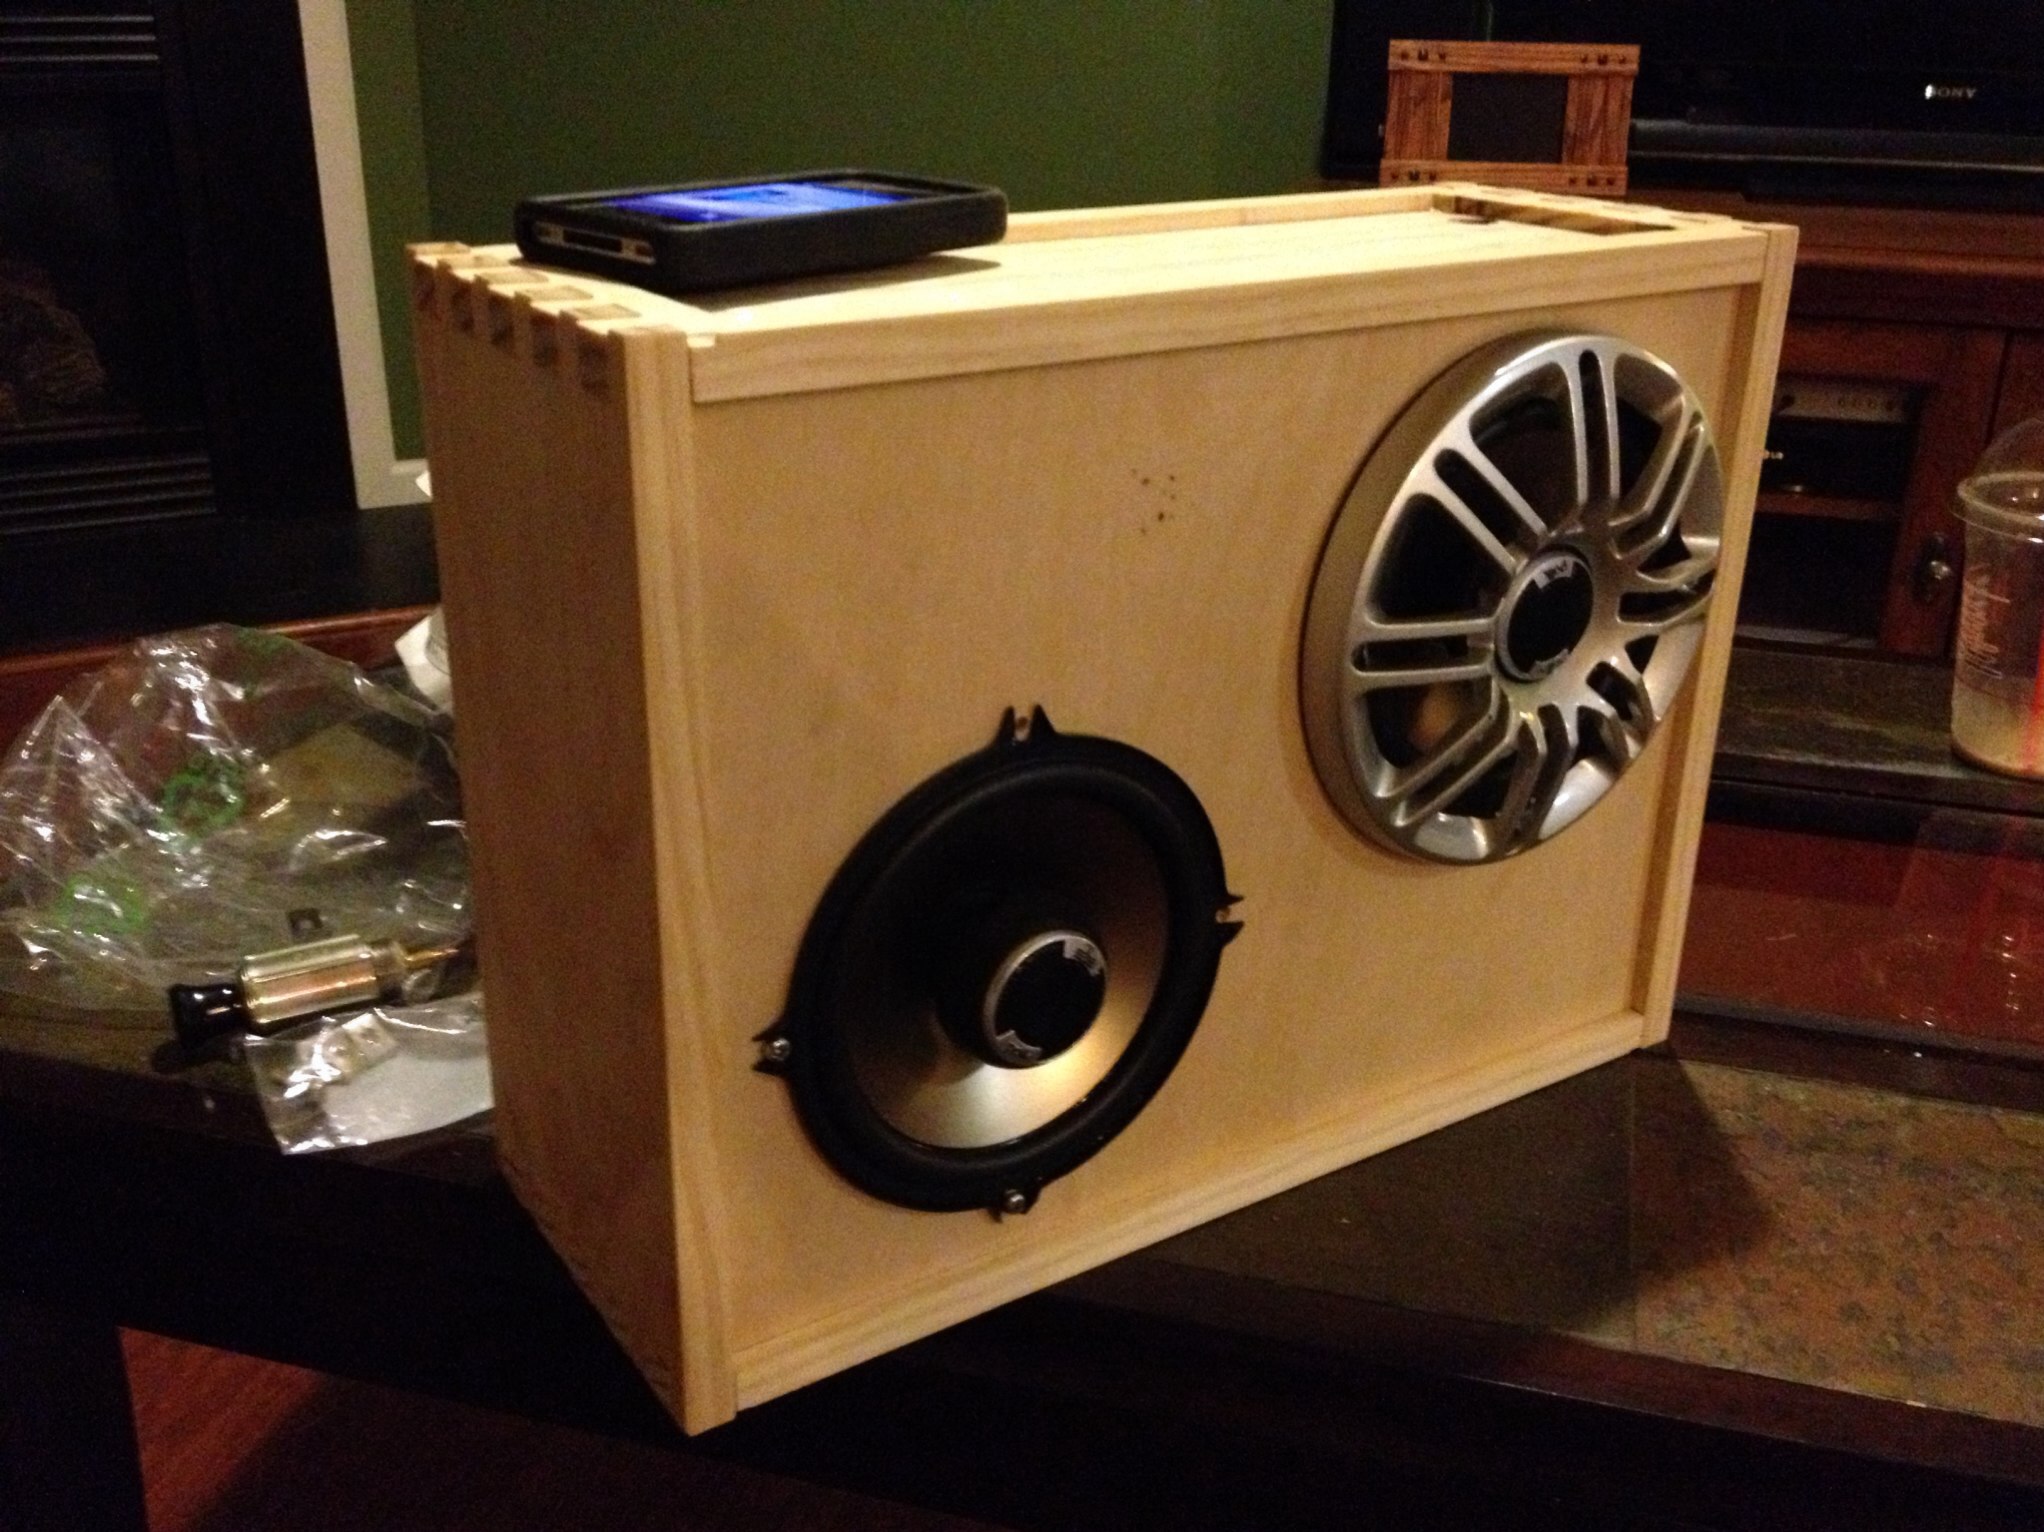
Everything worked fine, though I don't think this makes the best speaker box. For the size/power of the speakers, I don't think there's enough volume inside the box for it to be sealed like it is, and it might sound a lot better with a port hole cut to allow air to flow out. I don't really know much about speaker box design, but I do know that adding a hole would mean it would be really easy for dirt or sand to get in if I took it to the beach, and it would really reduce the water resistance.
So there might be some conflicting goals here (small size and portability and resistance to water/the elements, versus the best sound possible), but I think this is probably the right set of compromises for the intended outdoor use of this device.
The next step was to glue everything together. It required a lot of clamps.
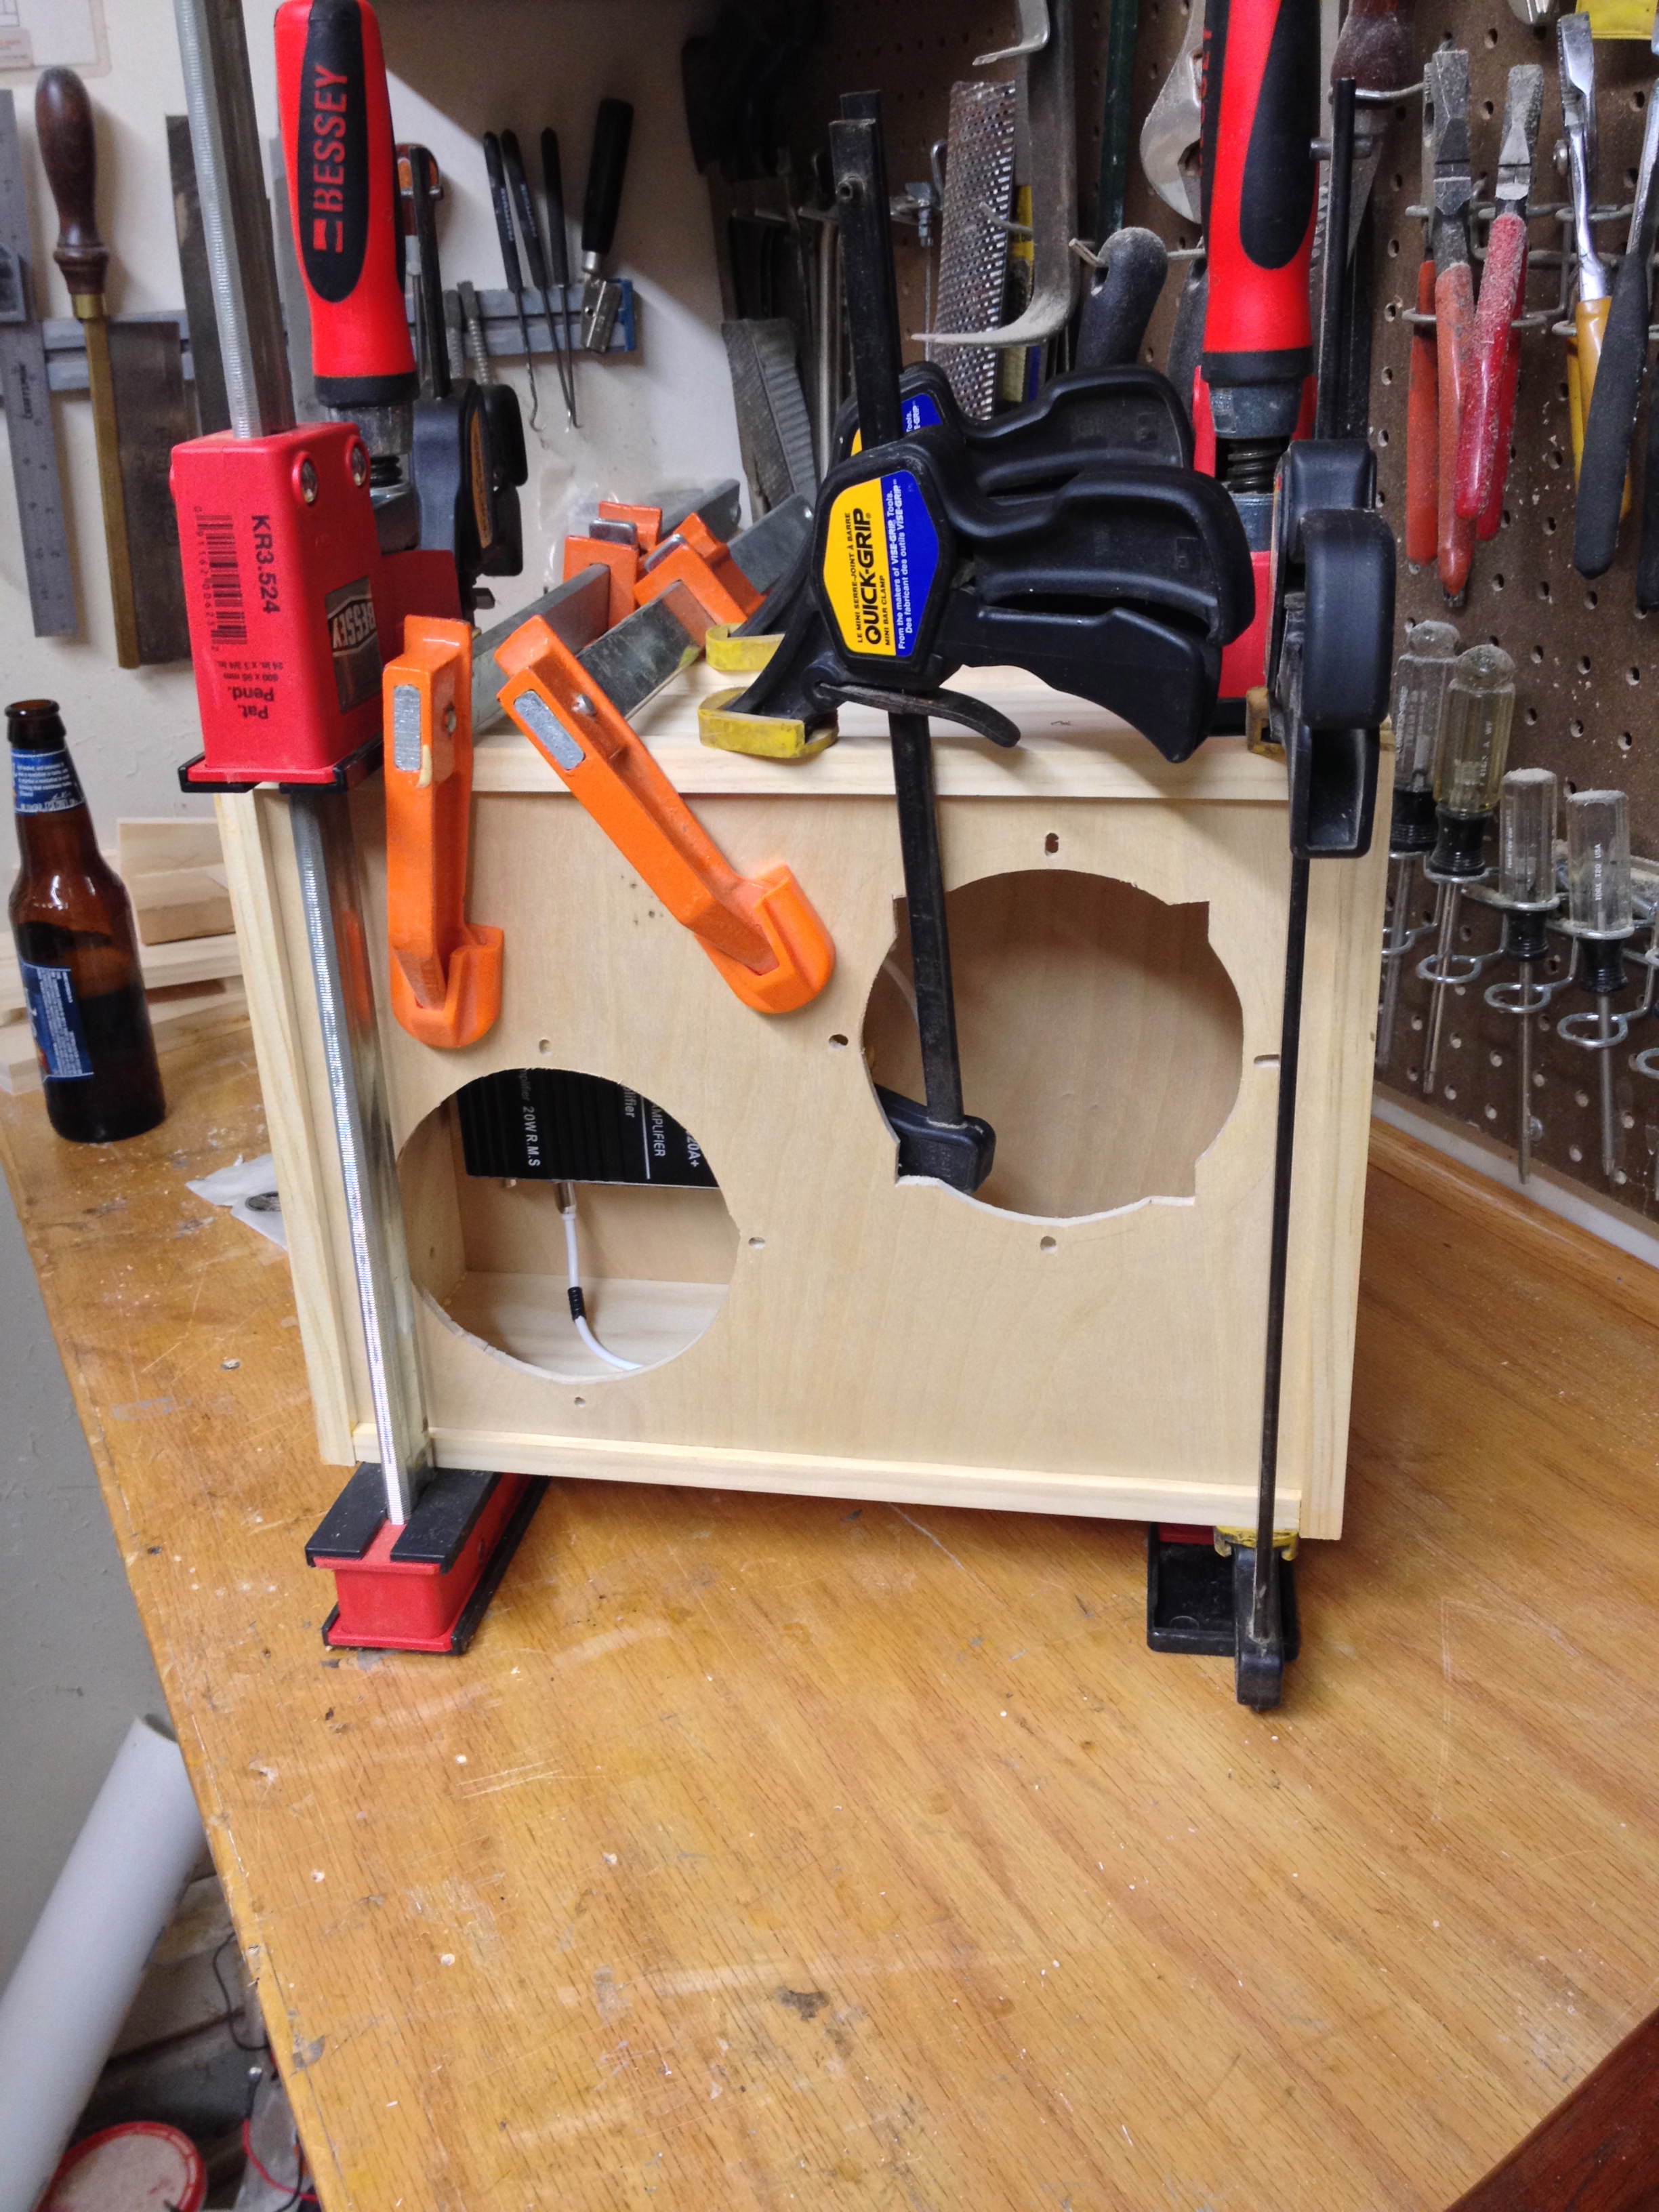
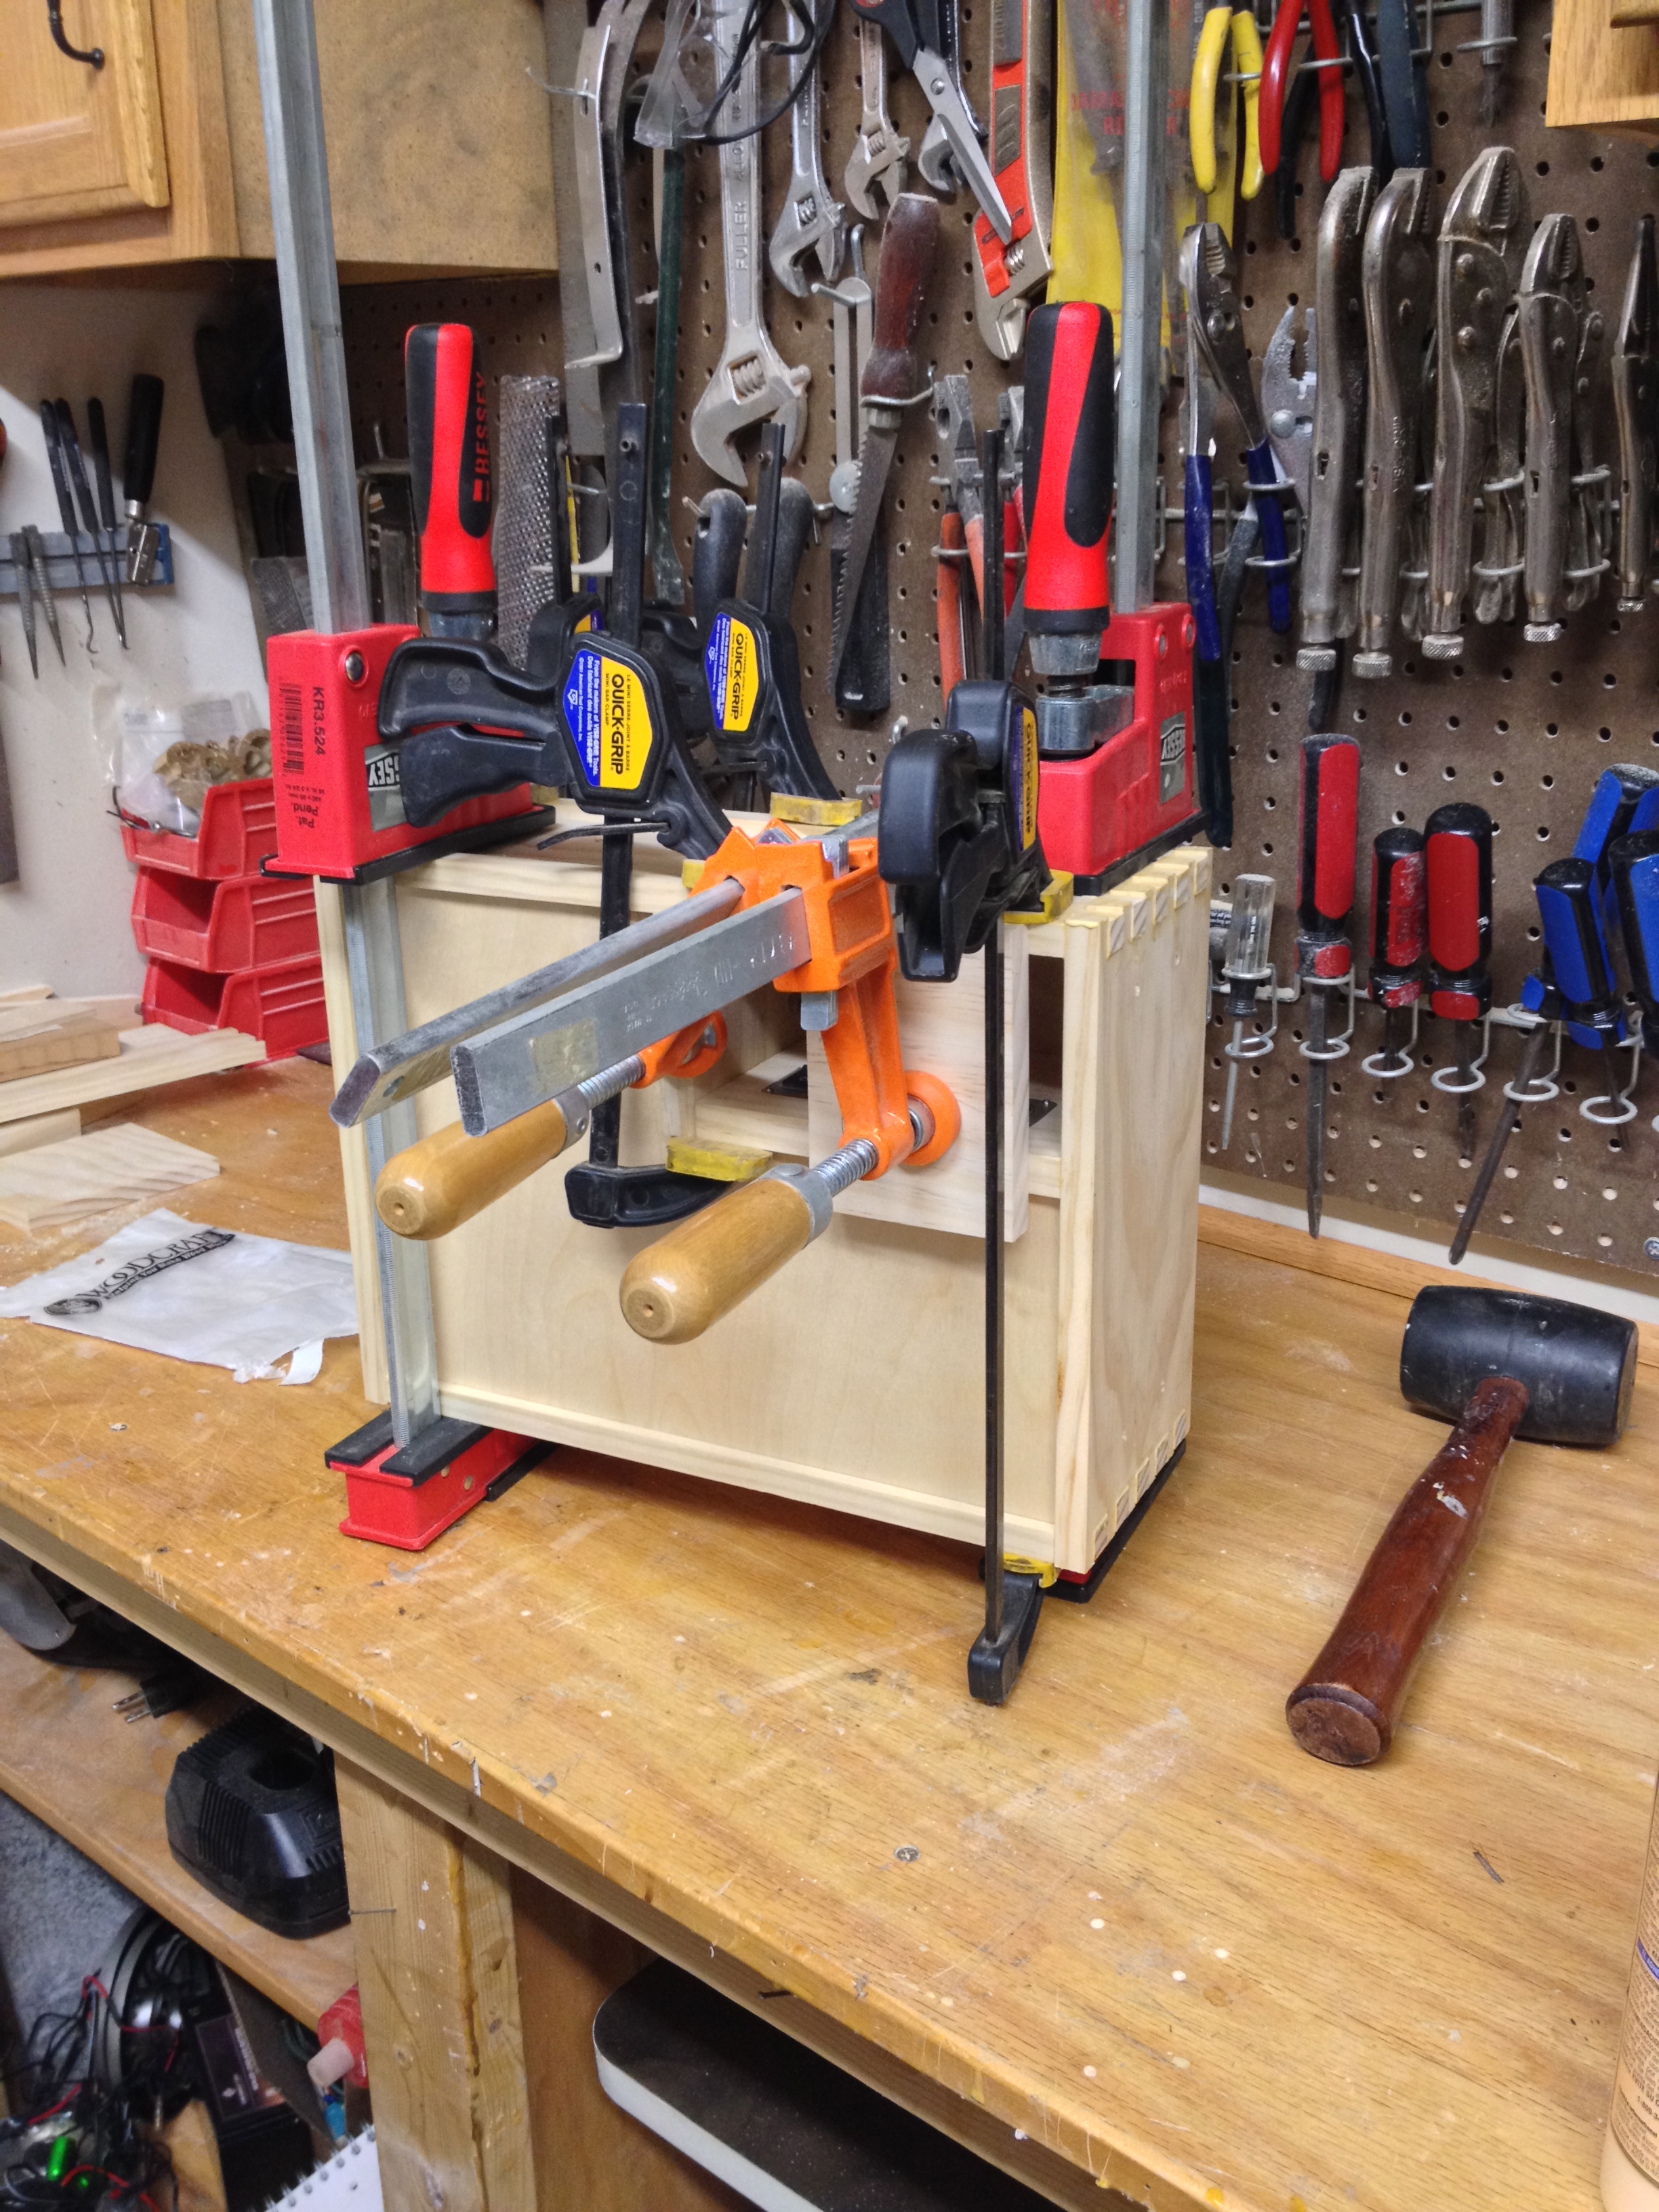
Next, there's a lot of sanding and staining to do, plus adding a door for the storage compartment and a housing for the solar panel, and lots of other finishing work.
Previous posts about the Solar-Powered Stereo project:
Charging the Battery From a Wall Socket
Power indicator LED, voltage gauge
Solar-Powered Stereo (test build)
Solar-Powered Stereo (casing and schematics)