We finished the Solar Powered Stereo this week, I think it came out really well.

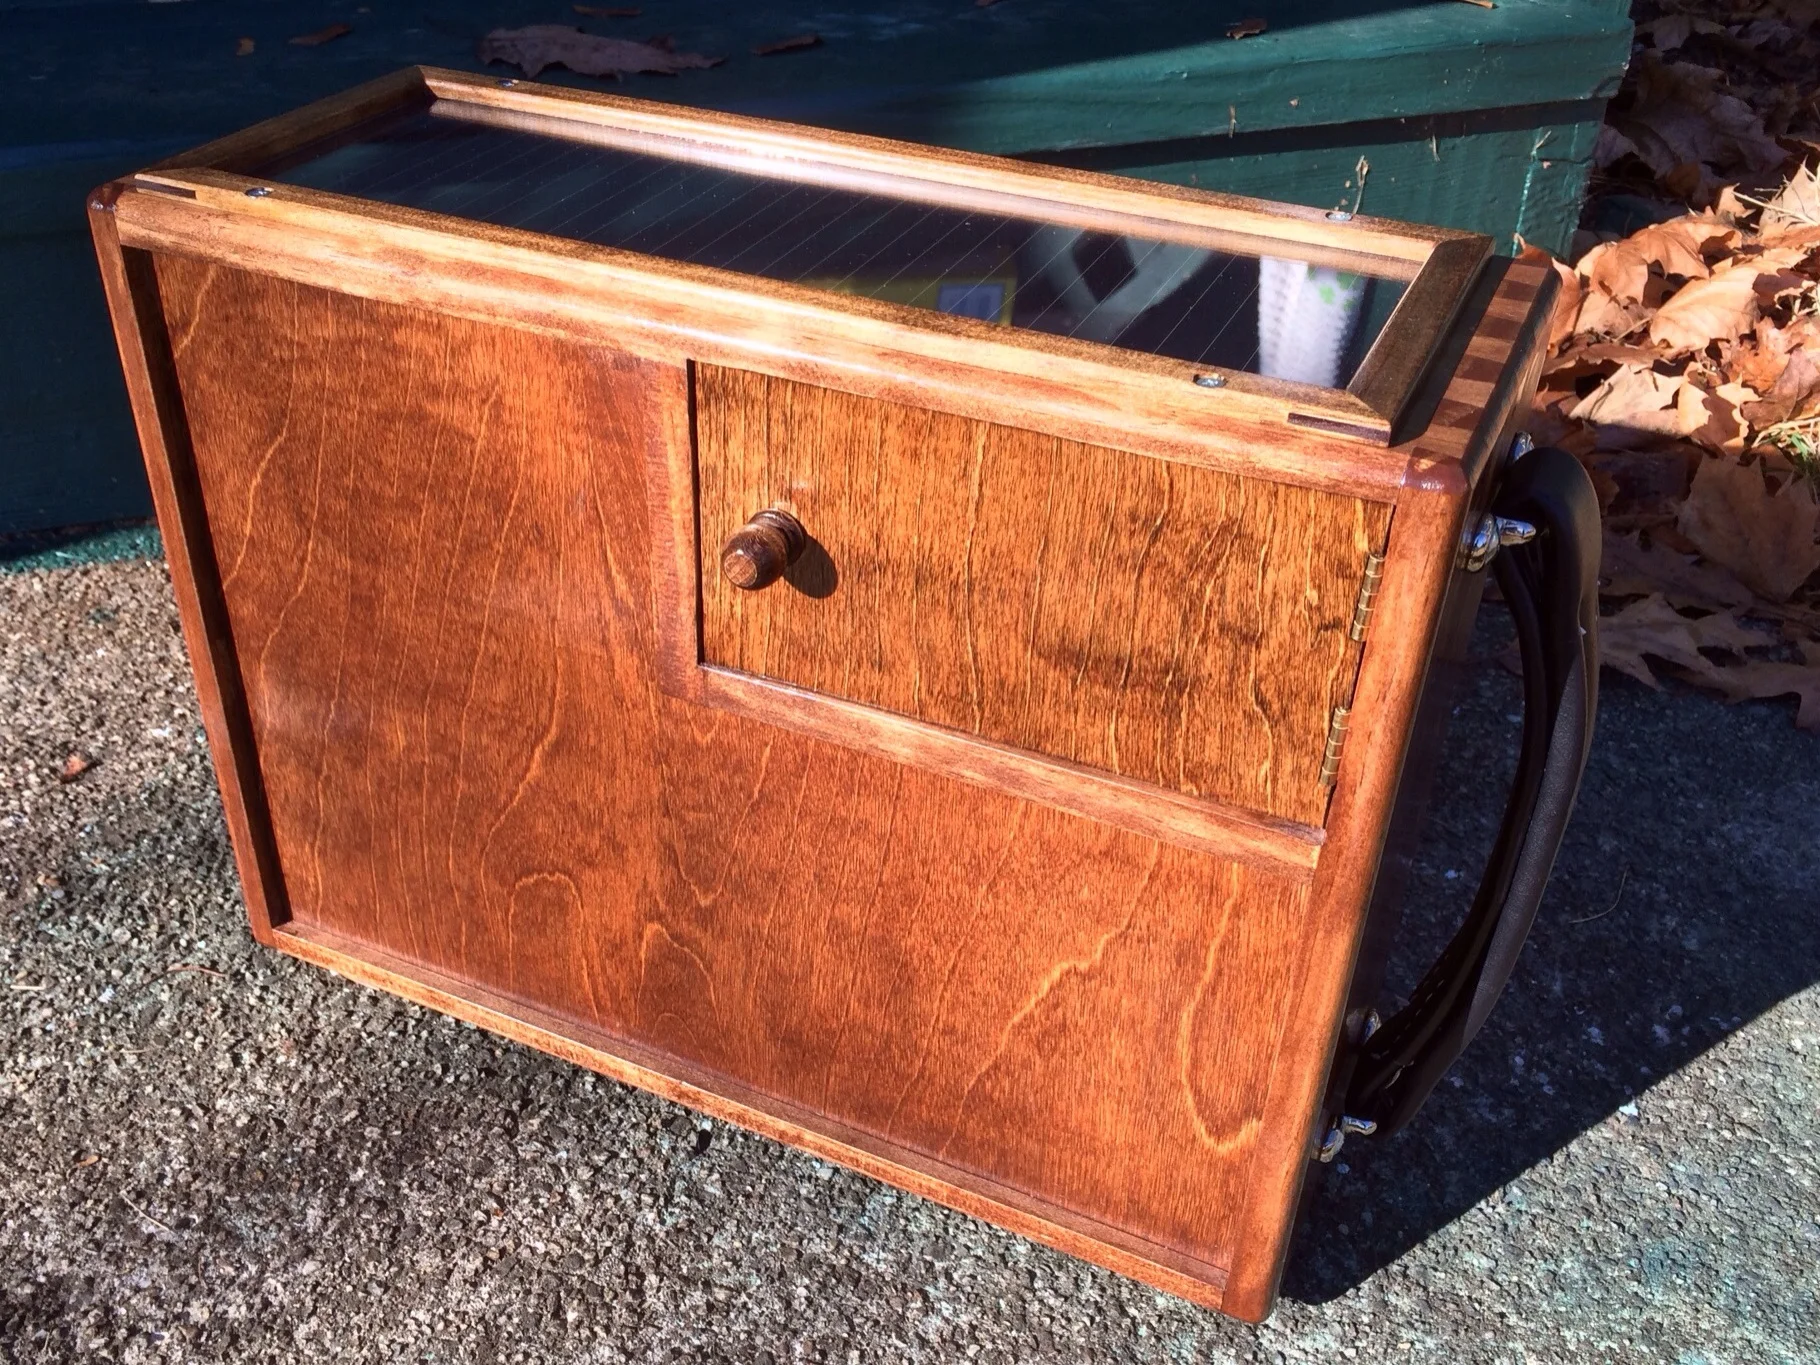
Looks a lot more professional than I imagined when I first decided to start this project.
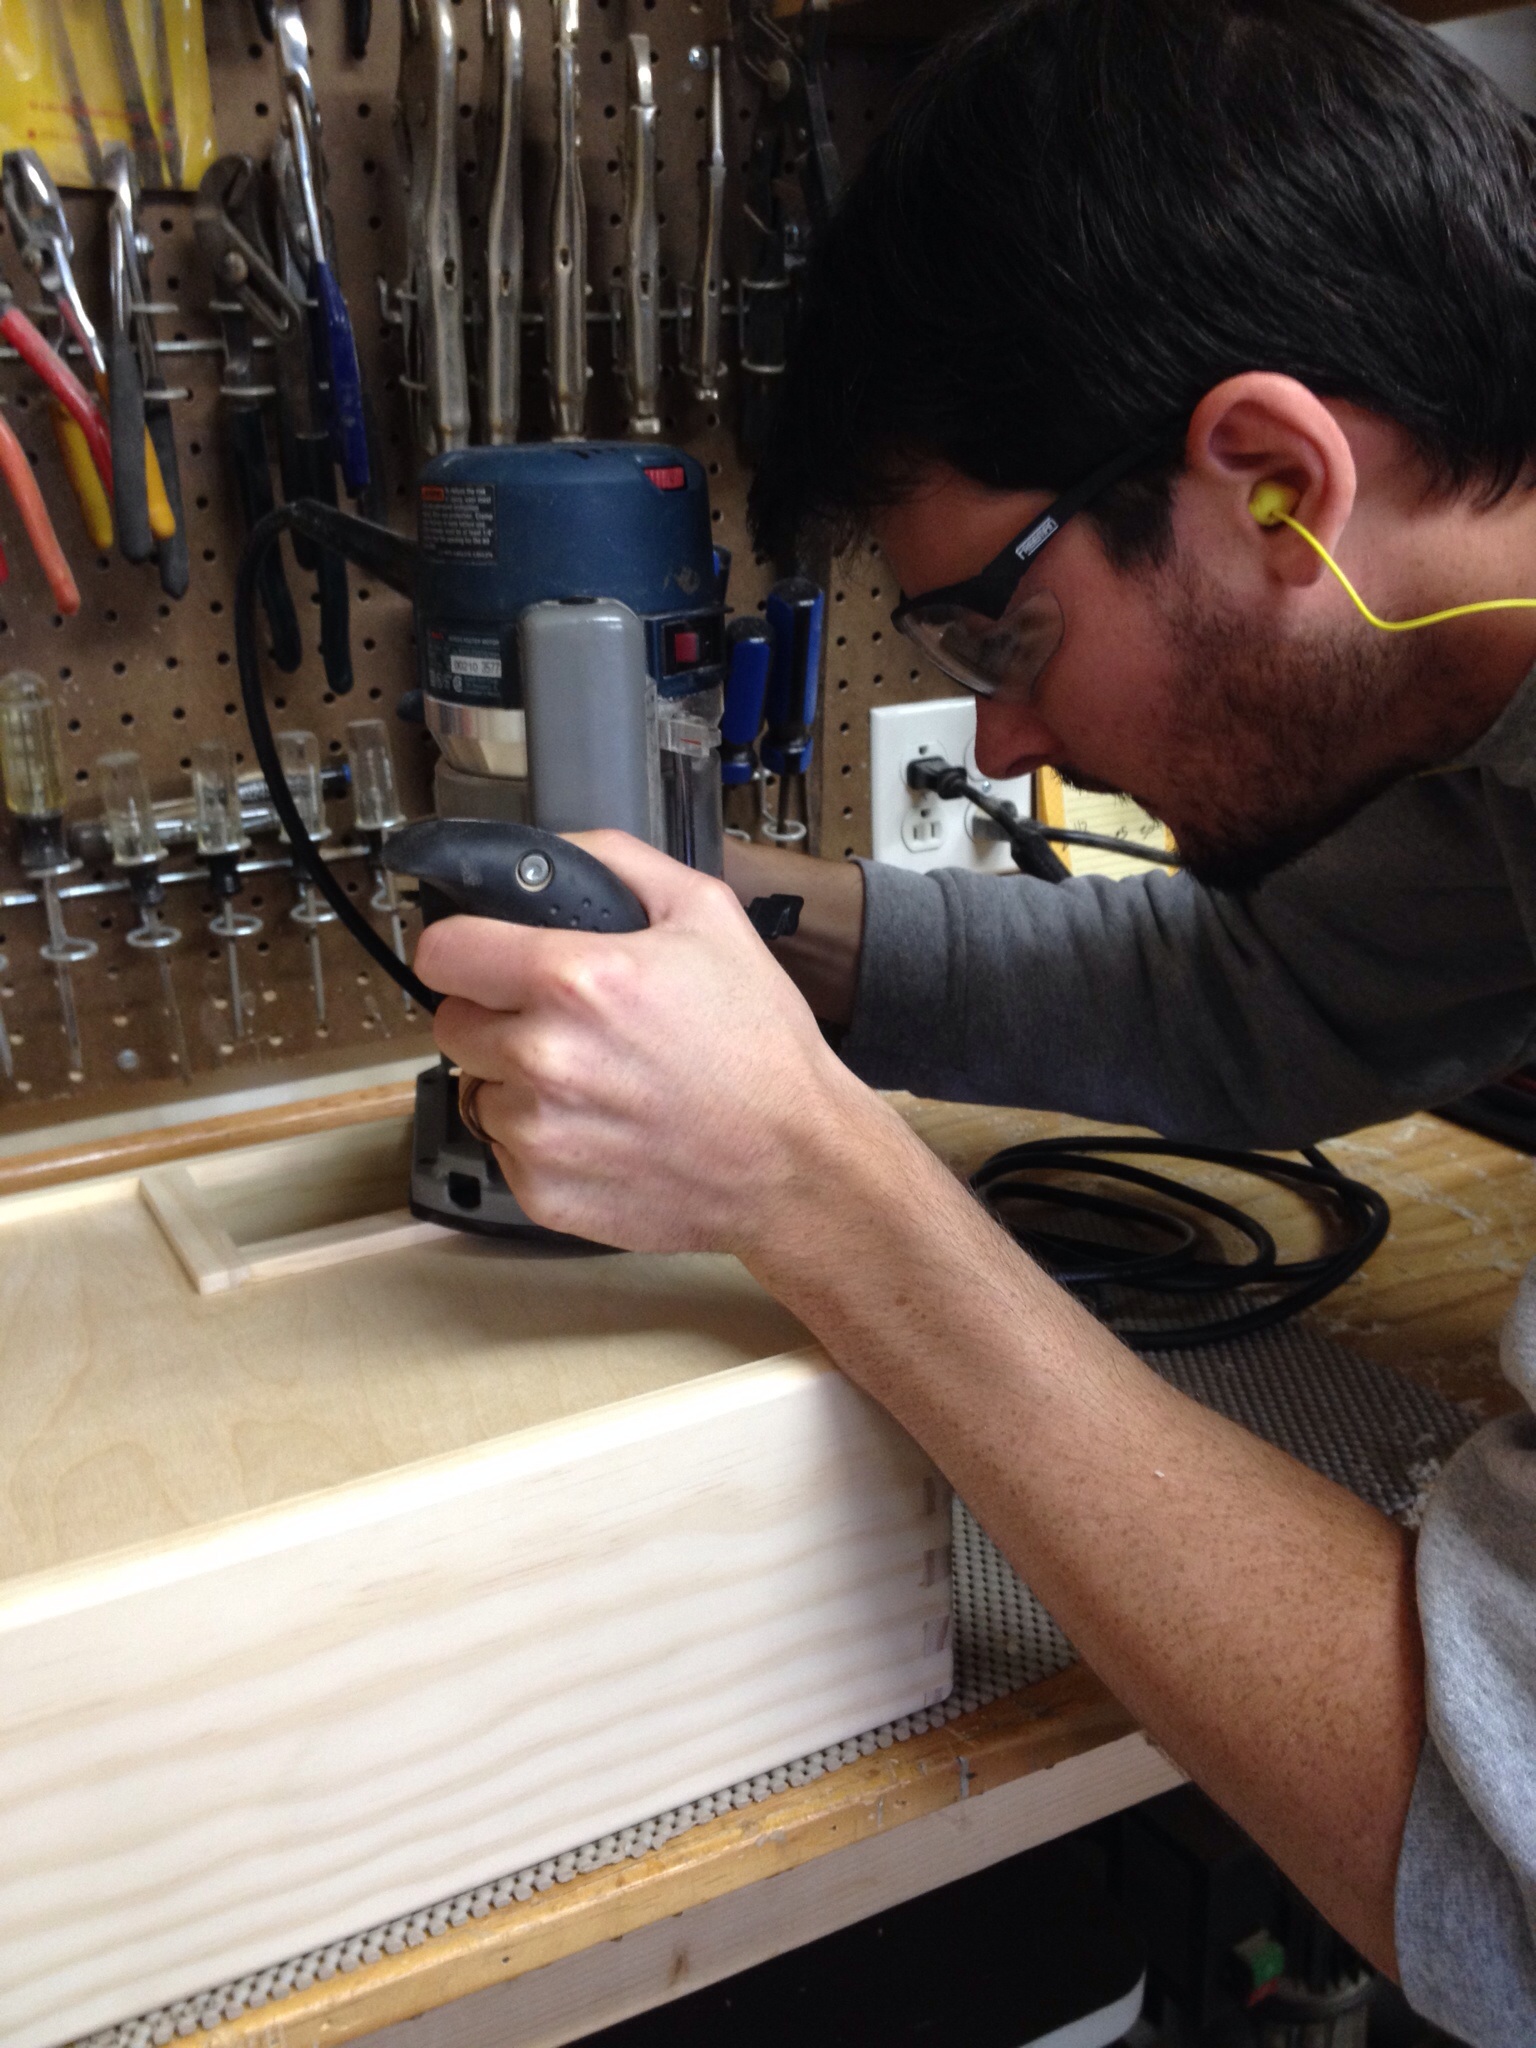
Continuing where I left off from the last update, after the glueing, we needed to a lot of cleanup:

After a little power sanding and rounding the corners with the router, it looked much better:

Next we had to make a rabbet in the storage compartment for the door to close against:
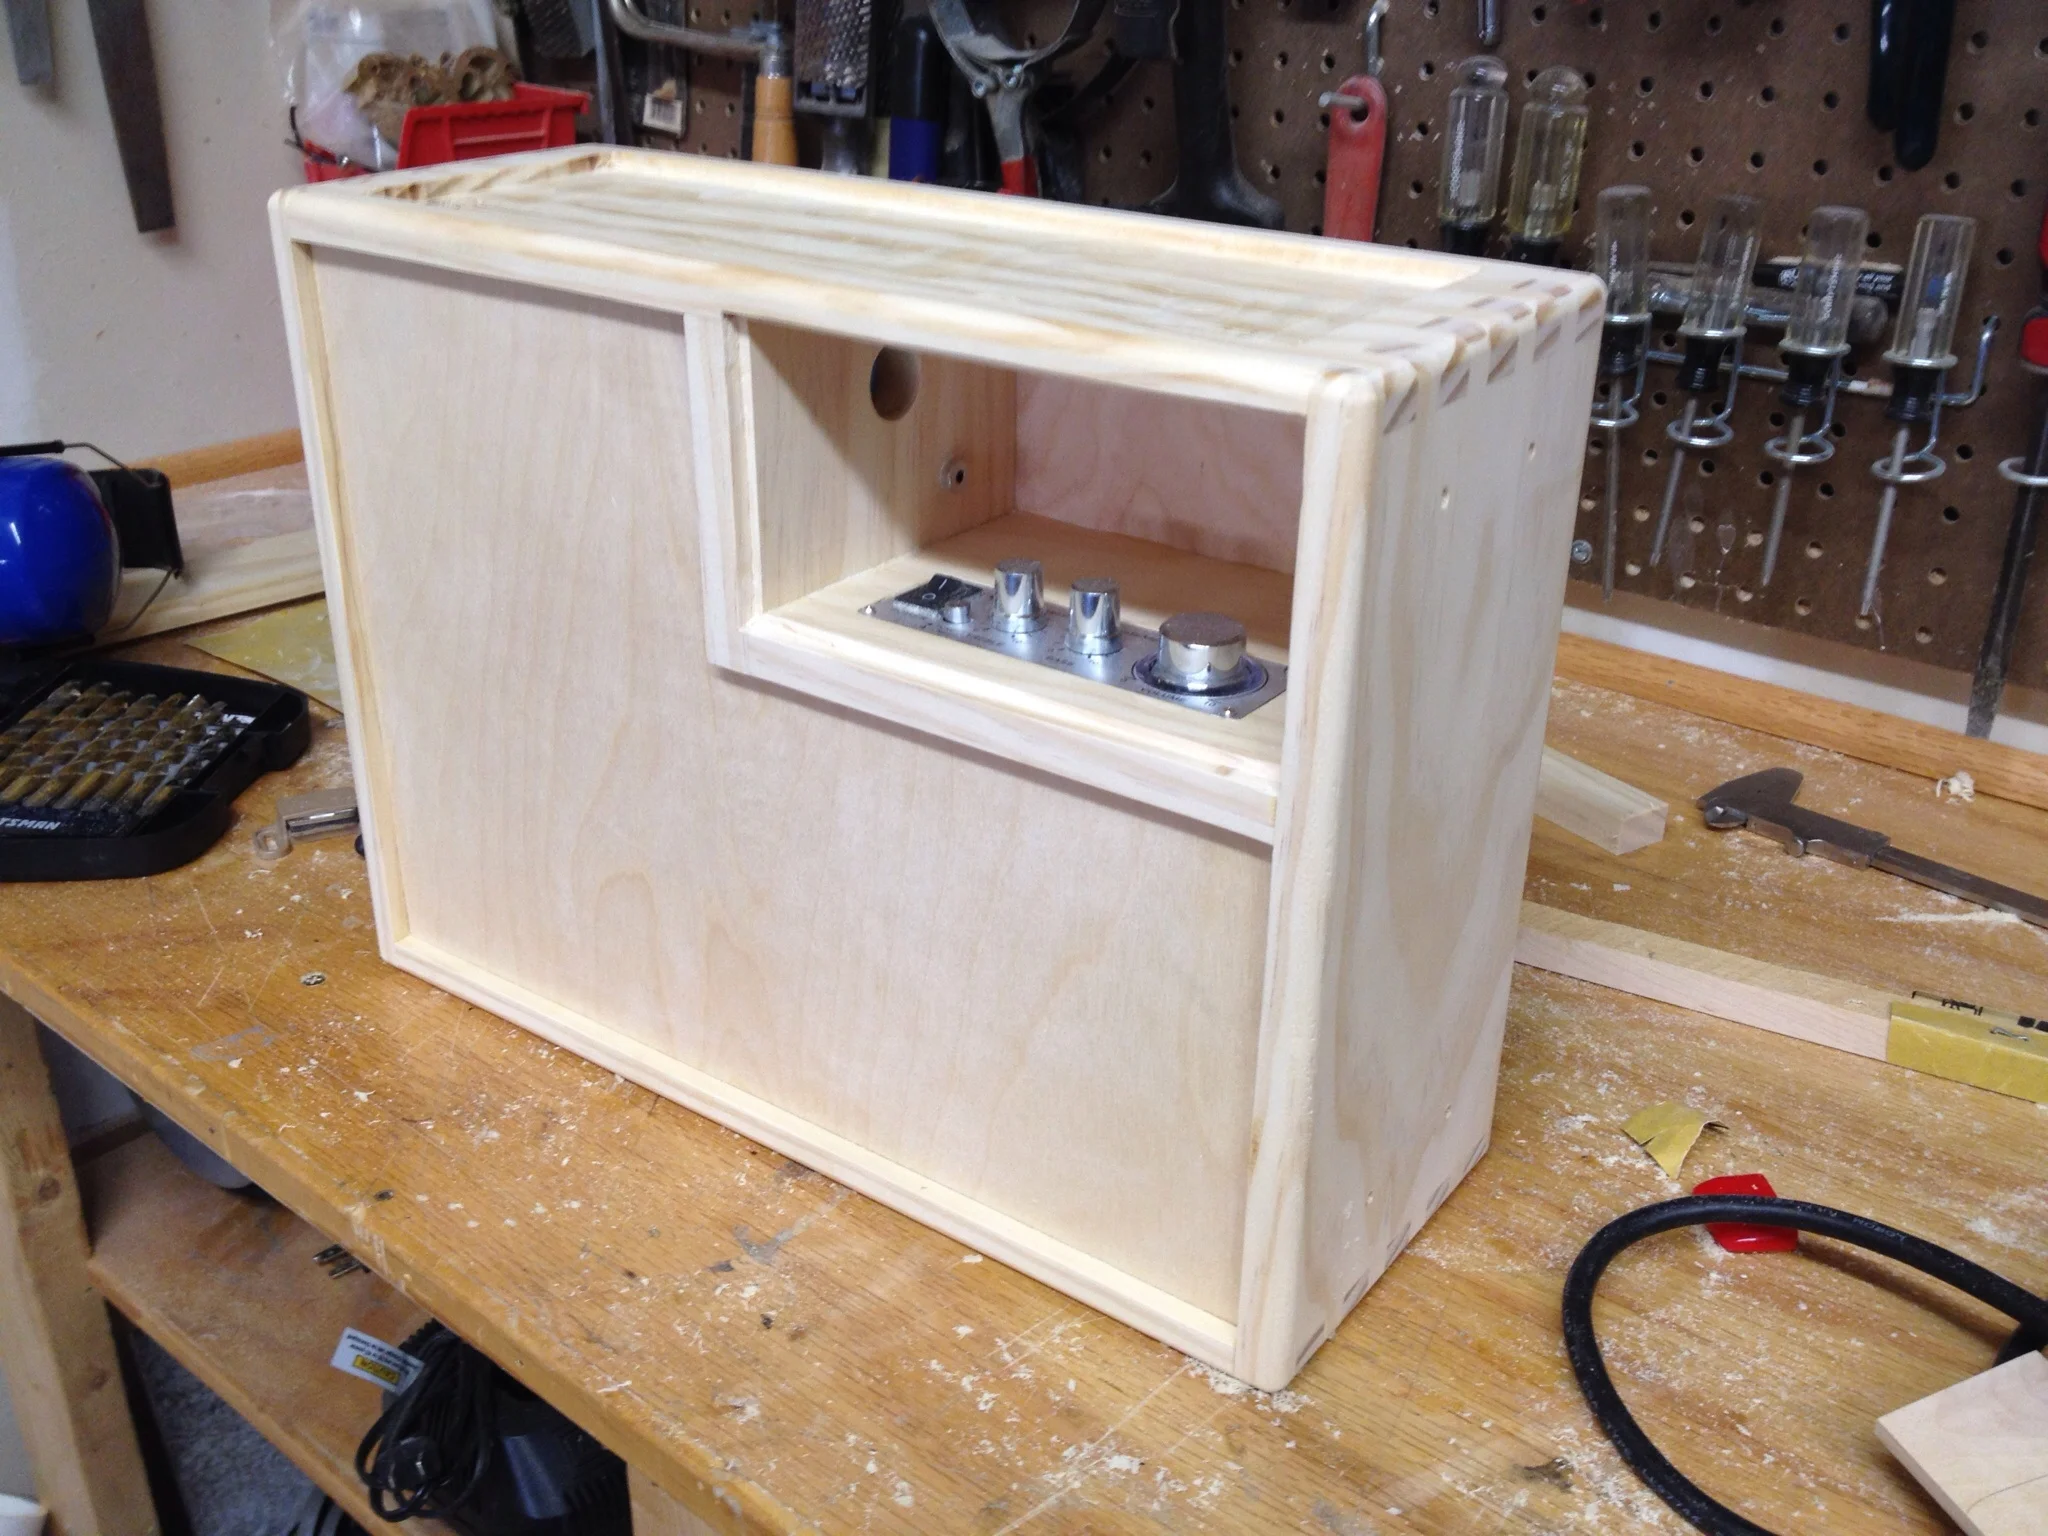
Fitting the door, cut from the same plywood as the back and front panels:

After the first coat of stain:

Applying a coat of wipe-on polyurethane:

After four coats of poly, I put on the metal feet and leather handles I bought from a guitar amp parts website:

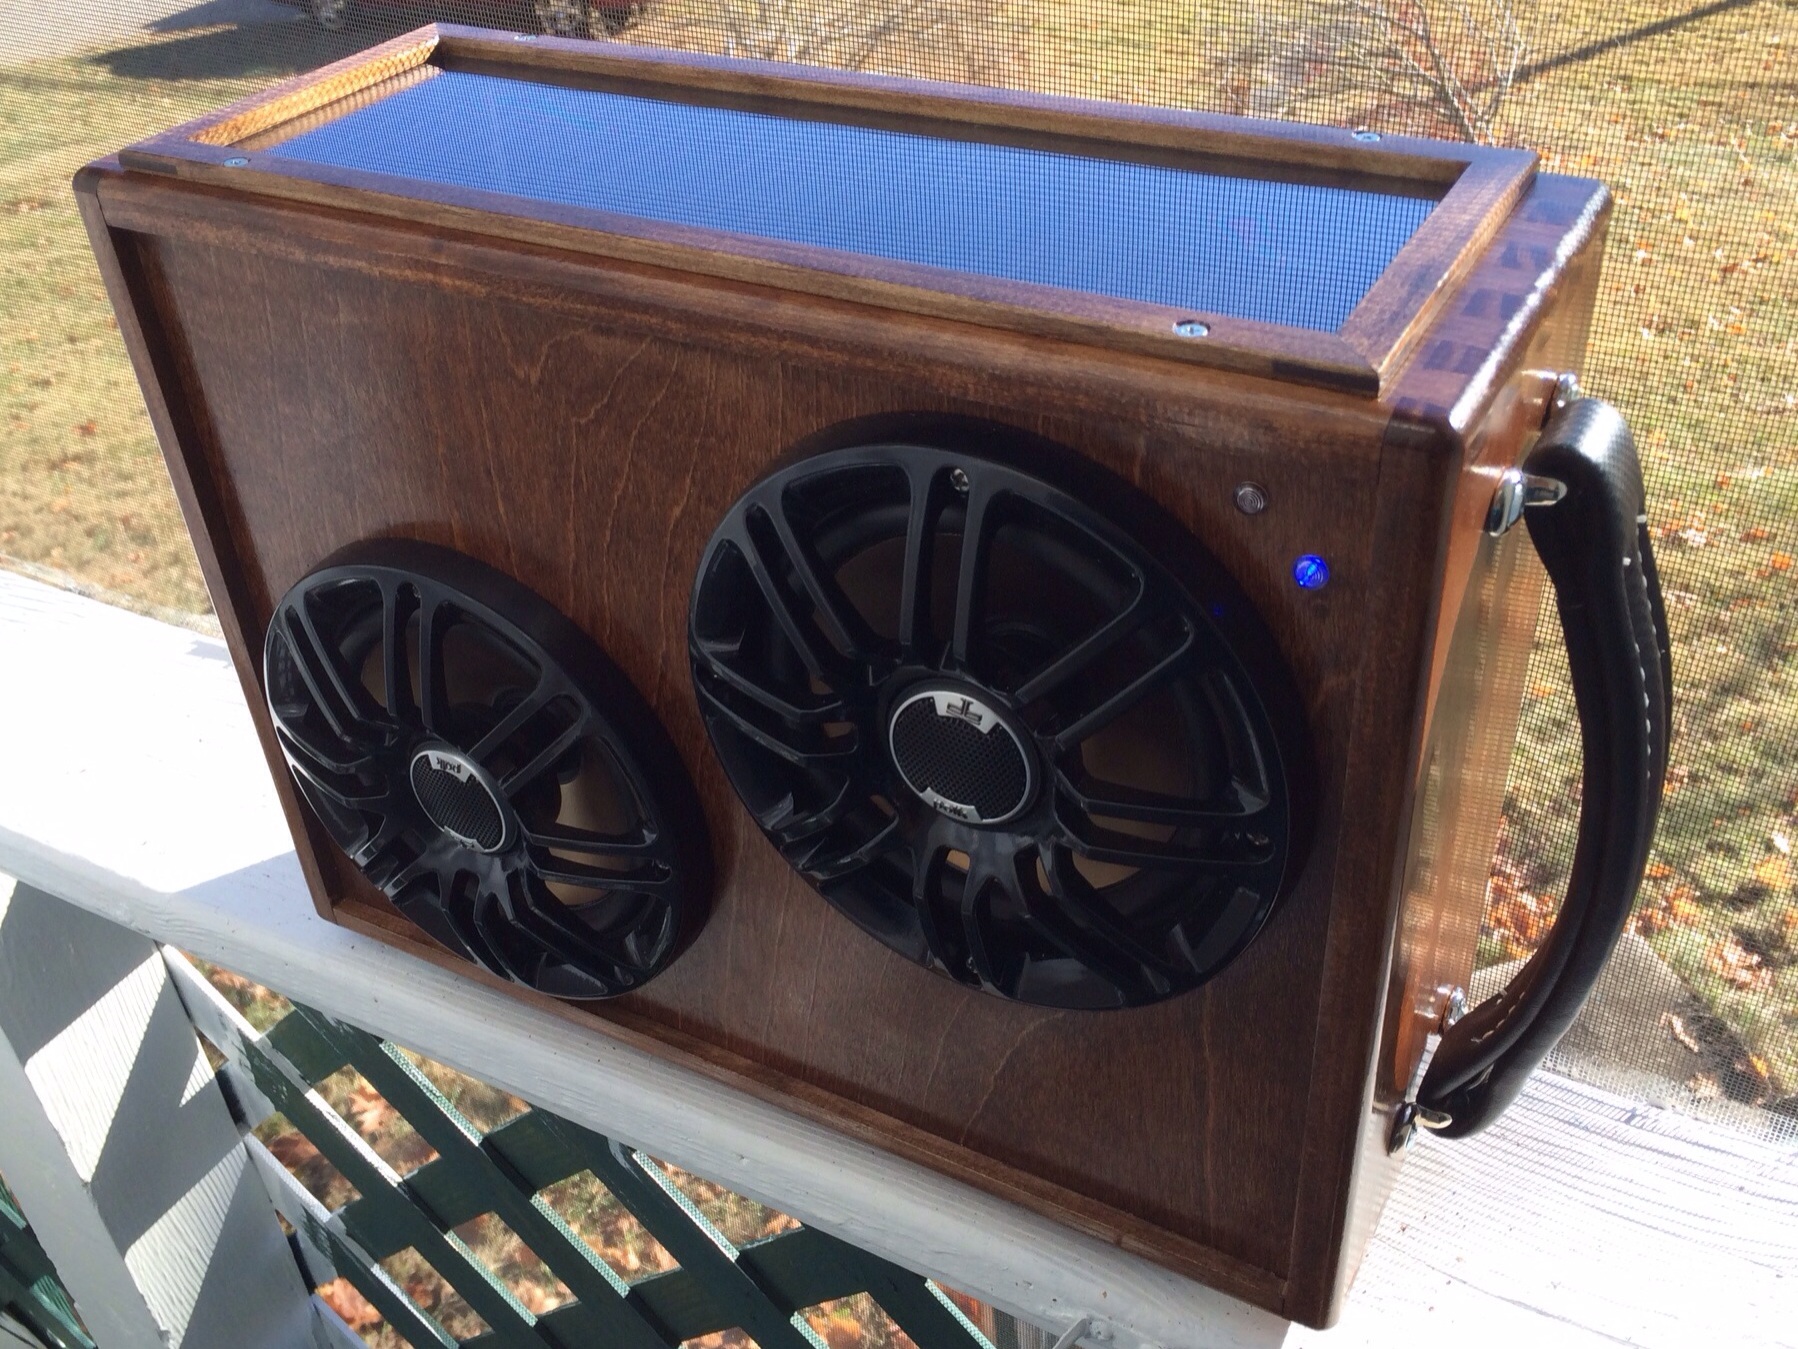
Went with black for the the color of the speaker grilles:


We built a housing to sit on top of the solar panel and plexiglass. Edges were cut diagonally and glued together. You can also see the LED power indicator I mentioned previously, through an LED lens:

Since the housing was glued end grain to end grain, on a side with very little surface area, it wasn't going to be a very strong bond. So we cut slits in each corner, and glued in a spline of another piece of wood. Since we could, we went with a spare piece of mahogany which added a nice accent color:

The wires coming from the solar panel had gotten a bit frayed after removing the unit from the original plastic case it was glued into and were no longer providing a reliable connection, but it was pretty easy to desolder them and solder in new ones. Testing the new connections:

Solar panel housing and door screwed on for the first time. Hinges are recessed into the door to allow it to close tightly:

Staining and applying polyurethane to the door and housing. You can see the knob for the door here. It was glued to a dowel, which in turn was glued to a hole in the door:

Final assembly. You can see the charging indicator LED from the solar panel lit up from the sun:
Used a magnet catch for cabinet doors, it's a little strong for the size of the door, but it has some play so I could try and recess it more to limit the strength:

One interesting and fortunate development was that although the first time we test fit everything and tested how the speakers sounded, they didn't sound that great. At the time I figured it was because the space inside the box was too small for the power of the speakers to have a completely sealed box like we did. But then we ended up notching these corners around the right speaker hole to make it possible to insert and remove the battery through that hole:

This seems to have acted like a "port hole", allowing air to escape, but the notches still fit under the speaker grille to hide them and limit exposure to the elements. This, quite luckily, seems to have significantly improved the quality of the sound the stereo produces.