There were a couple small enhancements I wanted to make to the solar-powered stereo.
First, I found that it was easy to forget that the stereo was on after I was done using it, since the only indication the amp was turned on was only visible from the back, in a closed-door compartment. So I wanted to add an indicator visible from the front that the stereo was on. I figured it would probably be relatively easy to do with an LED.
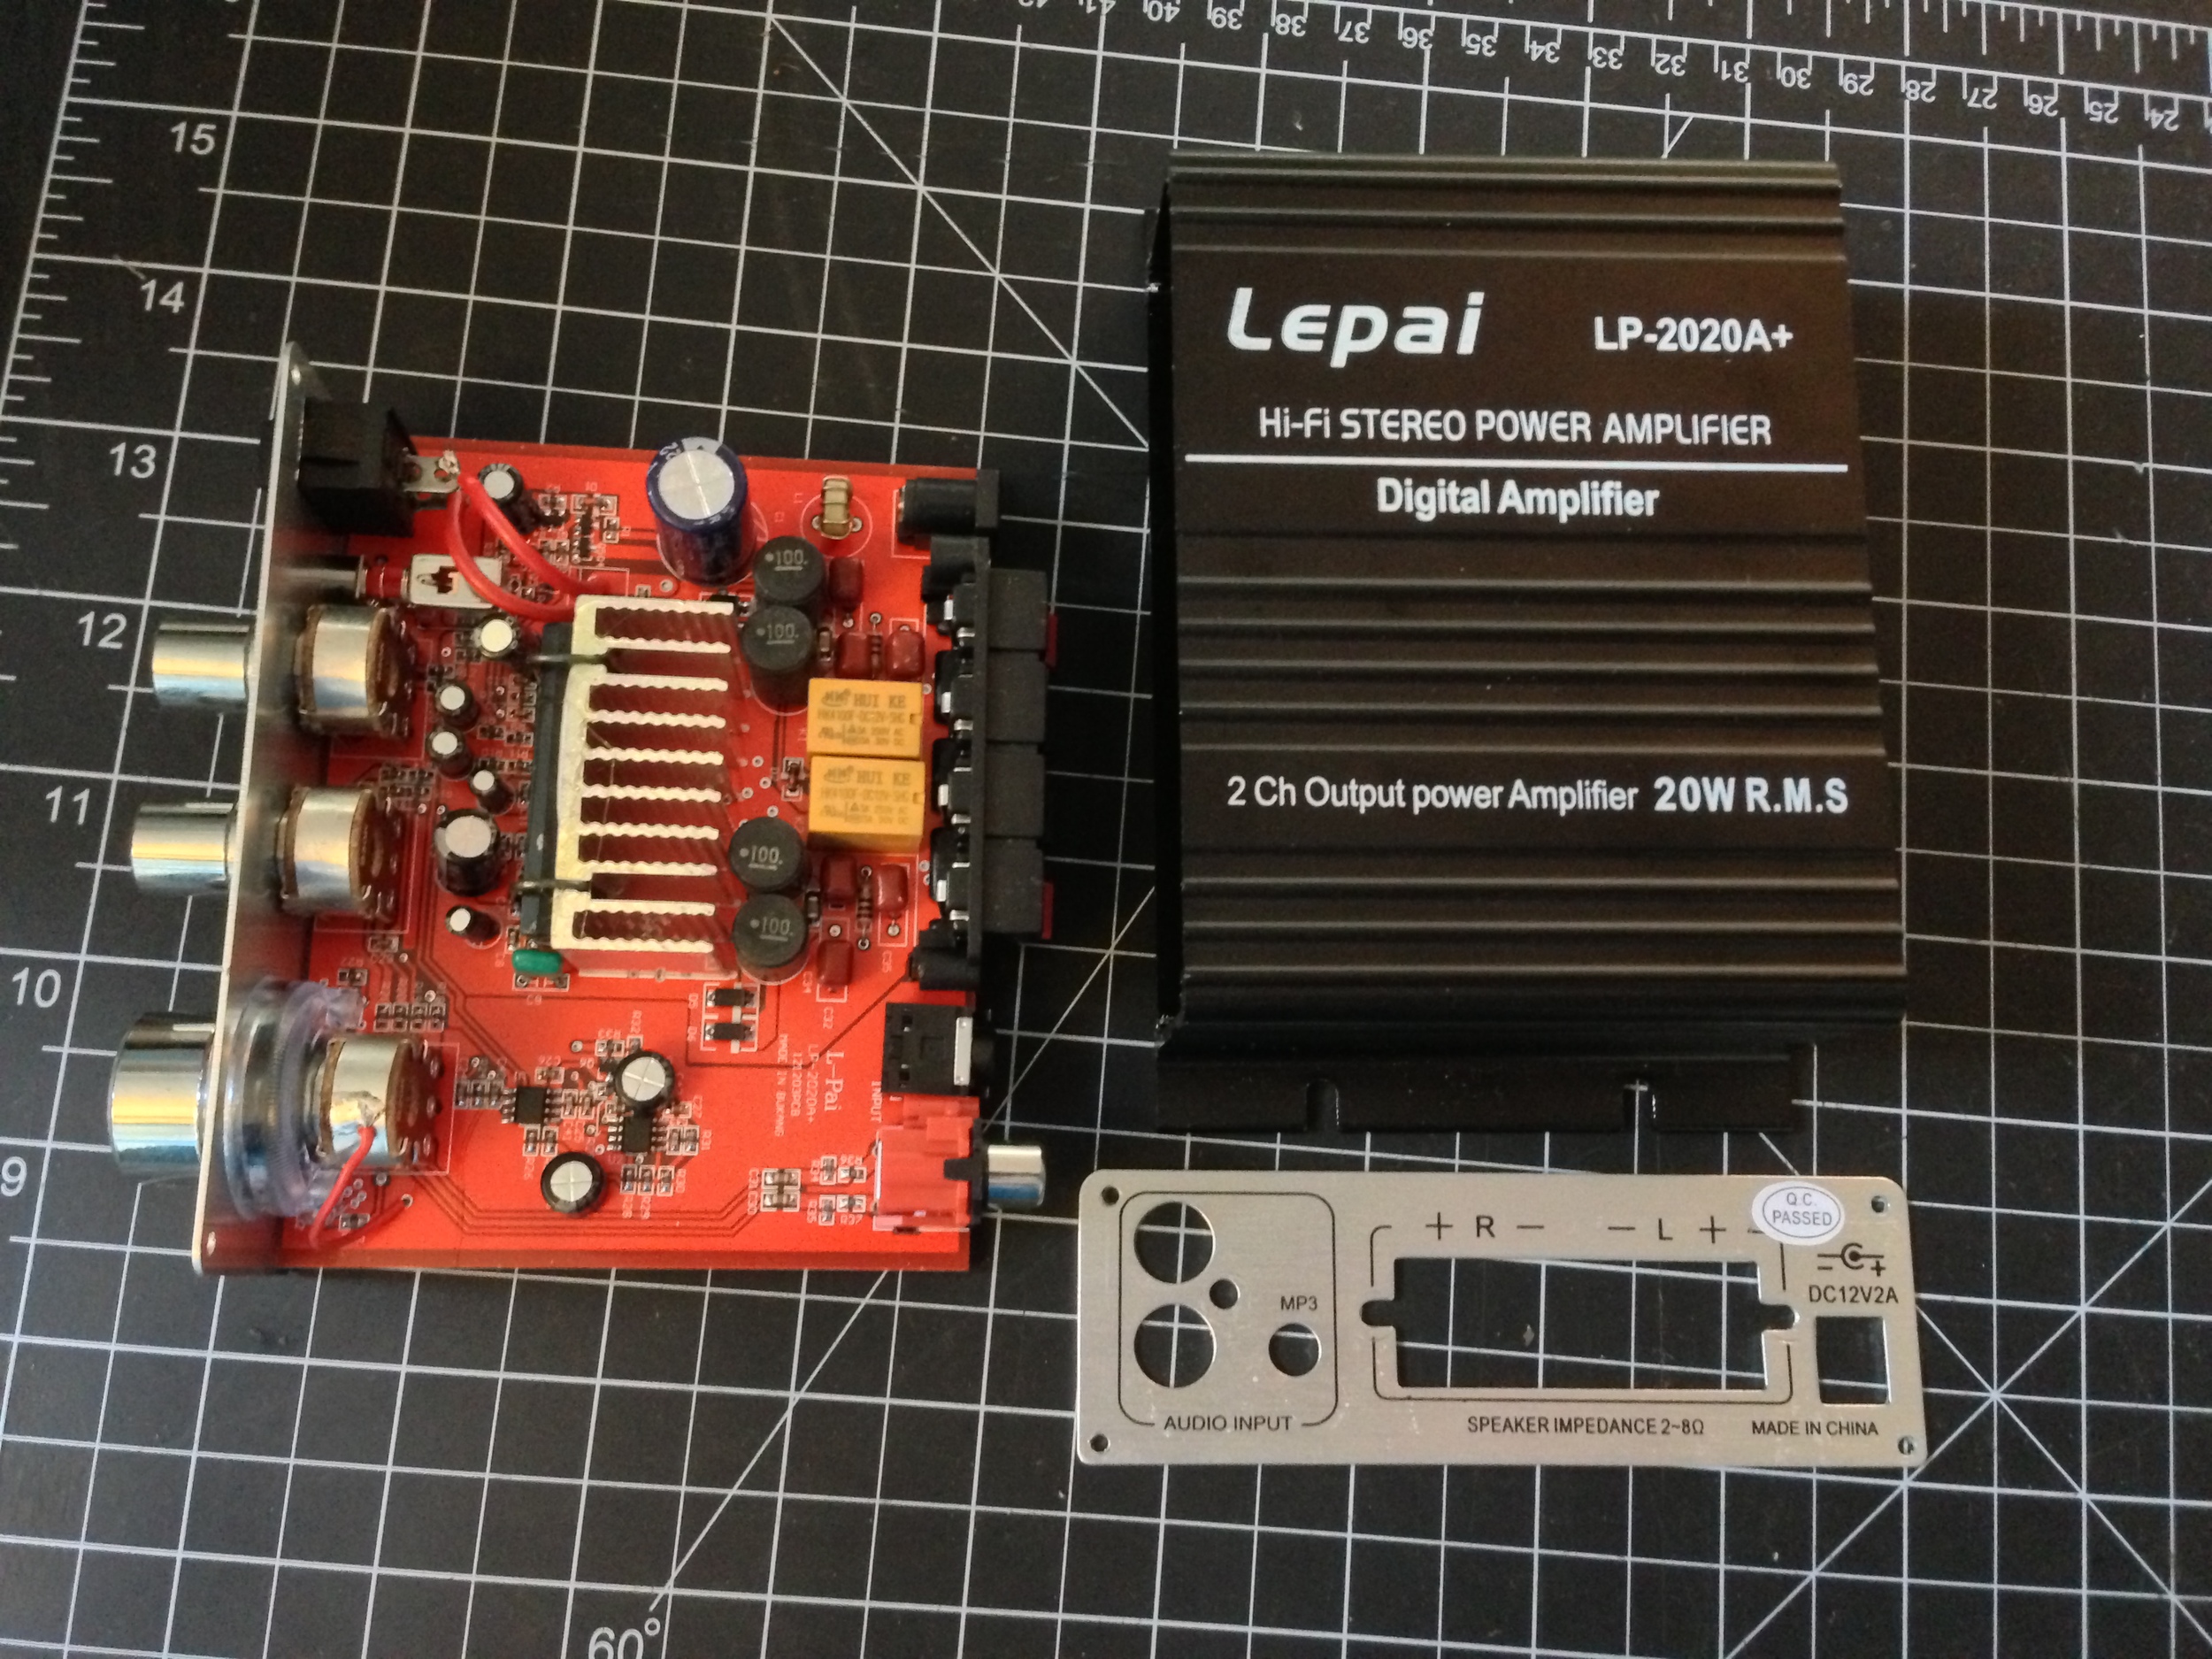
Though it turned out to be a little tougher than I expected, because the LED needed to operate on the same switch as the amp, which meant opening up the amp to solder it onto the switch. Since I was going to do this work once, it seemed smarter to just make an external power jack on the amp that could be used for any expansion in the future.
So the parts I needed were the DC barrel jack, an LED, a resistor to bring the 12v down to the 2-2.5v that LEDs work at, and eventually a clear lens for the LED when I mount it in the case. A couple of good places to get these kind of parts are Mouser, DigiKey or Sparkfun. Here are some links to products reasonably close to what I used:
4.7 kOhm 1/4 Watt Carbon Film Resistor
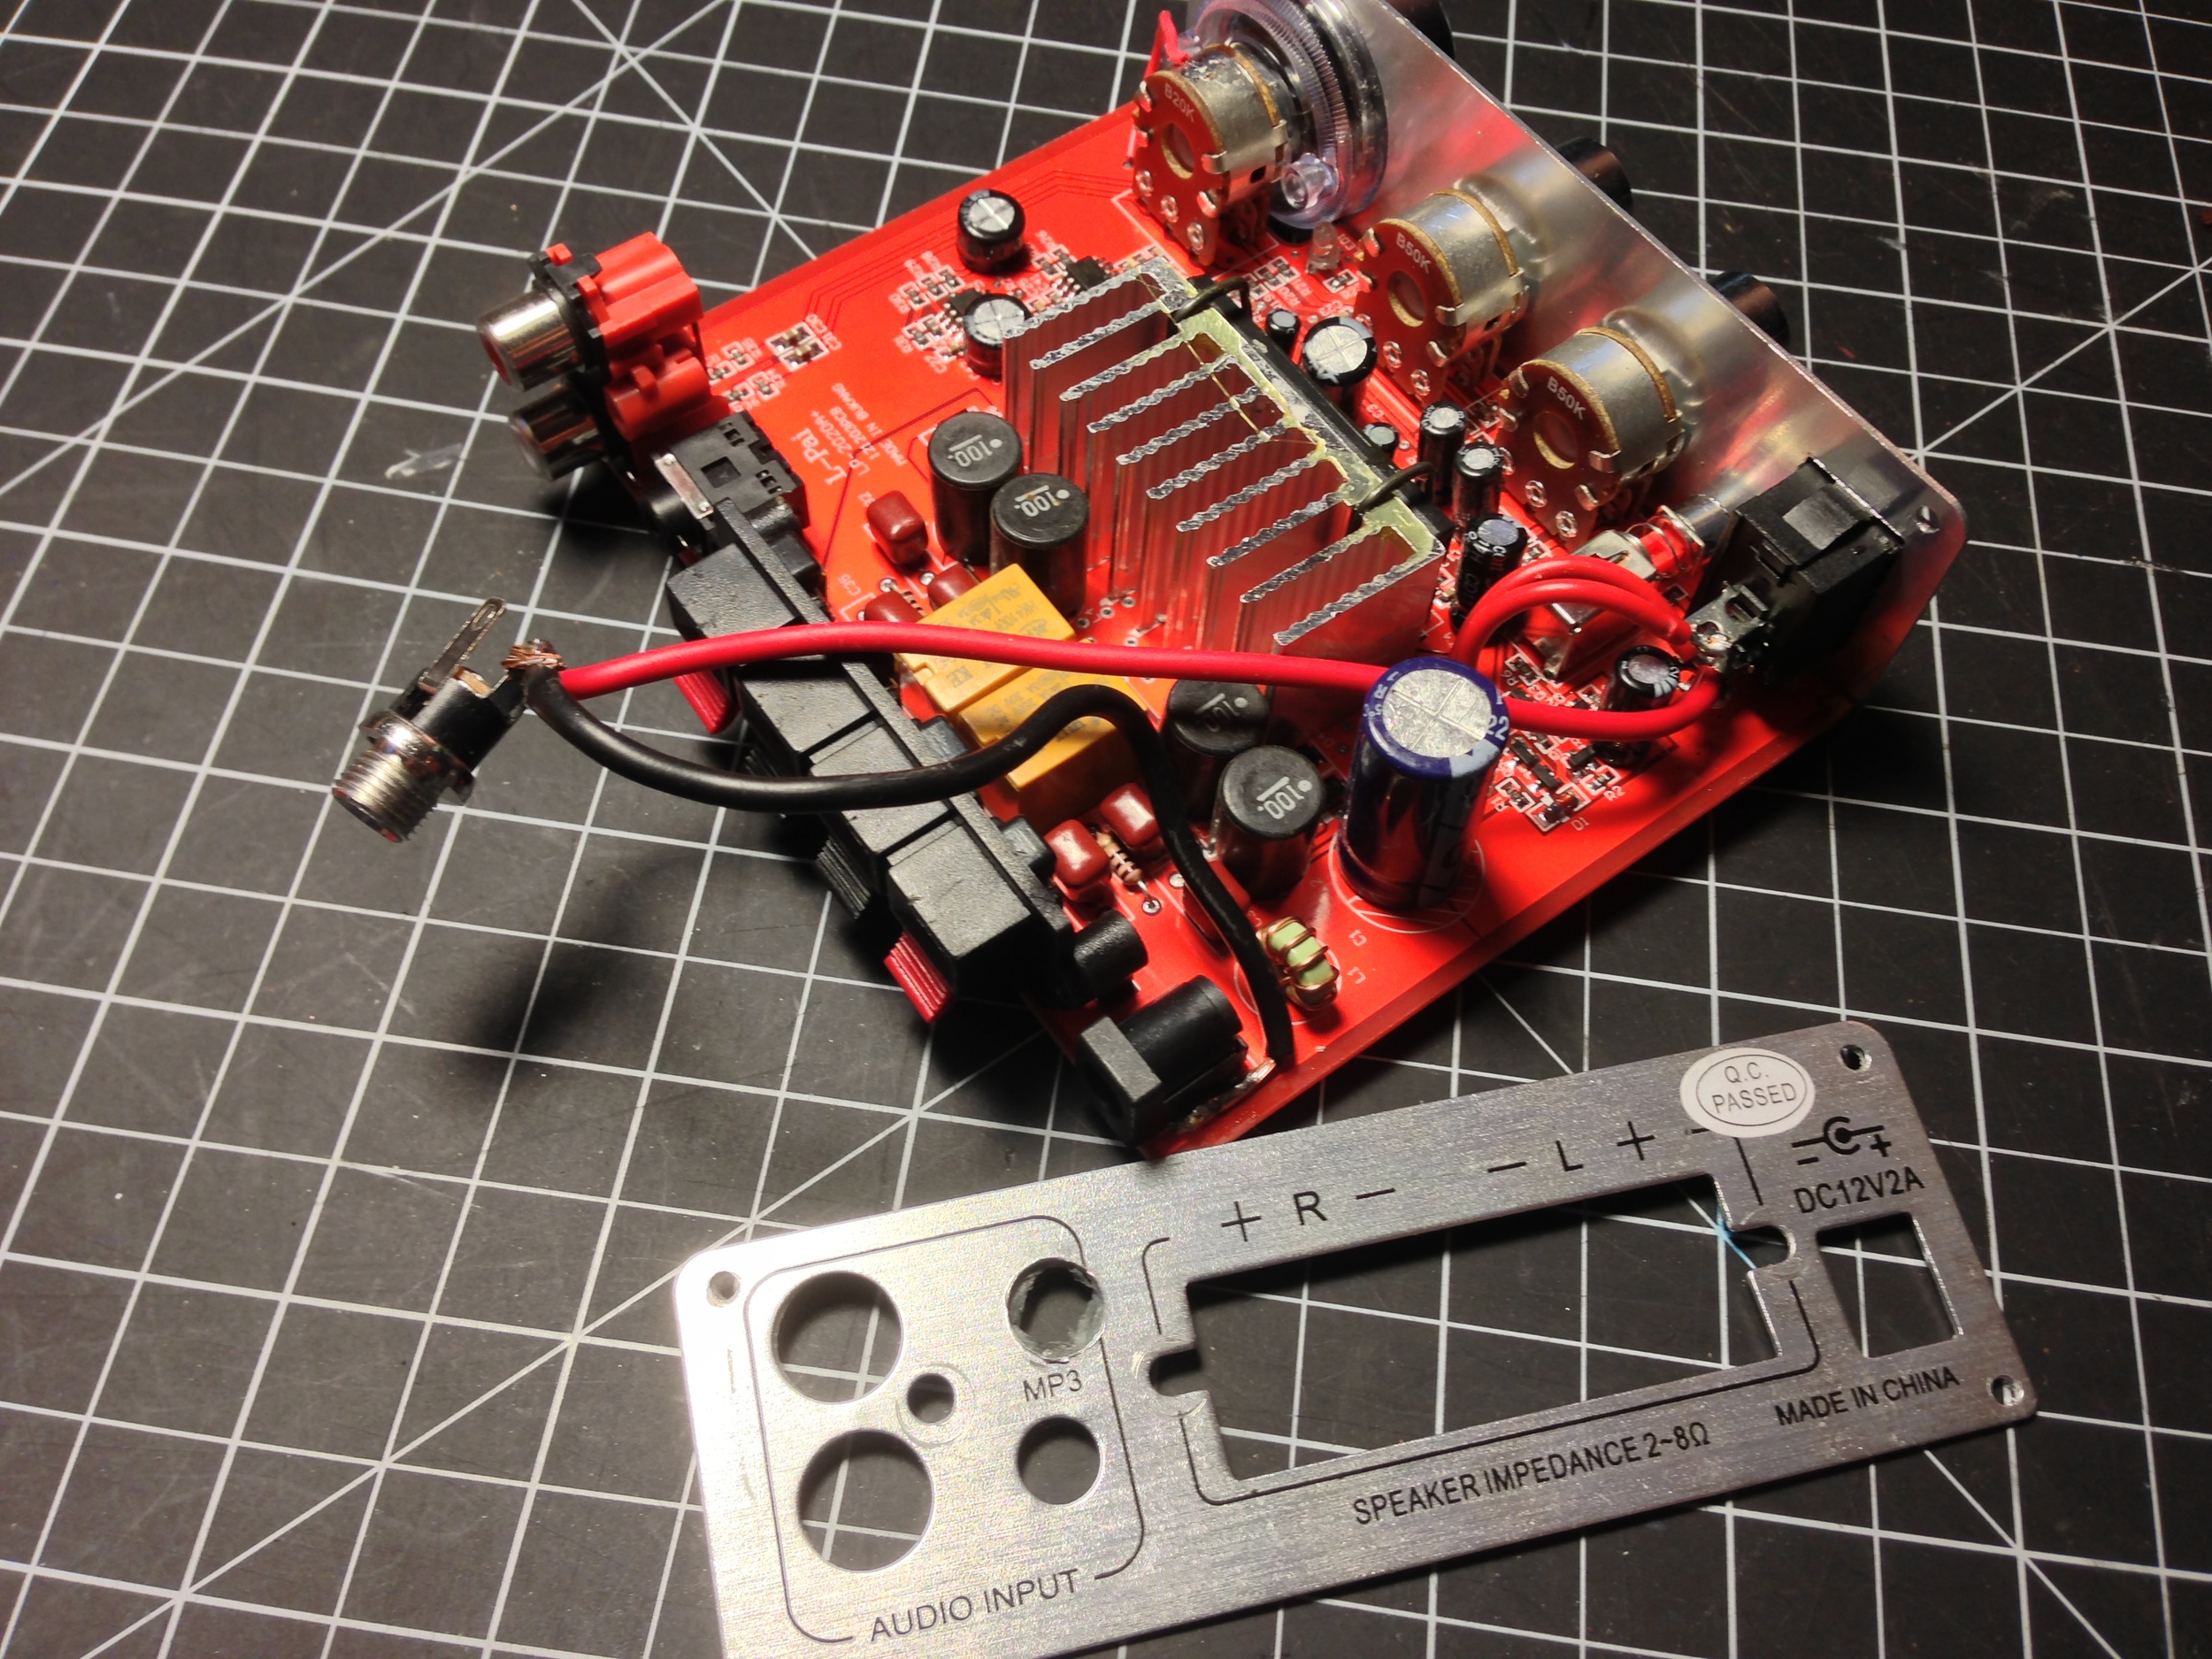
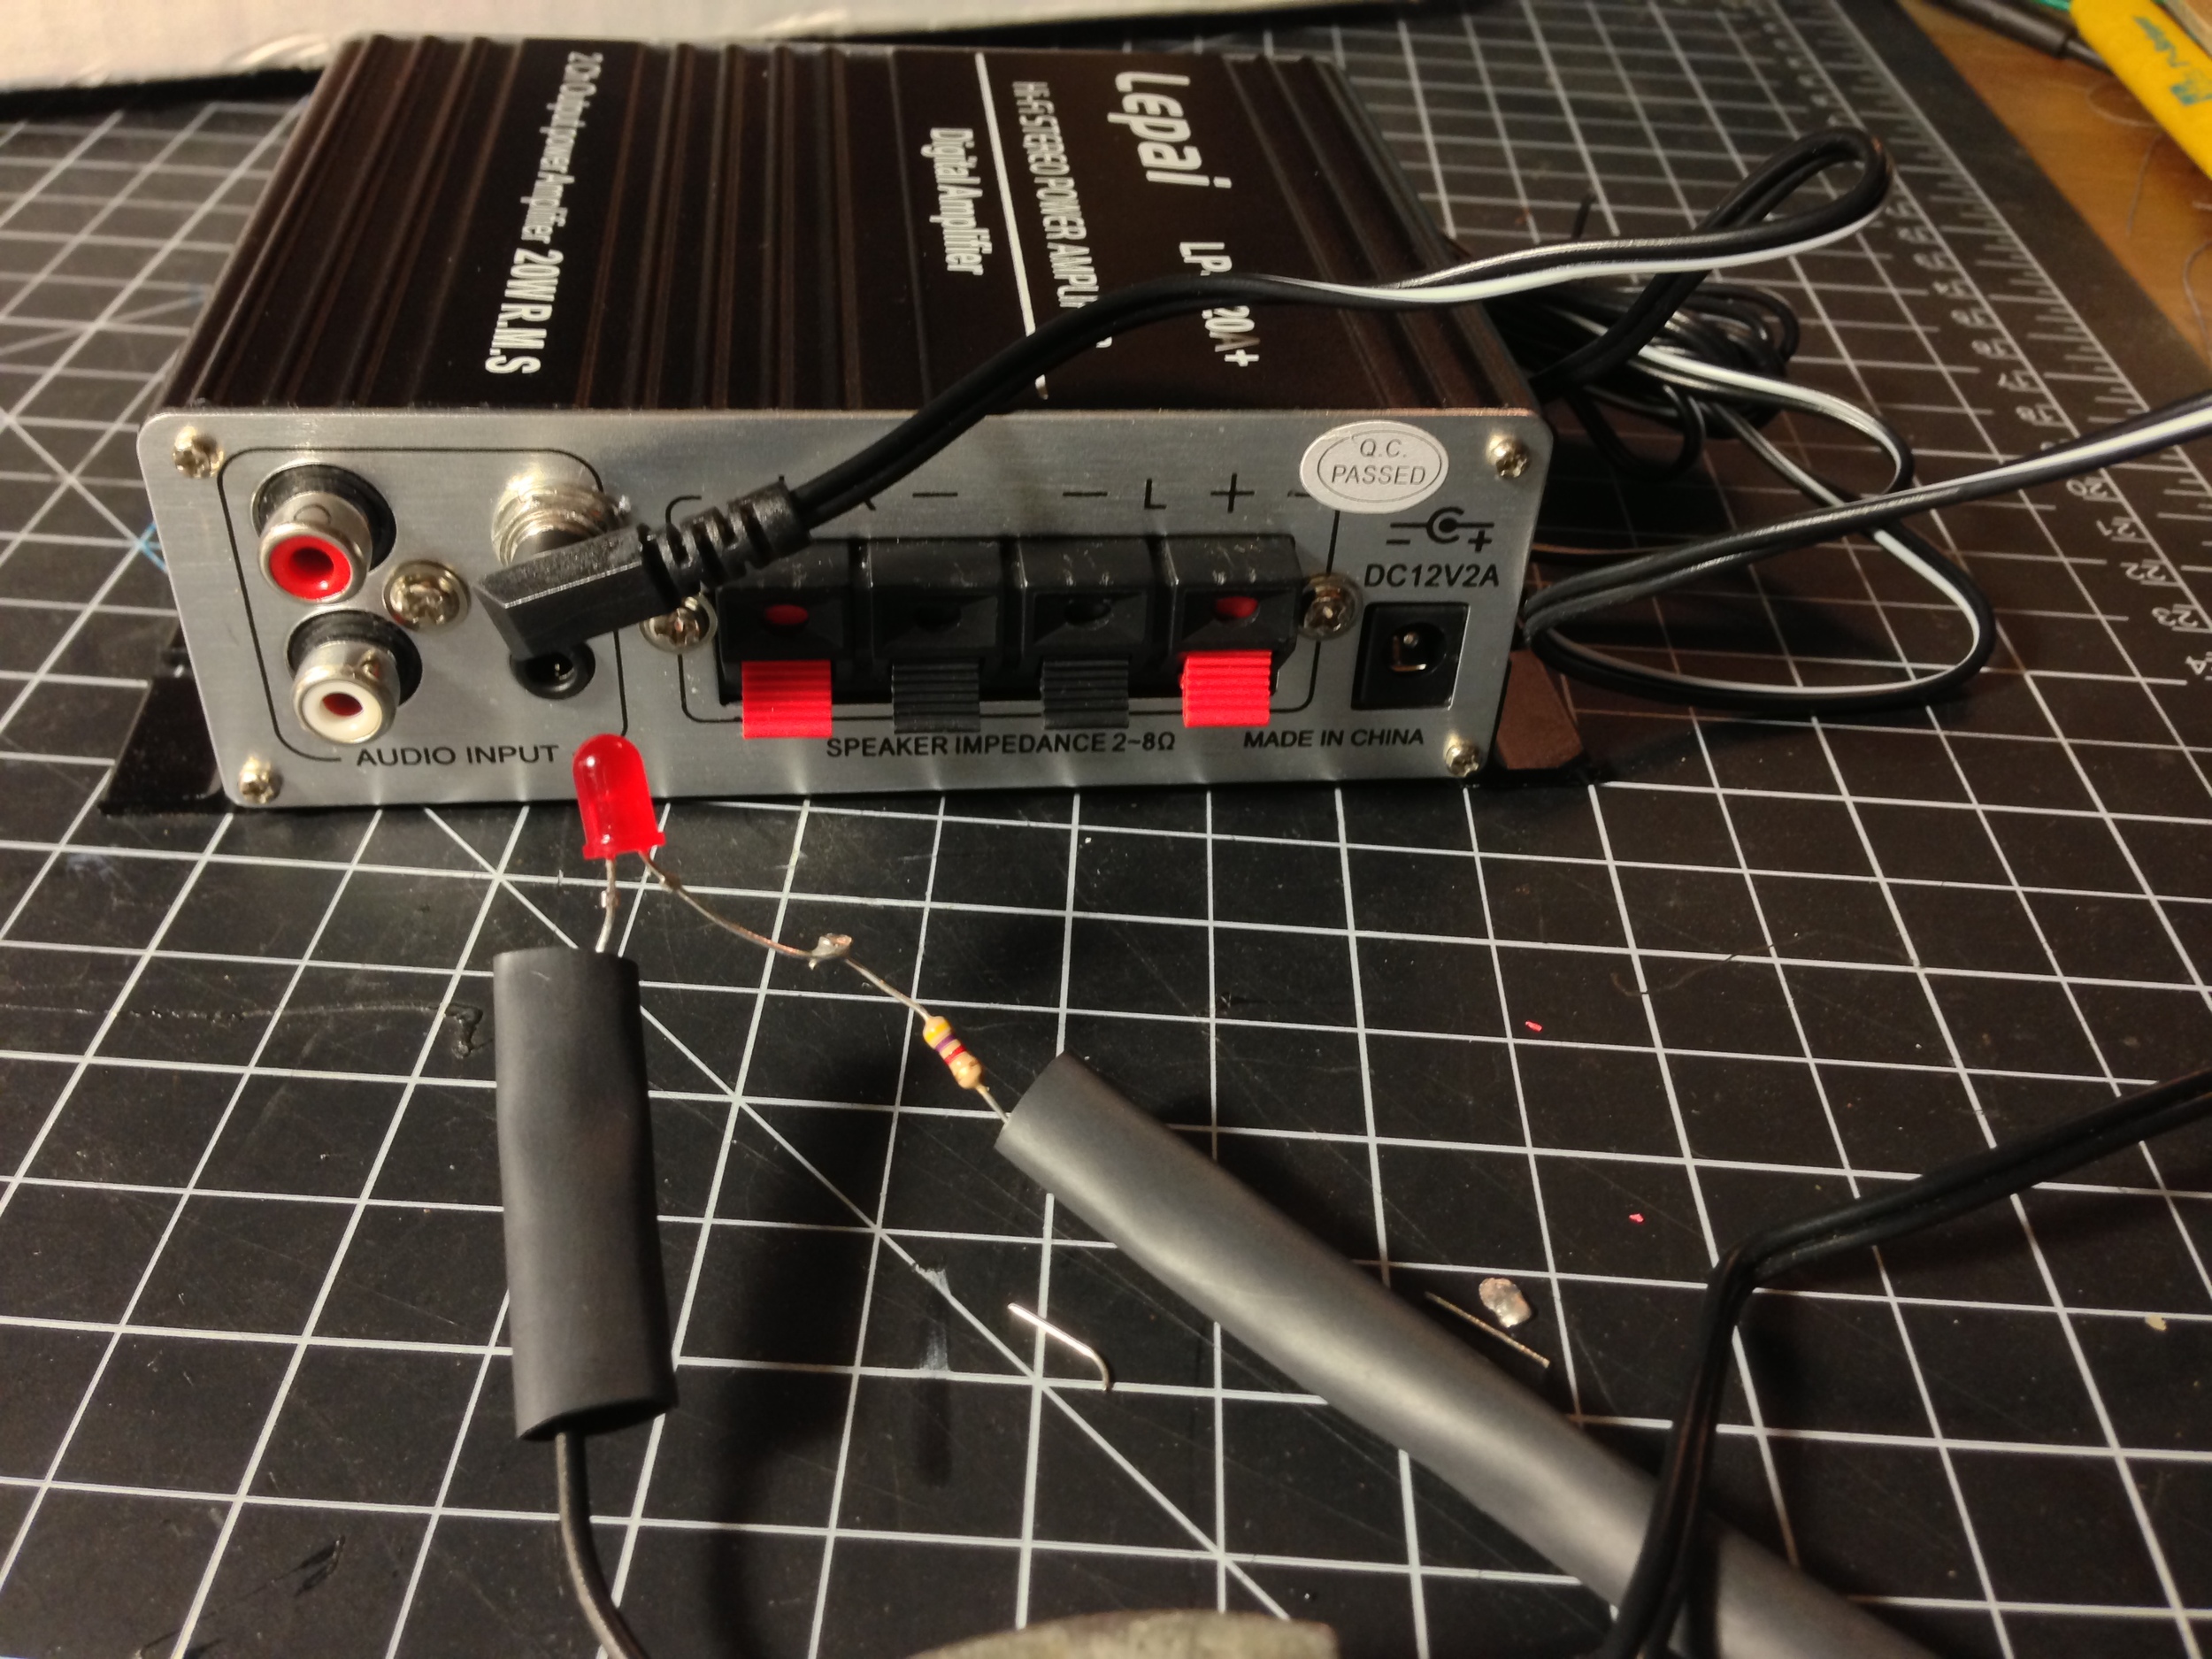
And here are some pictures of the process:


You can see in the pictures where we drilled a hole in the casing to fit a new power jack. Then we used a multimeter on the continuity setting to find the side of the power switch terminals that was after the switch, attached the positive there, and ran the negative to the negative near the input power jack.
Once there was a jack to plug into, we cannibalized the cord from an old power supply to connect the LED and resistor to the newly added output power jack from the amp (the resistor goes before the LED on the positive side).
Then just add the clear cap when installing into the case for extra waterproofing.
Another issue I was having was that, having no easy way to see the charge level of the battery, I was using it too much without charging it enough to compensate, and the voltage rating rating had dropped below 12v (healthy range is maybe 12-12.6v). I could just use a multimeter to check the voltage on the battery directly, but eventually when the case is constructed, the battery will not be easily accessible by design, so it'd be nice to have a quick way to check. I could solder an ultra low-power voltage gauge into the same circuit my new LED is on (or maybe even a "Watt's Up" RC Watt Meter & Power Analyzer), but the voltage gauge is $30 (and the Watt's Up is $50) and the solution I settled on here was considerably cheaper and required no soldering:
That voltmeter just plugs into a cigarette lighter (like the one I have on my stereo easily accessible in the storage compartment) and gives a reading for the battery's voltage. Should make it quite easy to keep an eye on the battery's charge to ensure it doesn't get too low.
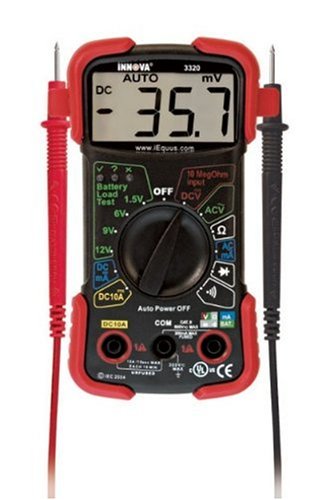
Speaking of Multimeters, I came across a really affordable Digital Multimeter on Amazon (currently it's selling for $17) that even does auto-ranging, has an auto-off feature, and a household battery checker. It seemed like too good of a deal to pass up:
I recommend the video that is featured on the Amazon listing for that multimeter, because it follows the classic infomercial formula. I swear that same narrator does every infomercial you see on TV!
Previous posts about the Solar-Powered Stereo project:
Solar-Powered Stereo (test build)

