I decided it might be handy to have a way to charge my solar-powered stereo quickly and in situations where direct sunlight was not available, so I looked into how to charge batteries by plugging them into a wall socket.
Obviously the power needs to be stepped down from the 120 volts coming out of my wall sockets to the 12 volts the battery can handle, which requires a transformer of some kind. Even after transforming the current down to 12 volts, the amperage will be pretty high, which is what we want so it can charge quickly, but it also introduces the risk of overcharging the battery. This is a risk that isn't really a concern for the solar panel, because the amperage it puts out is so small in relation to the size of the battery that overcharging is not something to worry about.
Basically what we need here is a battery maintainer (aka battery mender) to take care of those two problems. But there are a few special concerns for this application of that technology. First, we need to make sure the battery maintainer we choose is compatible with sealed lead-acid batteries. A typical car battery is lead-acid, but uses different technology than sealed lead-acid batteries. The battery I've chosen is the absorbed glass mat variety of sealed batteries, but there is also a "gel cell" type. Besides compatibility with this battery, we want something that will charge the battery from a drained state reasonably quickly, but will not overcharge the battery. The Deltran Battery Tender brand of battery maintainers seems to be reviewed well on amazon. There is a "Plus" model, but the Junior model seems to be a good choice for me just because it's smaller and cheaper, but still does everything I want.

That charger says it is compatible with "all 12-volt lead-acid, flooded or sealed maintenance free batteries (AGM and gel cell)", and that it has a "4-step charging program (Initialization, Bulk Charge, Float Mode)," so it can charge the battery up from a discharged state quickly, but will slow down when the battery is nearly full to ensure it doesn't overcharge it. Here's a graph of the voltage and amperage over time and a description of the 4-stages from Deltran:

“Step 1) Initialization: Red Light On or Red Light Flashing: Monitor Circuit verifies appropriate battery voltage levels and good electrical continuity between the battery and the charger DC output.
Step 2) Bulk Charge: Red Light On, Green Light Off: Constant Current at Full Power. Bulk Charge ends at approximately 75% to 80% of full battery recharge.
Step 3) Absorption Charge: Red Light On, Green Light Flashing: Constant Voltage at Absorption Level. This conditions the battery for optimum performance. Absorption charge ends when the battery charging current drops below the optimum recharge threshold or the absorption timer expires.
Step 4) Float Charge: Red Light Off, Green Light On. Constant Voltage at Float / Maintenance level. Keeps battery fully charged and maintains high specific gravity. Full charge reset monitor protects battery against excessive appliance current draw while charging. Float charge continues indefinitely”
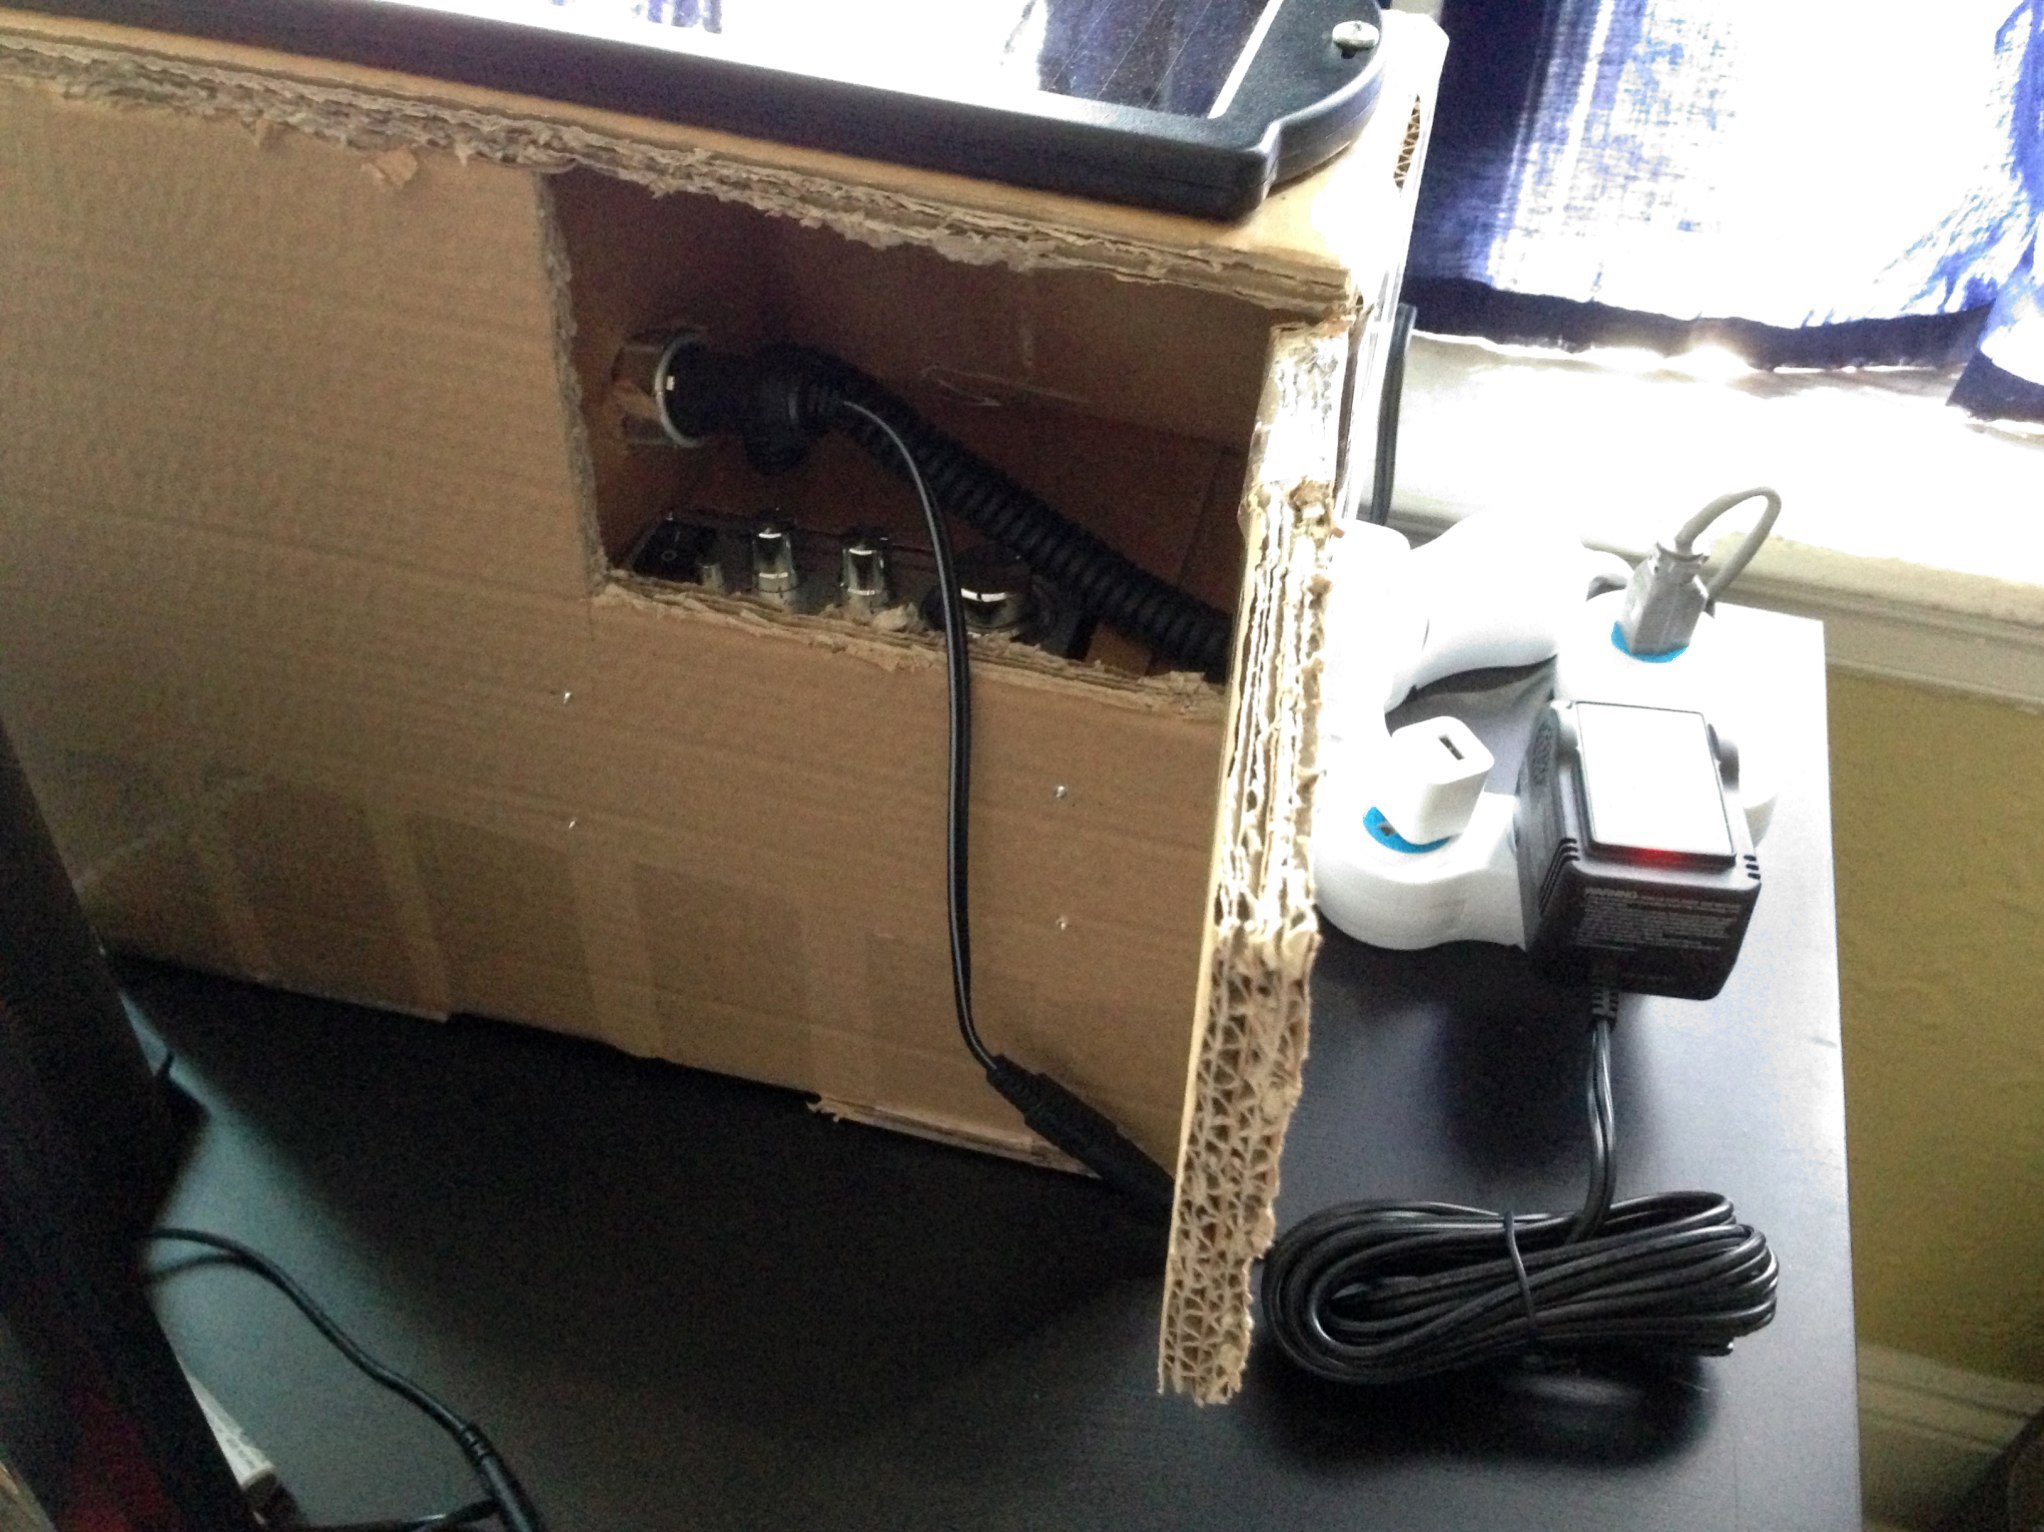
One issue with the Battery Tender Jr is I want to be able to plug the stereo into the wall without taking it apart, so the charger would need to be able to plug into the cigarette lighter socket I put in the easily accessible storage compartment of my solar-powered stereo. But the Battery Tender model chargers don't seem to come with that adapter. It is on sale from Amazon separately, but it is currently $8 or so when you include shipping:

Since this is also a Deltran Battery Tender brand product, it should work fine with the Junior model charger. I chose to use the same style cigarette adapter that came with the solar battery maintainer I bought, and the polarity was the opposite of the Battery Tender brand products, so I had to open up the part that plugs into the cigarette lighter and re-solder it to reverse the polarity. Here's a diagram from Deltran that illustrates the polarity of their connectors:
As you can also see from that diagram, the adapters that ship with the Battery Tender Jr come with 7.5 amp fuses embedded into them (to protect the battery charger itself in the case you were to short it out, it's pretty unlikely the fuse would trip in the case it was connected to a battery and charging normally). The cigarette lighter adapter I used shipped with the solar panel, so it came with a much smaller 0.5 amp fuse, but it can be replaced with one of the correct amerage. I used this 5x20mm 250v 7a fuse from RadioShack. I'm not sure if that Deltran Battery Tender brand cigarette lighter adapter is fused or not, it doesn't say on the Amazon page or on Deltran's website.
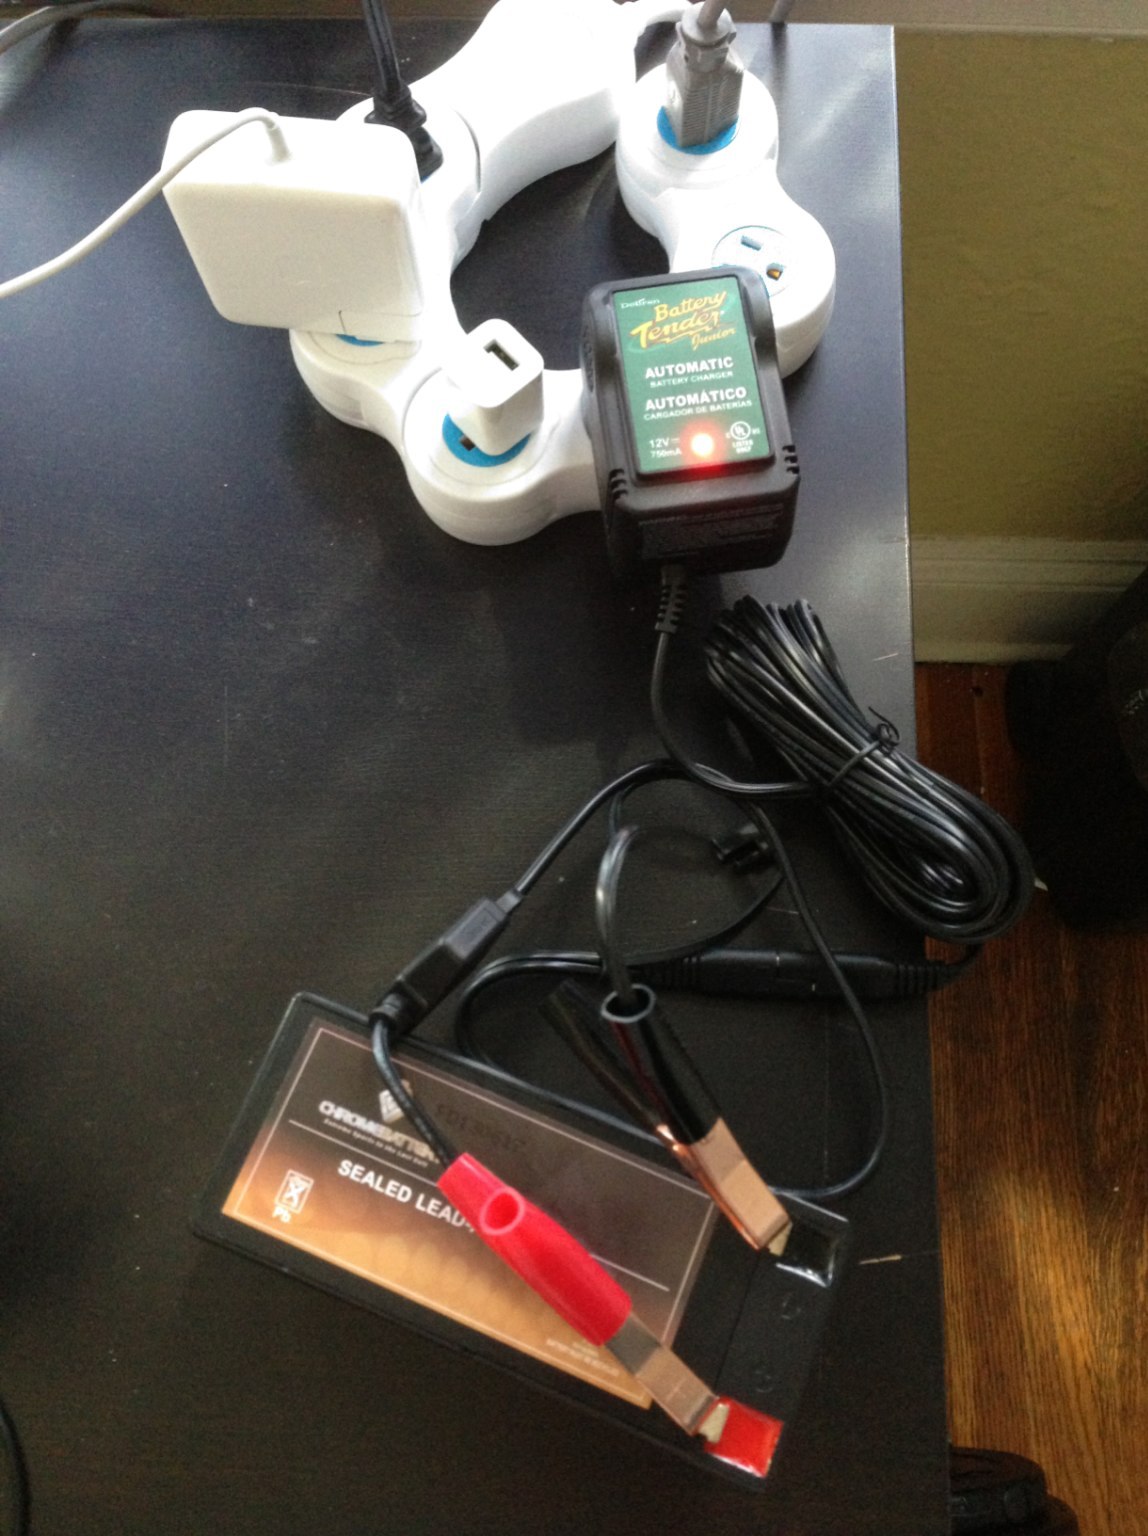
Here's the Battery Tender charging the battery directly via the clip connectors, and via the cigarette light adapter:
One last important consideration is that the Battery Tender only be connected when the battery is also connected. The Battery Tender is definitely capable of putting out a higher voltage than 12 volts, and could easily damage the components in the amplifier if they are not rated for higher voltages, which they are likely not since it is a low-cost amplifier. Not turning on the amplifier while the Battery Tender is connected (strongly recommended) protects the components after the power switch, but there are capacitors before the power switch that could be damage if charging is attempted without the battery connected. Connecting the battery will lower the overall amount of voltage running through the circuit, and thus protect the other components. Presumably the battery would always be connected, but if somehow the fuse between the battery and the rest of the circuitry was blown, then it might appear connected when it is not. So before plugging the battery tender in, it's worth turning on the amplifier to confirm the battery is connected, then turn it back off again before charging.
Previous posts about the Solar-Powered Stereo project:
Power indicator LED, voltage gauge
Solar-Powered Stereo (test build)