This quarter, I have to complete a capstone project for the Golisano College of Computing and Information Sciences Honors Program. It's pretty much free reign for what I want to do with this project, and since I don't have any more time here to take Computer Graphics 2 from the CS department, I figured I would do the main project they do in that class, build a Ray Tracer. Joe Geigel from the CS department who frequently teaches CG2 and who specializes in computer graphics in general. He lent me the book Ray Tracing from the Ground Up, and I'm using their skeleton code from their website. The source for my project is up on Google Code, so feel free to browse the source.
Week 1:
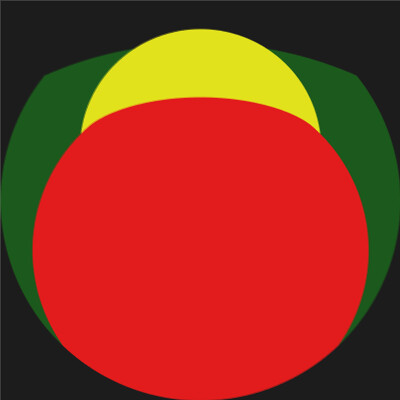
This week I was mostly focusing on how the reverse ray tracing and hit object tests work. I covered the first few chapters of the book, and I worked on getting the skeleton code from the book, which was originally written for linux, up and running under xCode in OS X. It was worth it because he has a good setup for the class hierarchies, as well as the UI for the ray tracer. The first basic image I ray traced was a simple one. The scene has one sphere, and a simple test is done to see if the equation for the ray is ever equal to the equation for the circle. If the ray hits the circle, the corresponding pixel is colored red. If not, it's colored black. The resulting image:
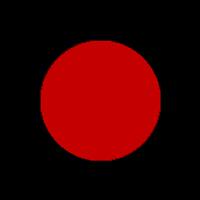
It doesn't look like much, but there's a lot more to come.
Week 2

Multiple objects (2 spheres and a plane)
Regular Multi-Sampling
Random Sampling
Jittered Sampling

Multi-Jittered, 25 samples/pixel


Perspective Viewing
With perspective viewing comes moveable camera
Thin lens camera simulates depth-of-field
Week 3

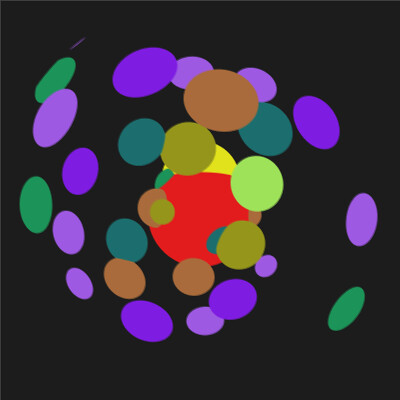
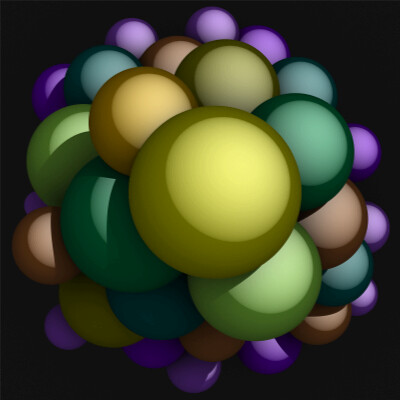
Depth of field with many circles, no plane
Fish eye lens, 2 spheres and a plane
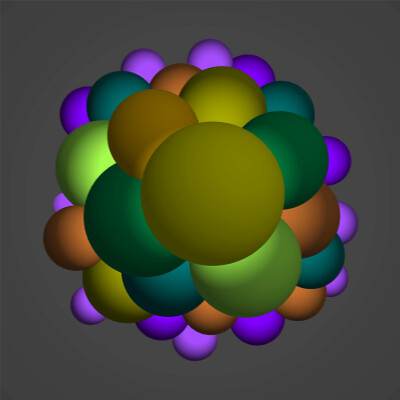
Fish eye lens, many spheres

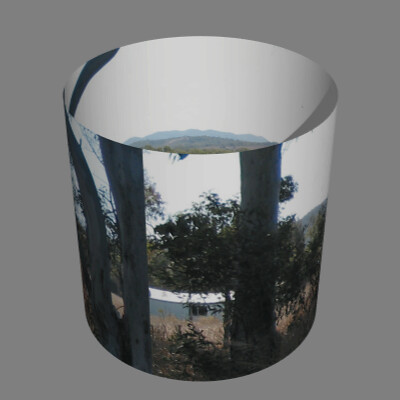
Spherical panoramic view, 2 spheres and a plane
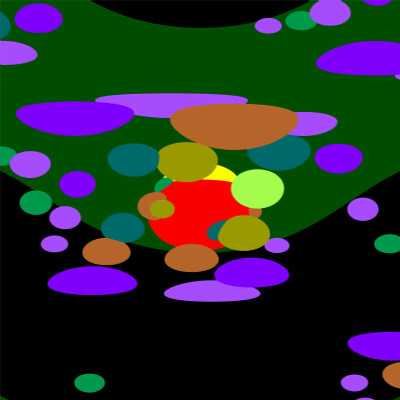
Spherical panoramic view, 2 circles, a plane, and many spheres (upside down)
Week 4
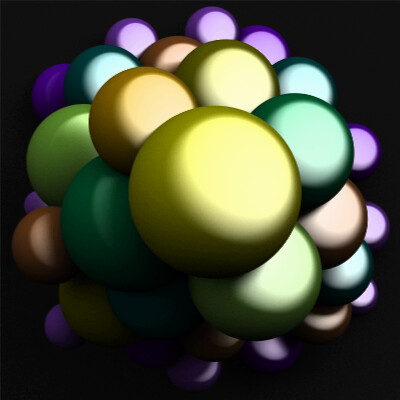
Lights and materials
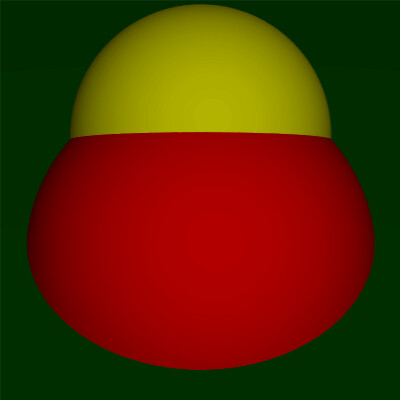
Two spheres and a plane with lights and materials.
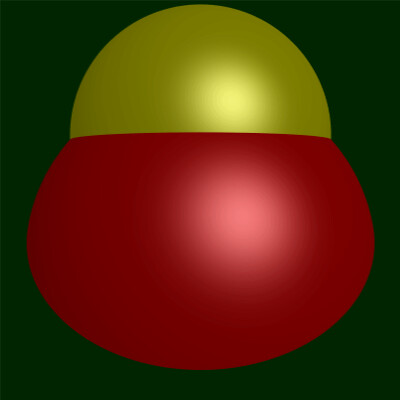
Specular highlights
More complex scene with specular highlights
Hard shadows.
Ambient Occlusion (required me to up it to 256 samples)
Area Lights give softer shadows (also required 256 samples)
Fake Spherical Light produces the same soft shadows by simply jittering the position of a point light randomly. This image looks noiser than the spherical light one, but at the same brightness level and samples, the actual area light would be more noisy.
At this point, render times were getting to be pretty long because of all the samples required. The above image took over 15 minutes to render. So I decided to implement some of the time-saving methods. First, I tried testing against bounding boxes before testing against collision with the spheres themselves, but overall this actually takes longer because it has to do 2 tests instead of 1. But the work was not lost because I used the bounding boxes to place the objects into a regular grid, and the rays would traverse the grid and test against anything in each "bin" of the grid, and it knows that the first thing it hit is the closest with this approach. So the more objects, the more savings with the grid. With this regular grid it took 7 minutes to render the above image, more than a 2x savings.
Week 5
Honestly I didn't do any work this week because I got into the Little Big Planet beta.
Week 6
Added some new shapes this week
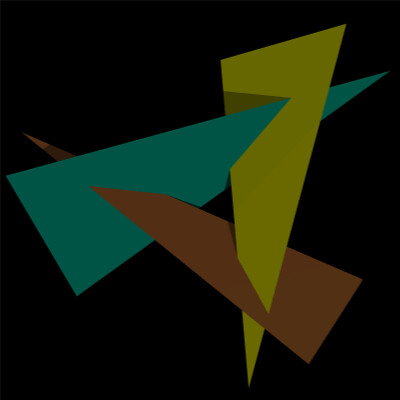
Three triangles, two are rotated via matrix multiplication. Had to update my regular grid to accomodate rotated objects. Instead of computing a new bounding box from the rotated object, we compute a new bounding box from the rotated original bounding box. The bounding box ends up bigger than it needs to be this way, but it's much simpler to compute the new bounding box this way.
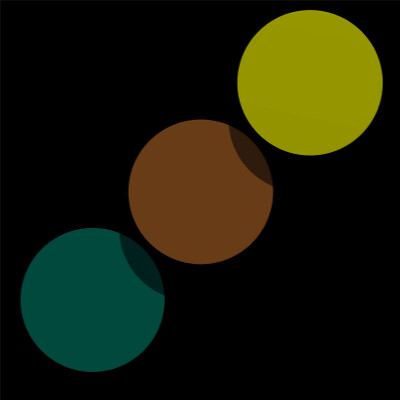
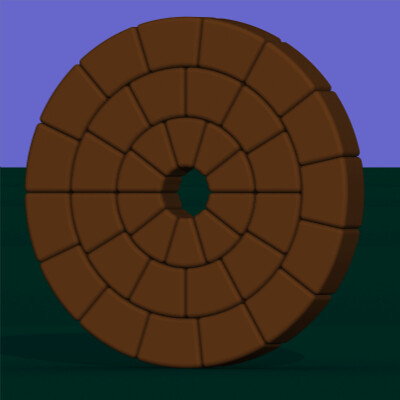
3 flat discs
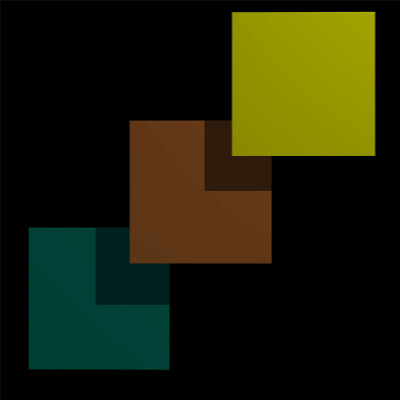
3 Rectangles
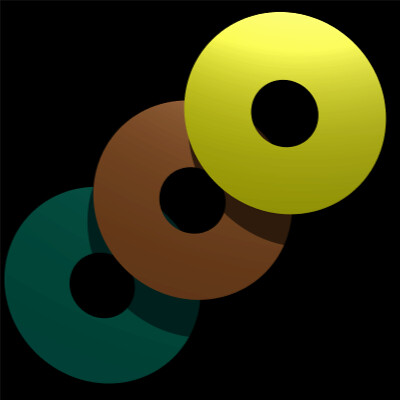
Annuli
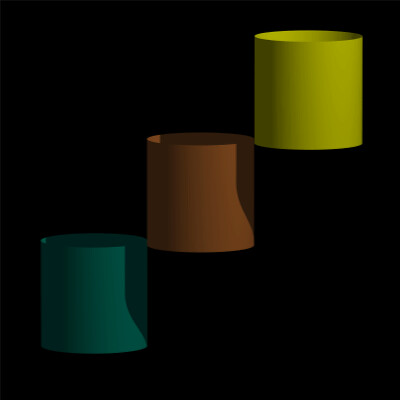
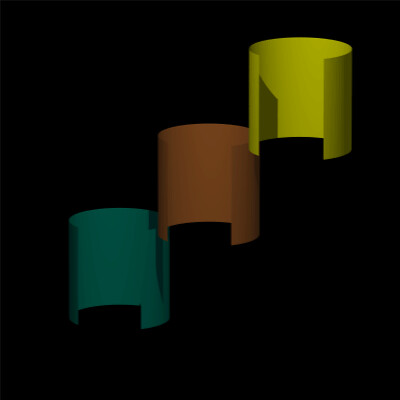
3 Open Cylinders

3 Torii
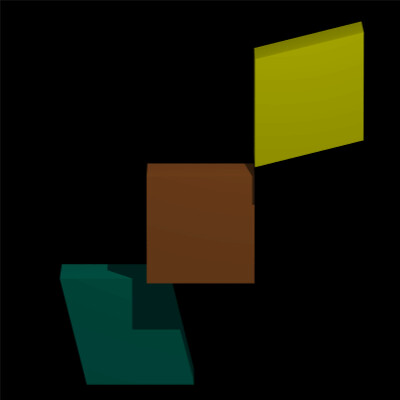
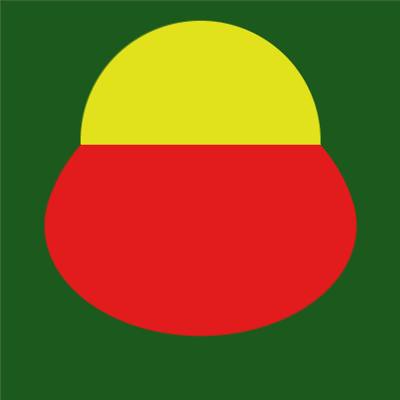
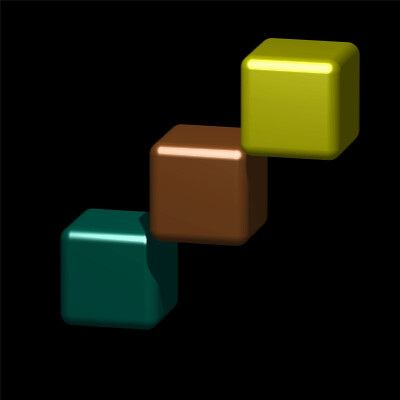
3 (originally) axis-aligned boxes, the green and yellow have been sheared in different directions.
Week 7
Implemented some part shapes this week
Part Cylinders
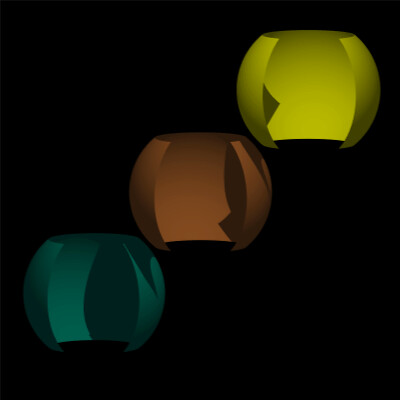
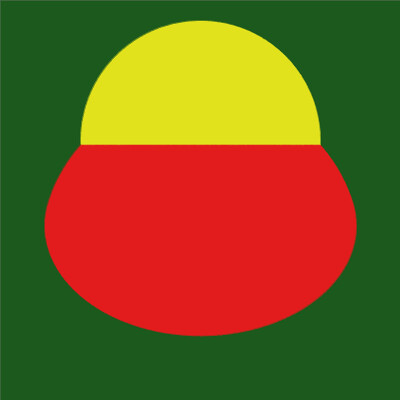
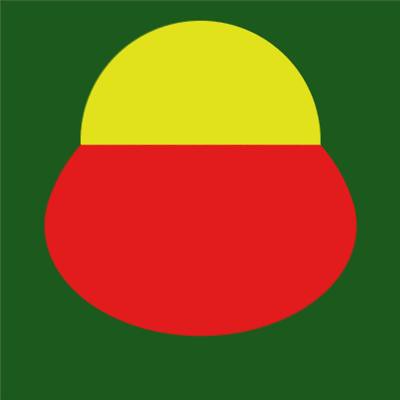
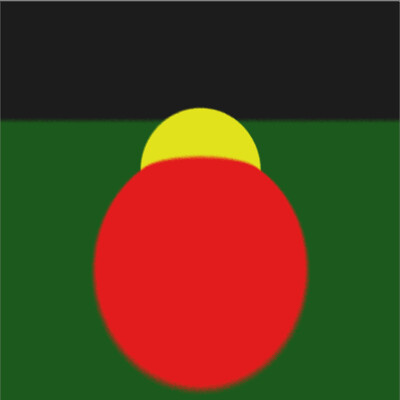
Convex part spheres
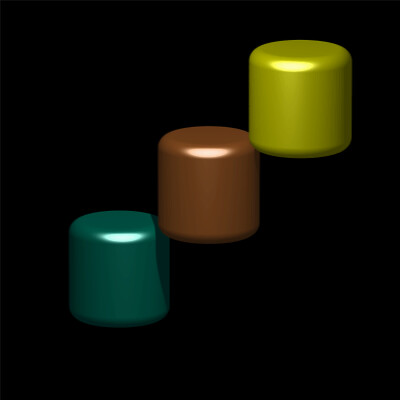
Beveled Cylinders created with open cylinders for the sides, torii for the bevel, and disks for the top. Beveled objects are more realistic and give a good specular highlight.
Beveled boxes require 12 cylinders for the edges, 8 spheres for the corners, and 6 discs for the faces.
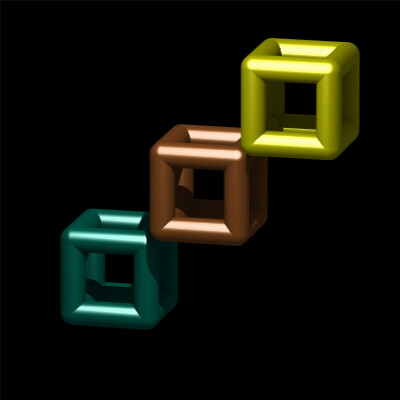
Rendering them without the faces gives a neat "wireframe" look, and you can see how the pieces make the whole.
Beveled Wedges are even more complex, with 8 cylinders, 8 spheres, 4 part torii, 2 part cylinders, 2 part rectangles, and 6 part annuli.

The wireframe shows gives an idea of how it's all constructed.
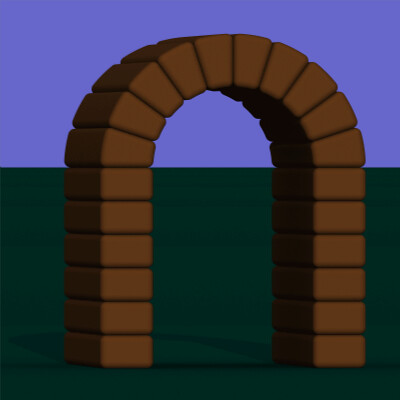
Archway rendered with beveled boxes and wedges as bricks.
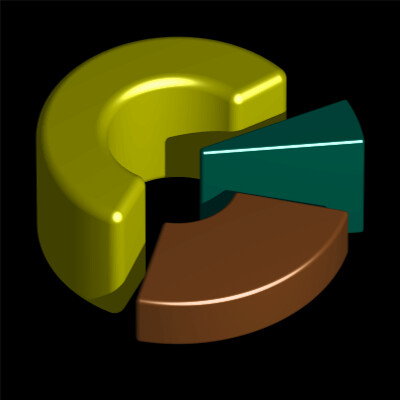
Rosette made of beveled wedges.
Week 8
This week I worked on using some code written by Greg Turk from Leland Stanford Junior University to load triangle data from ,ply files. The vertices and indices are then reassembled into triangles and normals are computed.
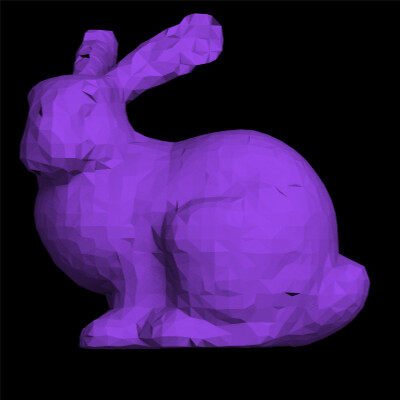
Model loaded from triangle data in a .ply file. This model uses about 4,000 triangles.
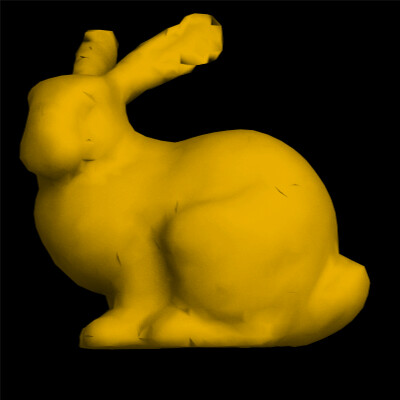
This is the same 4,000 triangle model, but instead of using a constant normal for the entire surface, the normal for a given point is bilinearly interpolated between the three different points making up the triangle. The result is a smoother look, but if you look close you notice areas where the incongruity between the normal and the actual geometry is apparent,
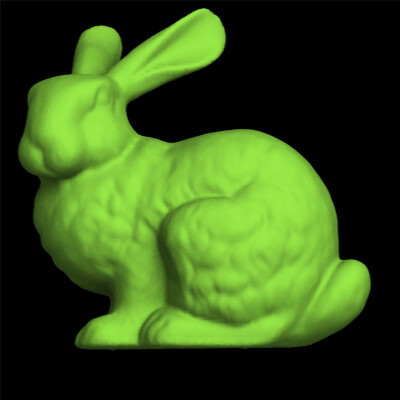
The Stanford Bunny with ~69,000 triangles with smooth shading. Since the triangles are put into a regular grid that drastically reduces the number of hit tests required, the actual rendering of this only took a little over 16 minutes. Since we use about 8x the number of boxes in our grid than objects in our scene, deciding which of ~550,000 boxes each of our 69,000 triangles bounding boxes lies inside becomes the new bottleneck. Depending on the complexity, accuracy, and size of the rendered image, the loading of the model could take as long or longer than the actual ray tracing.
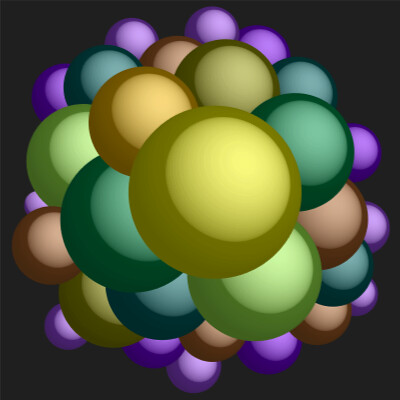
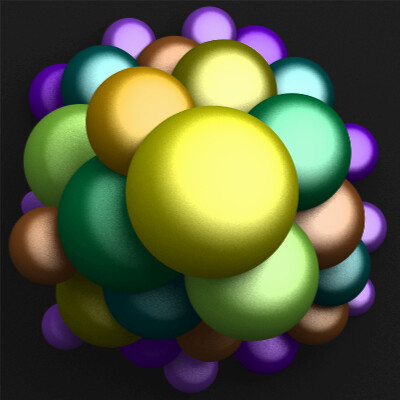
Reflective materials
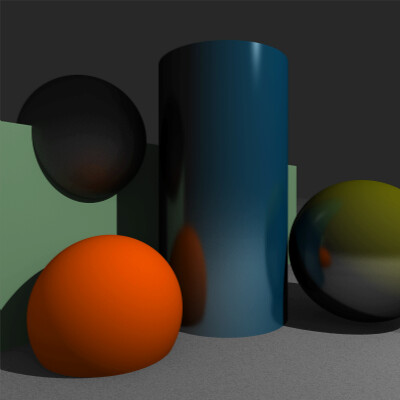
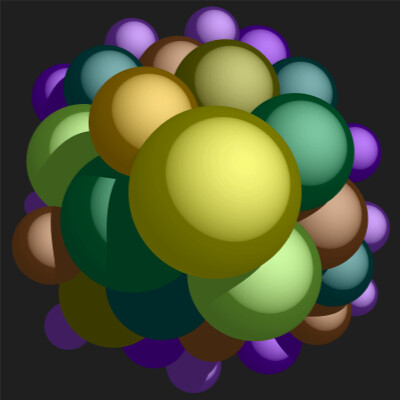
Glossy reflection (more closely matches the matte materials)
Week 9

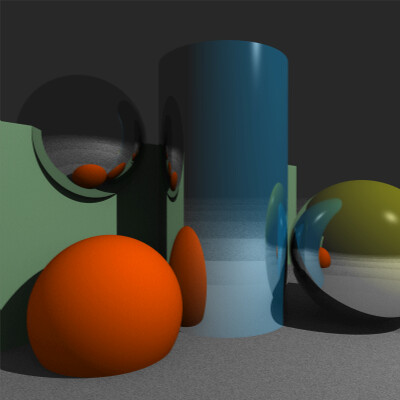
Scene rendered with global illumination and one big environment light surrounding it. Notice that using path-tracing results in color bleeding of the green floor onto the bottoms of the grey spheres.
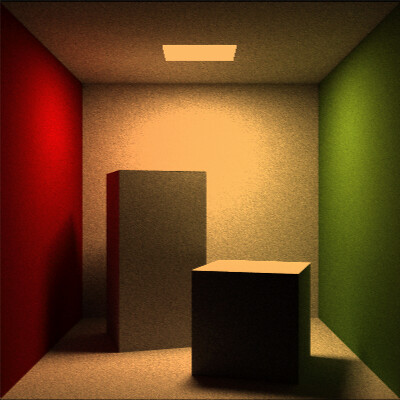
Cornell Box rendered with global illumination. The boxes in the middle are actually white, and any color is reflected off of the walls of the outer box. This scene required 10,000 samples and 9hrs of rendering using the path tracing method with a maximum depth of 10. I didn't have enough system resources to try 100,000 samples, we clearly need a better method. More on that later.
Transparent sphere in front of a reflective one. The index of refraction for this sphere is higher than outside of it, like a glass sphere surrounded by air.
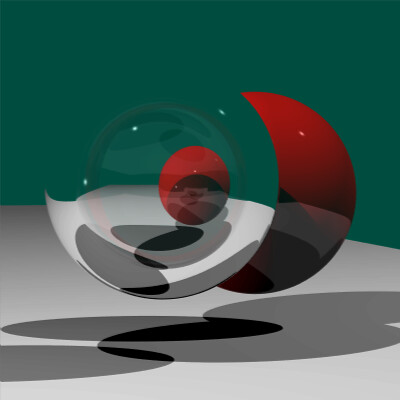
This sphere has a lower index of refraction than its surroundings, resulting in total internal reflection. This is similar to an air bubble in water.
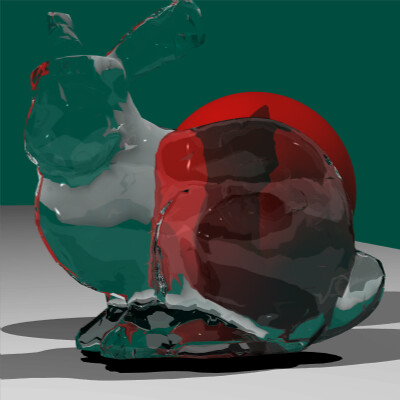
Transparent low-poly Standford Bunny model with smooth shading.
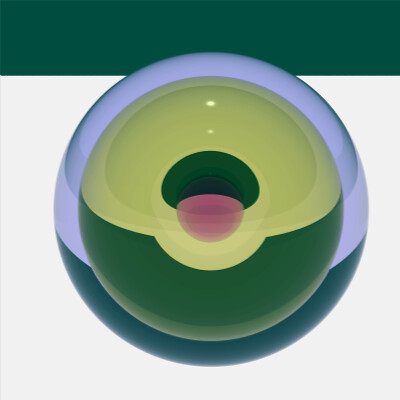
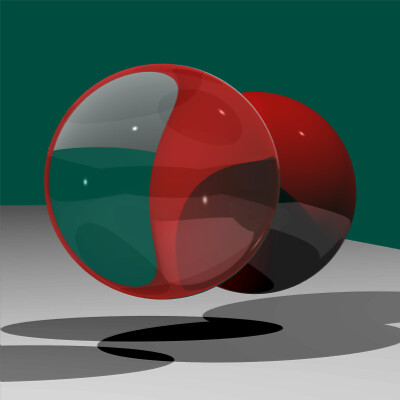
A more complex modeling of transparency (and reflection on transparent objects) involving fresnel equations gives the ability to display nested transparent objects as well as colored transparent materials. This is 3 nested spheres, with an air bubble inbetween the innermost and the middle sphere.
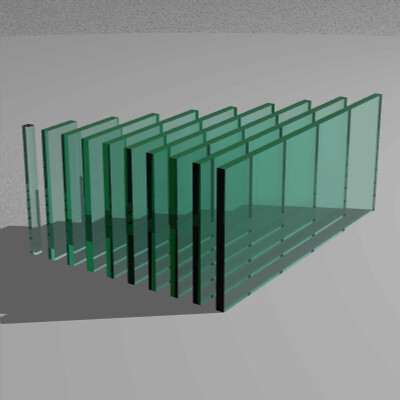
Panes of glass

Texture mapped to a rectangular surface
Texture mapped to a cylindrical surface
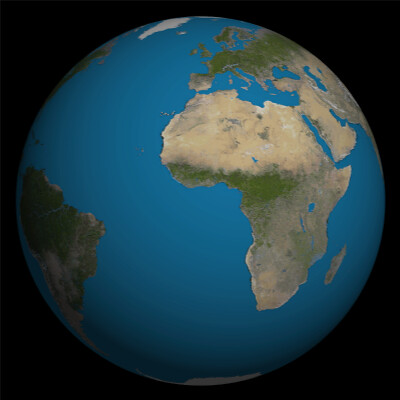
Texture mapped to a spherical surface
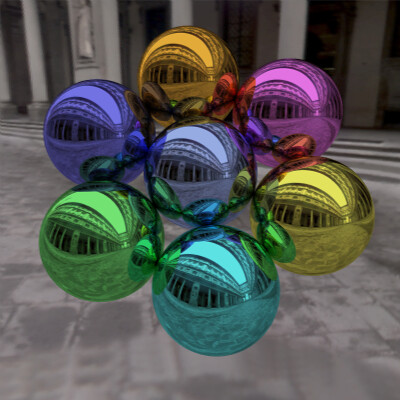
Reflective spheres w/ light probe. Light probes are formed by putting a reflective sphere in an environment and taking a picture of it.
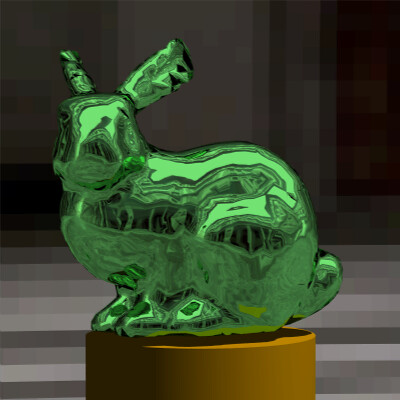
The same light probe with a reflective low-poly smooth-shaded Stanford Bunny.
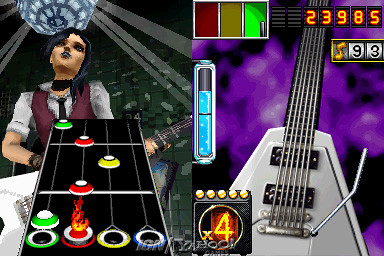
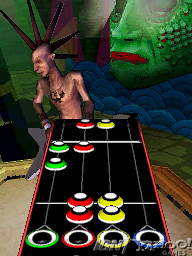
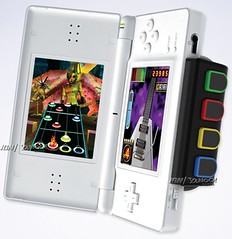 During the summer and fall of 2007 I worked at Activision's Vicarious Visions studio in Albany, NY developing Guitar Hero: On Tour for the Nintendo DS.
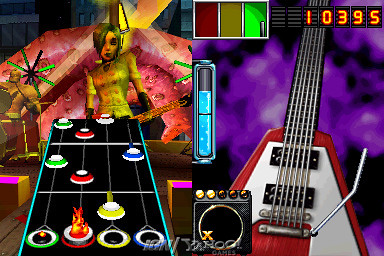
 For my client side scripting class, we learned a lot about JavaScript, but my professor was also really into Scalable Vector Graphics.
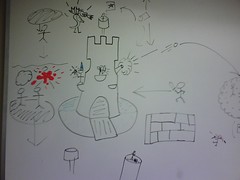
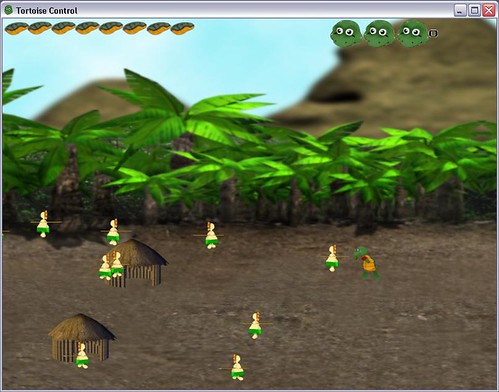
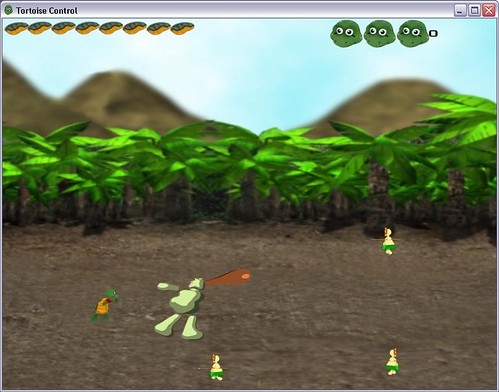
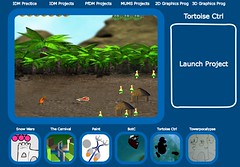
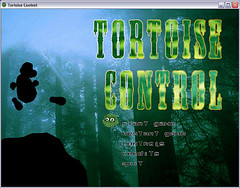 So our 2D Graphics Programming game is all done, and I gotta say I'm real happy with how it came out. It's a 2D side-scrolling beat 'em up featuring our main character, Taj, your everyday karate-loving tortoise. Join him on his adventure fighting Pygmys and a boss that looks like a scary version of the stay-puft marshmallow man. There's a story in there somewhere, but Justin will have to remind me what it was.